Guide

Table of Contents
Deleting temporary files in Windows 11
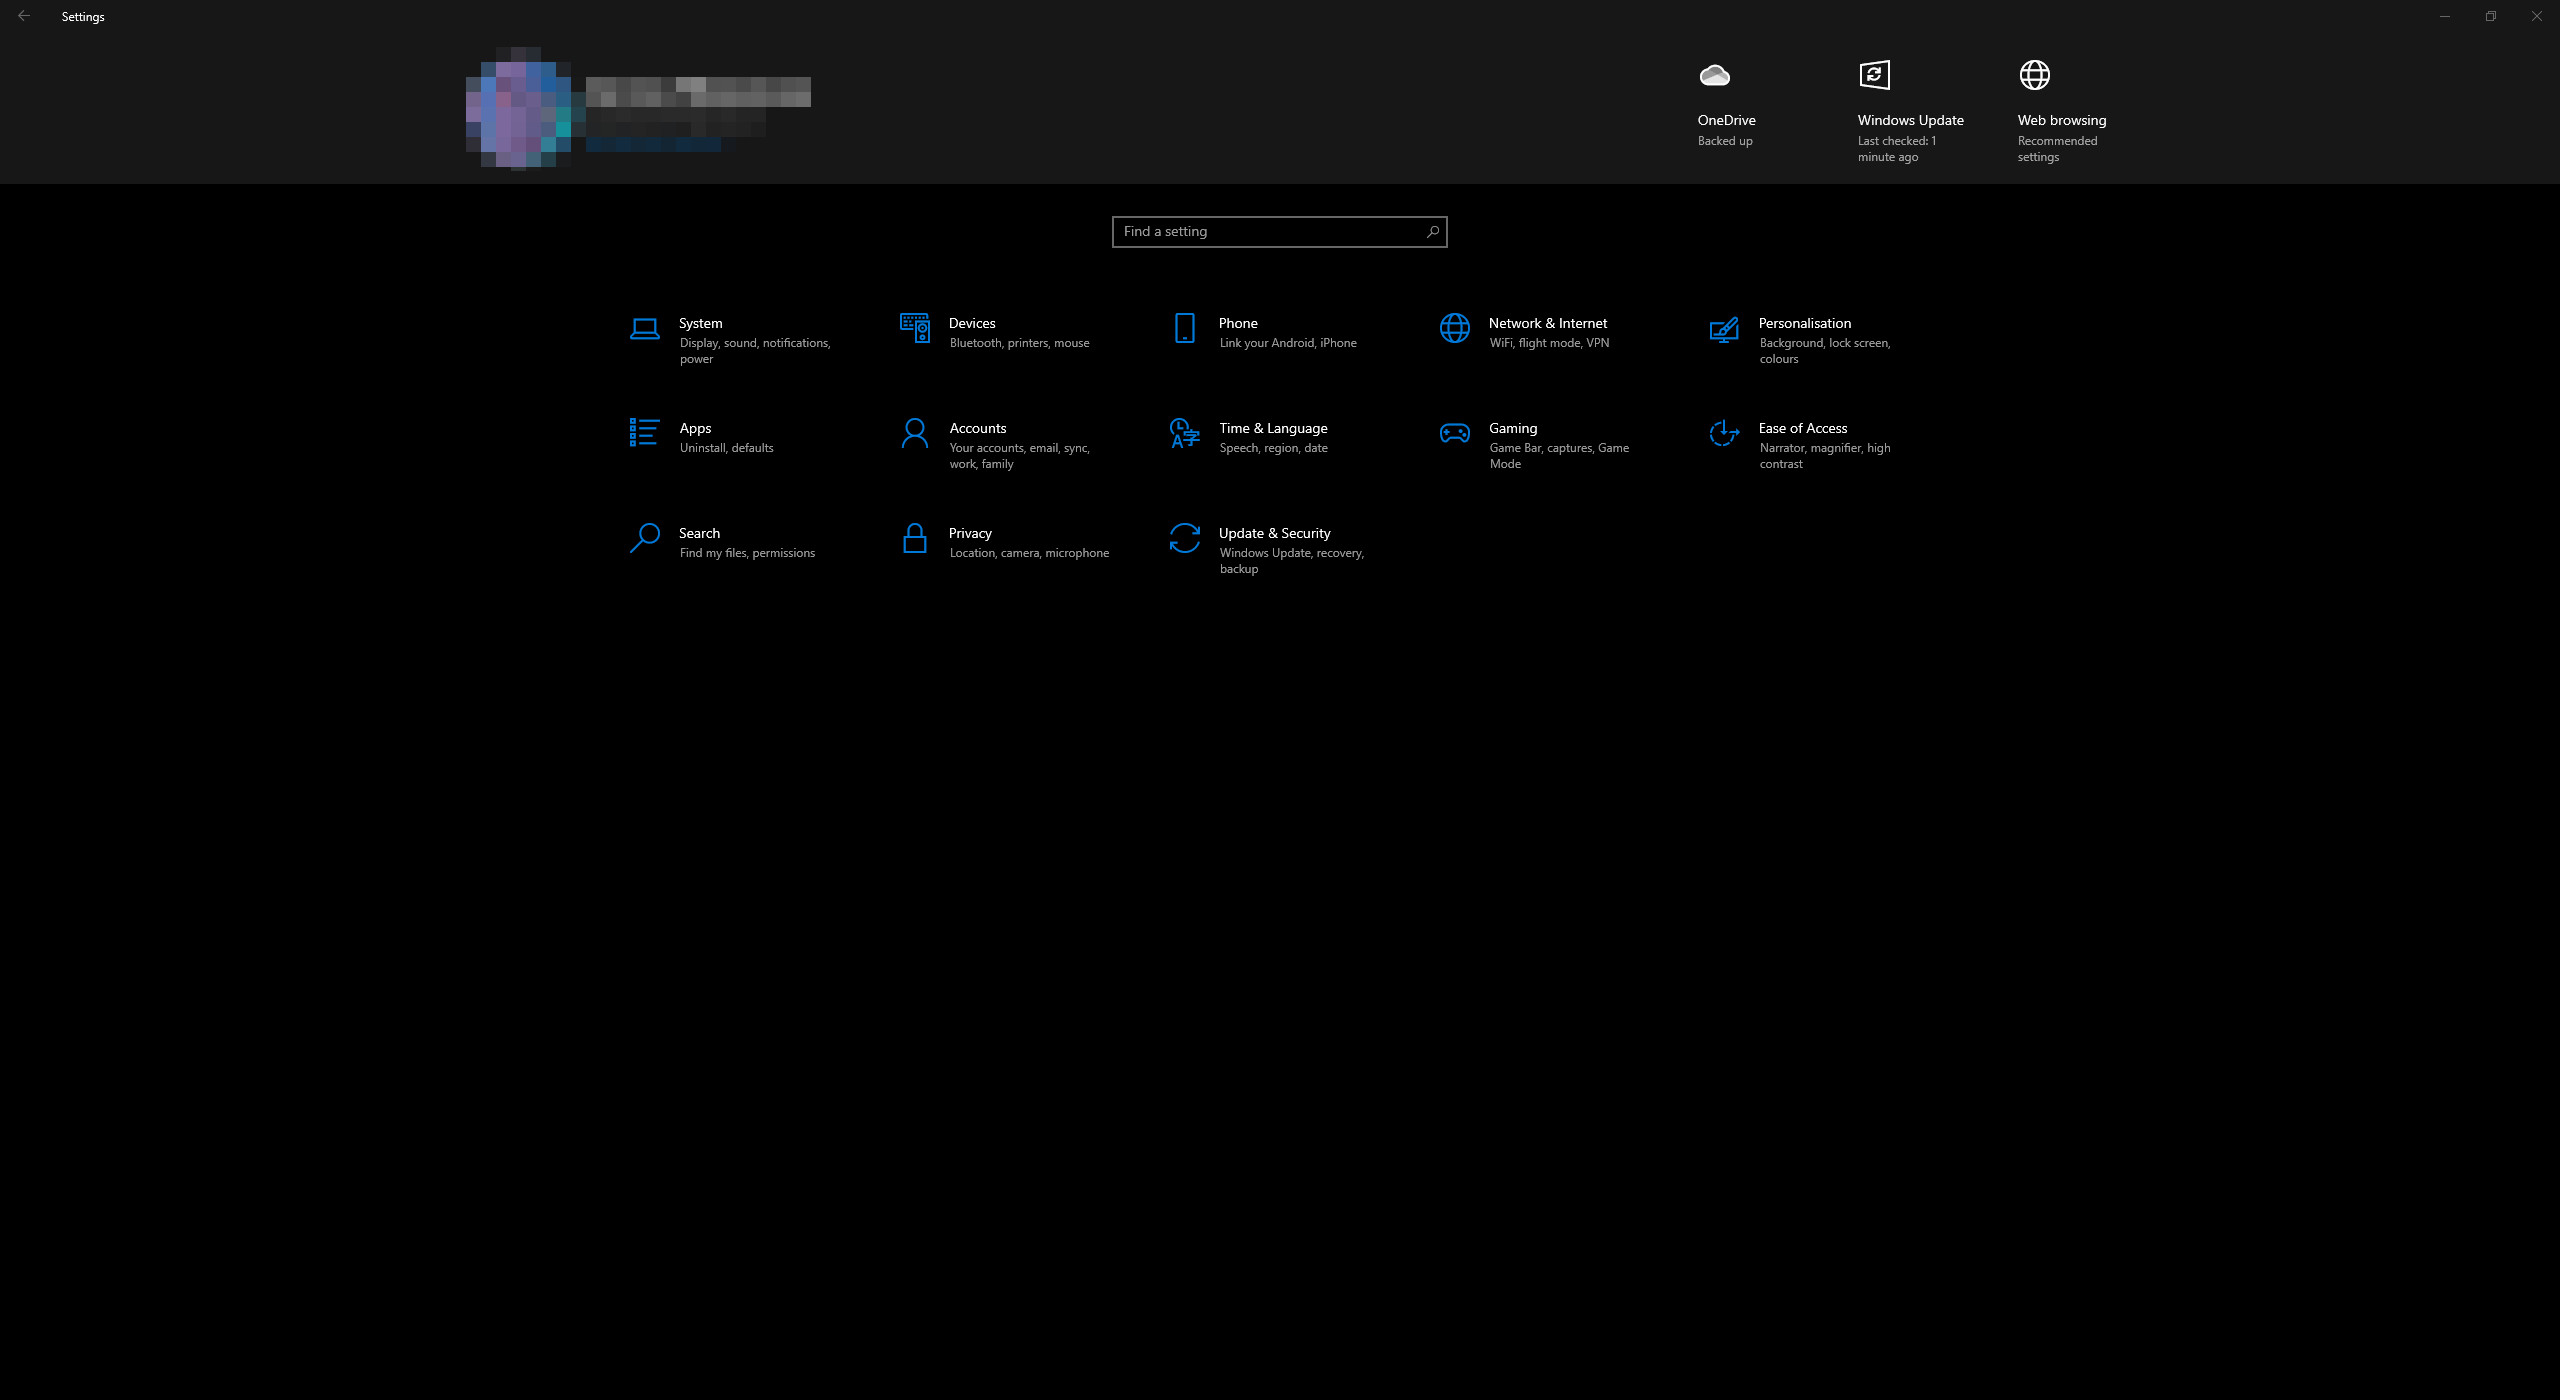
1. Open the Start menu and go to Settings in the Windows 11 operating system.
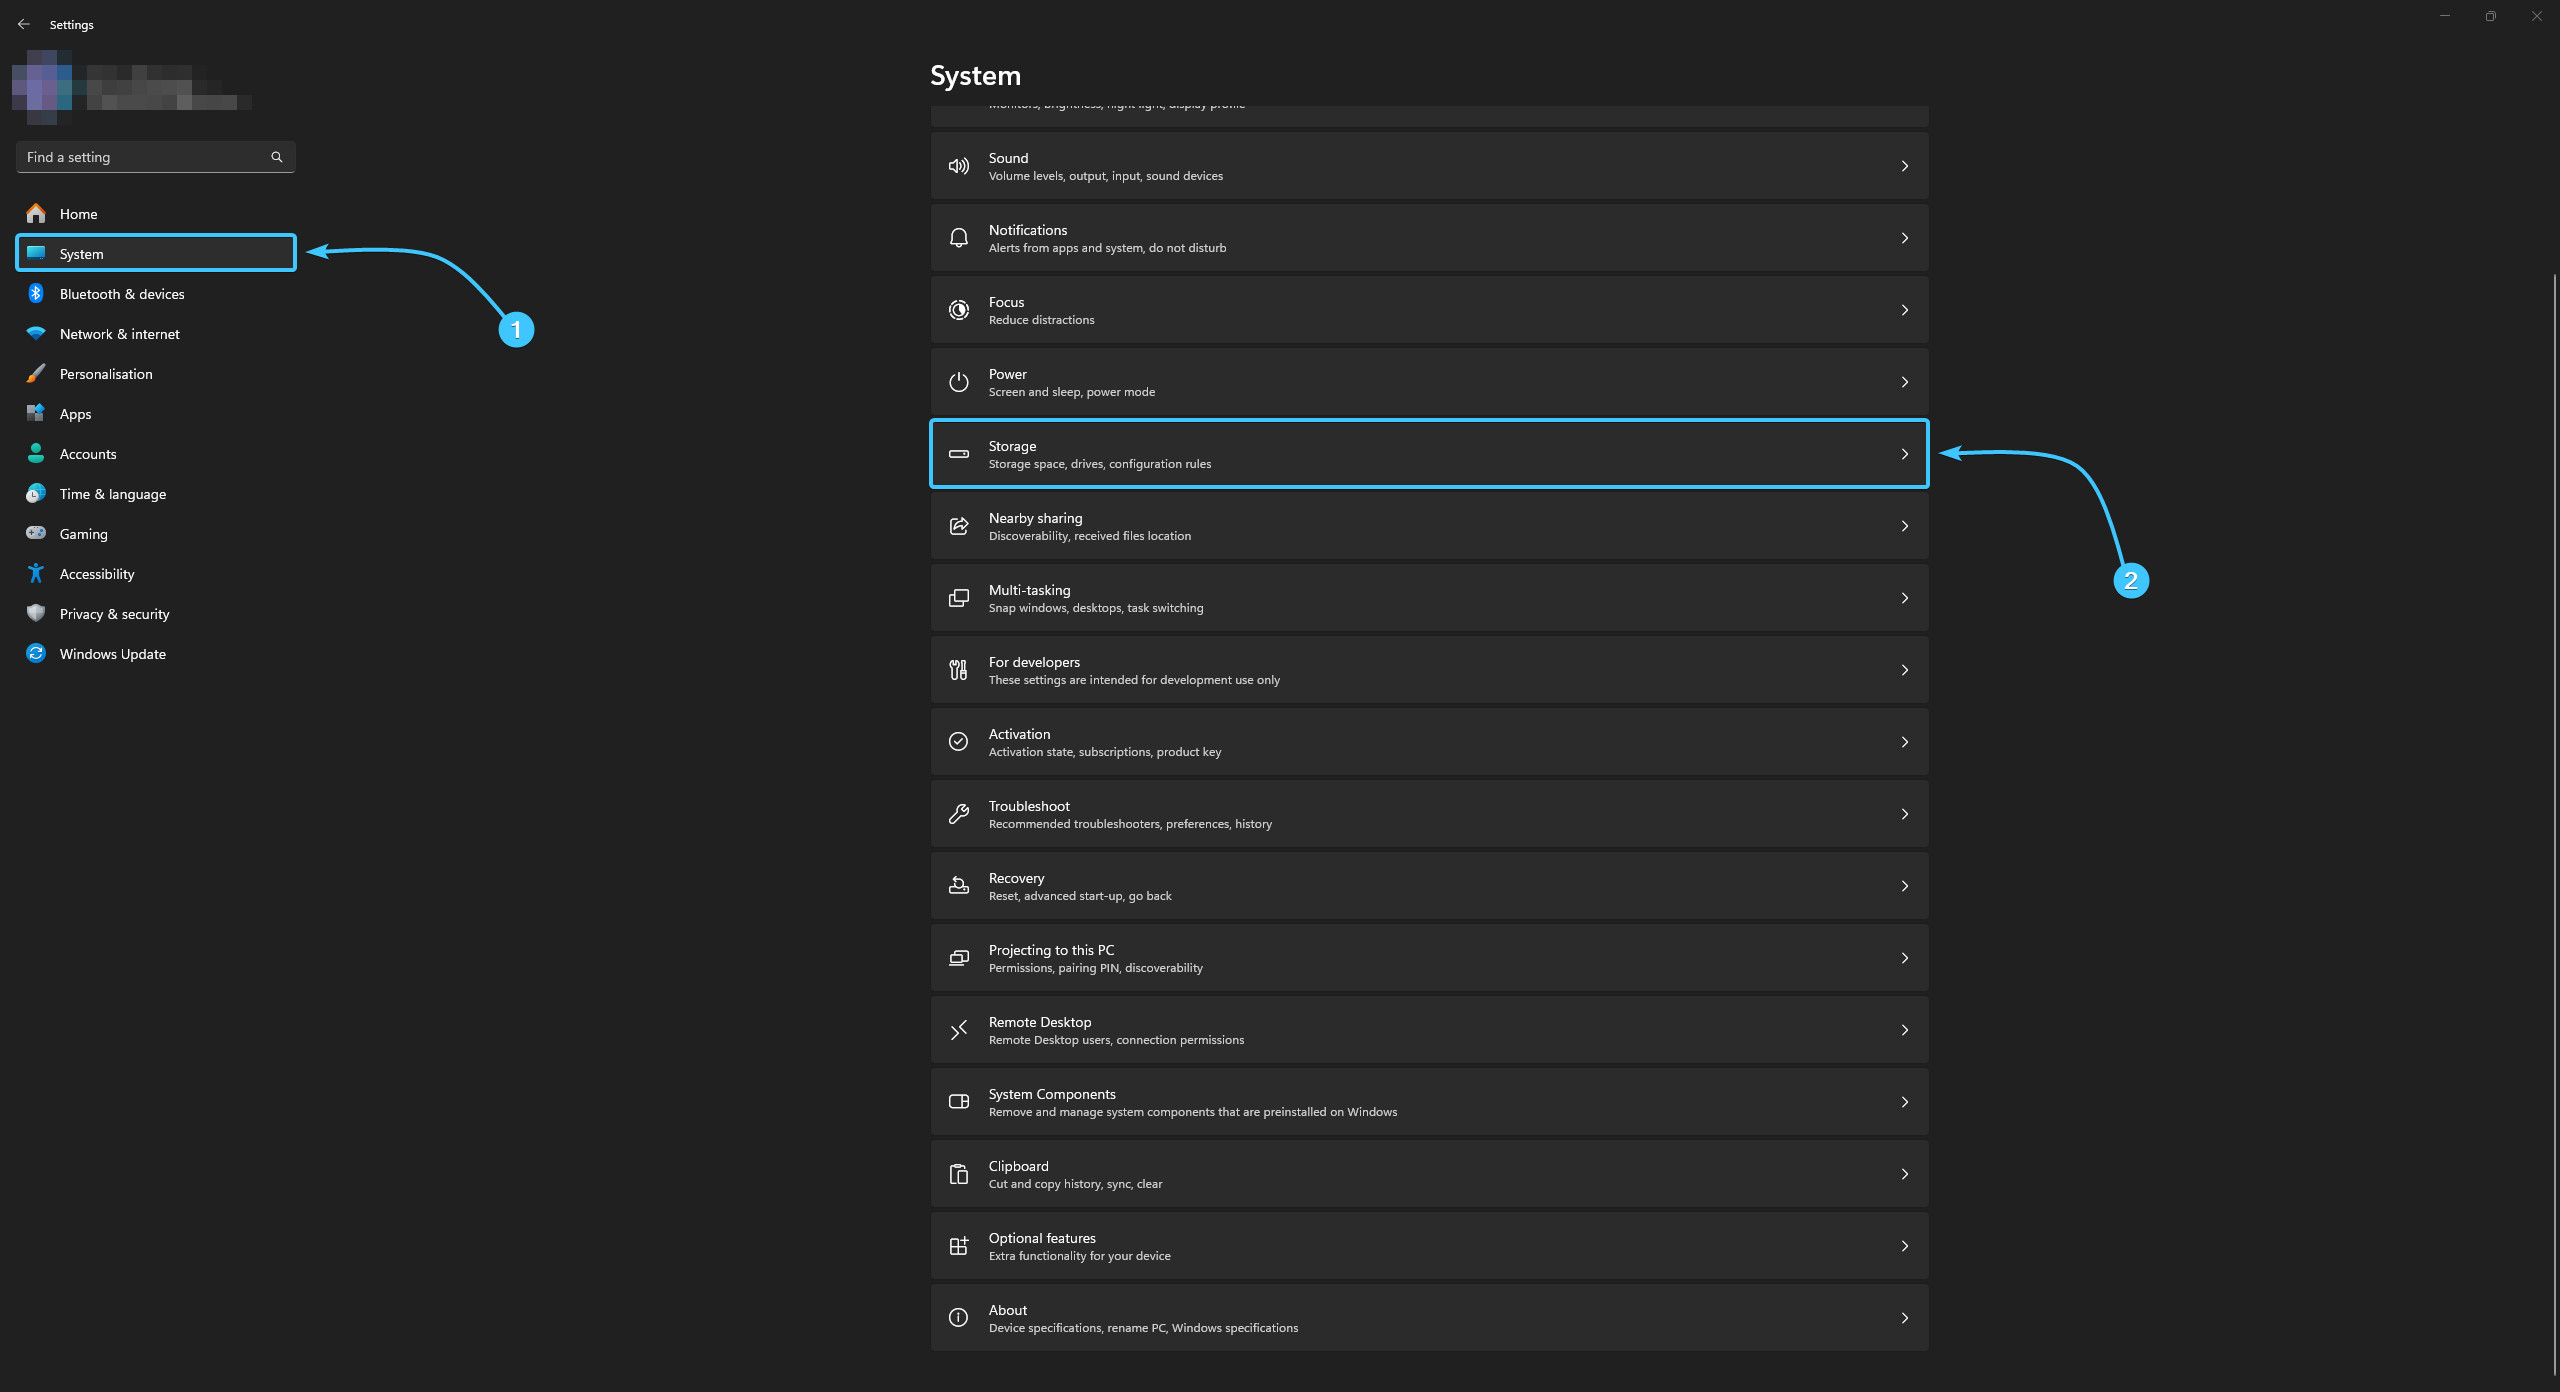
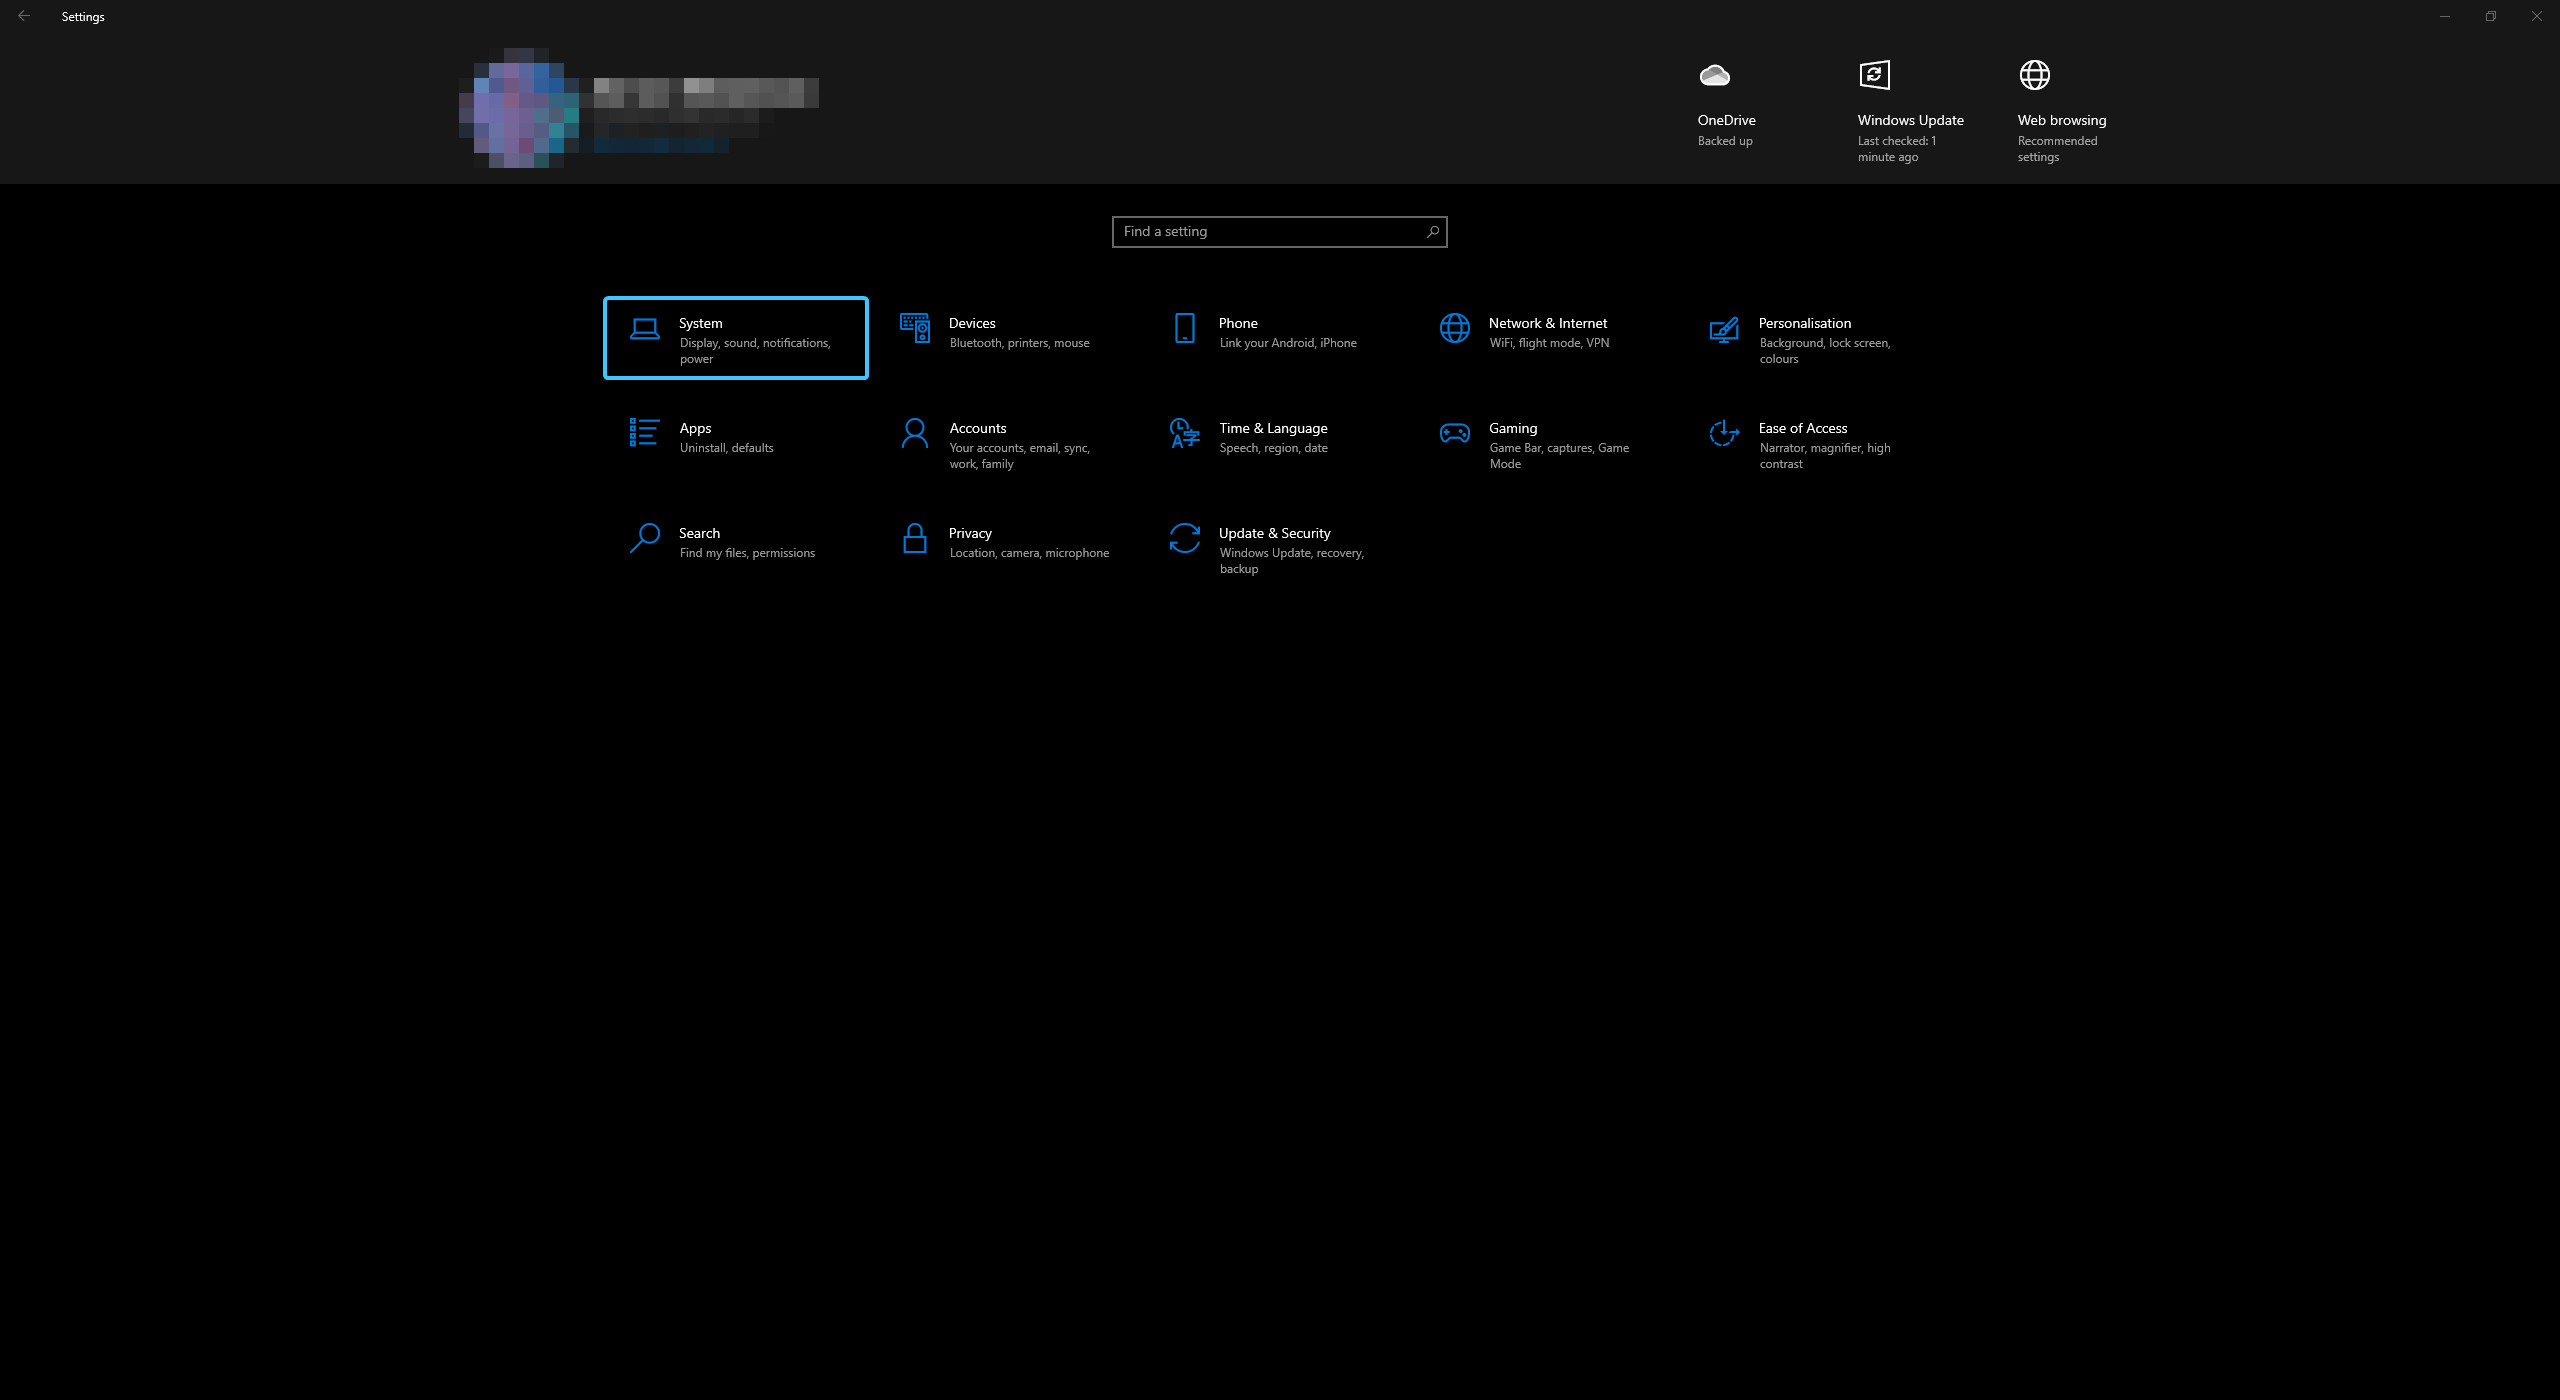
2. In the list, open the “System” category. Go to the “Storage” section.
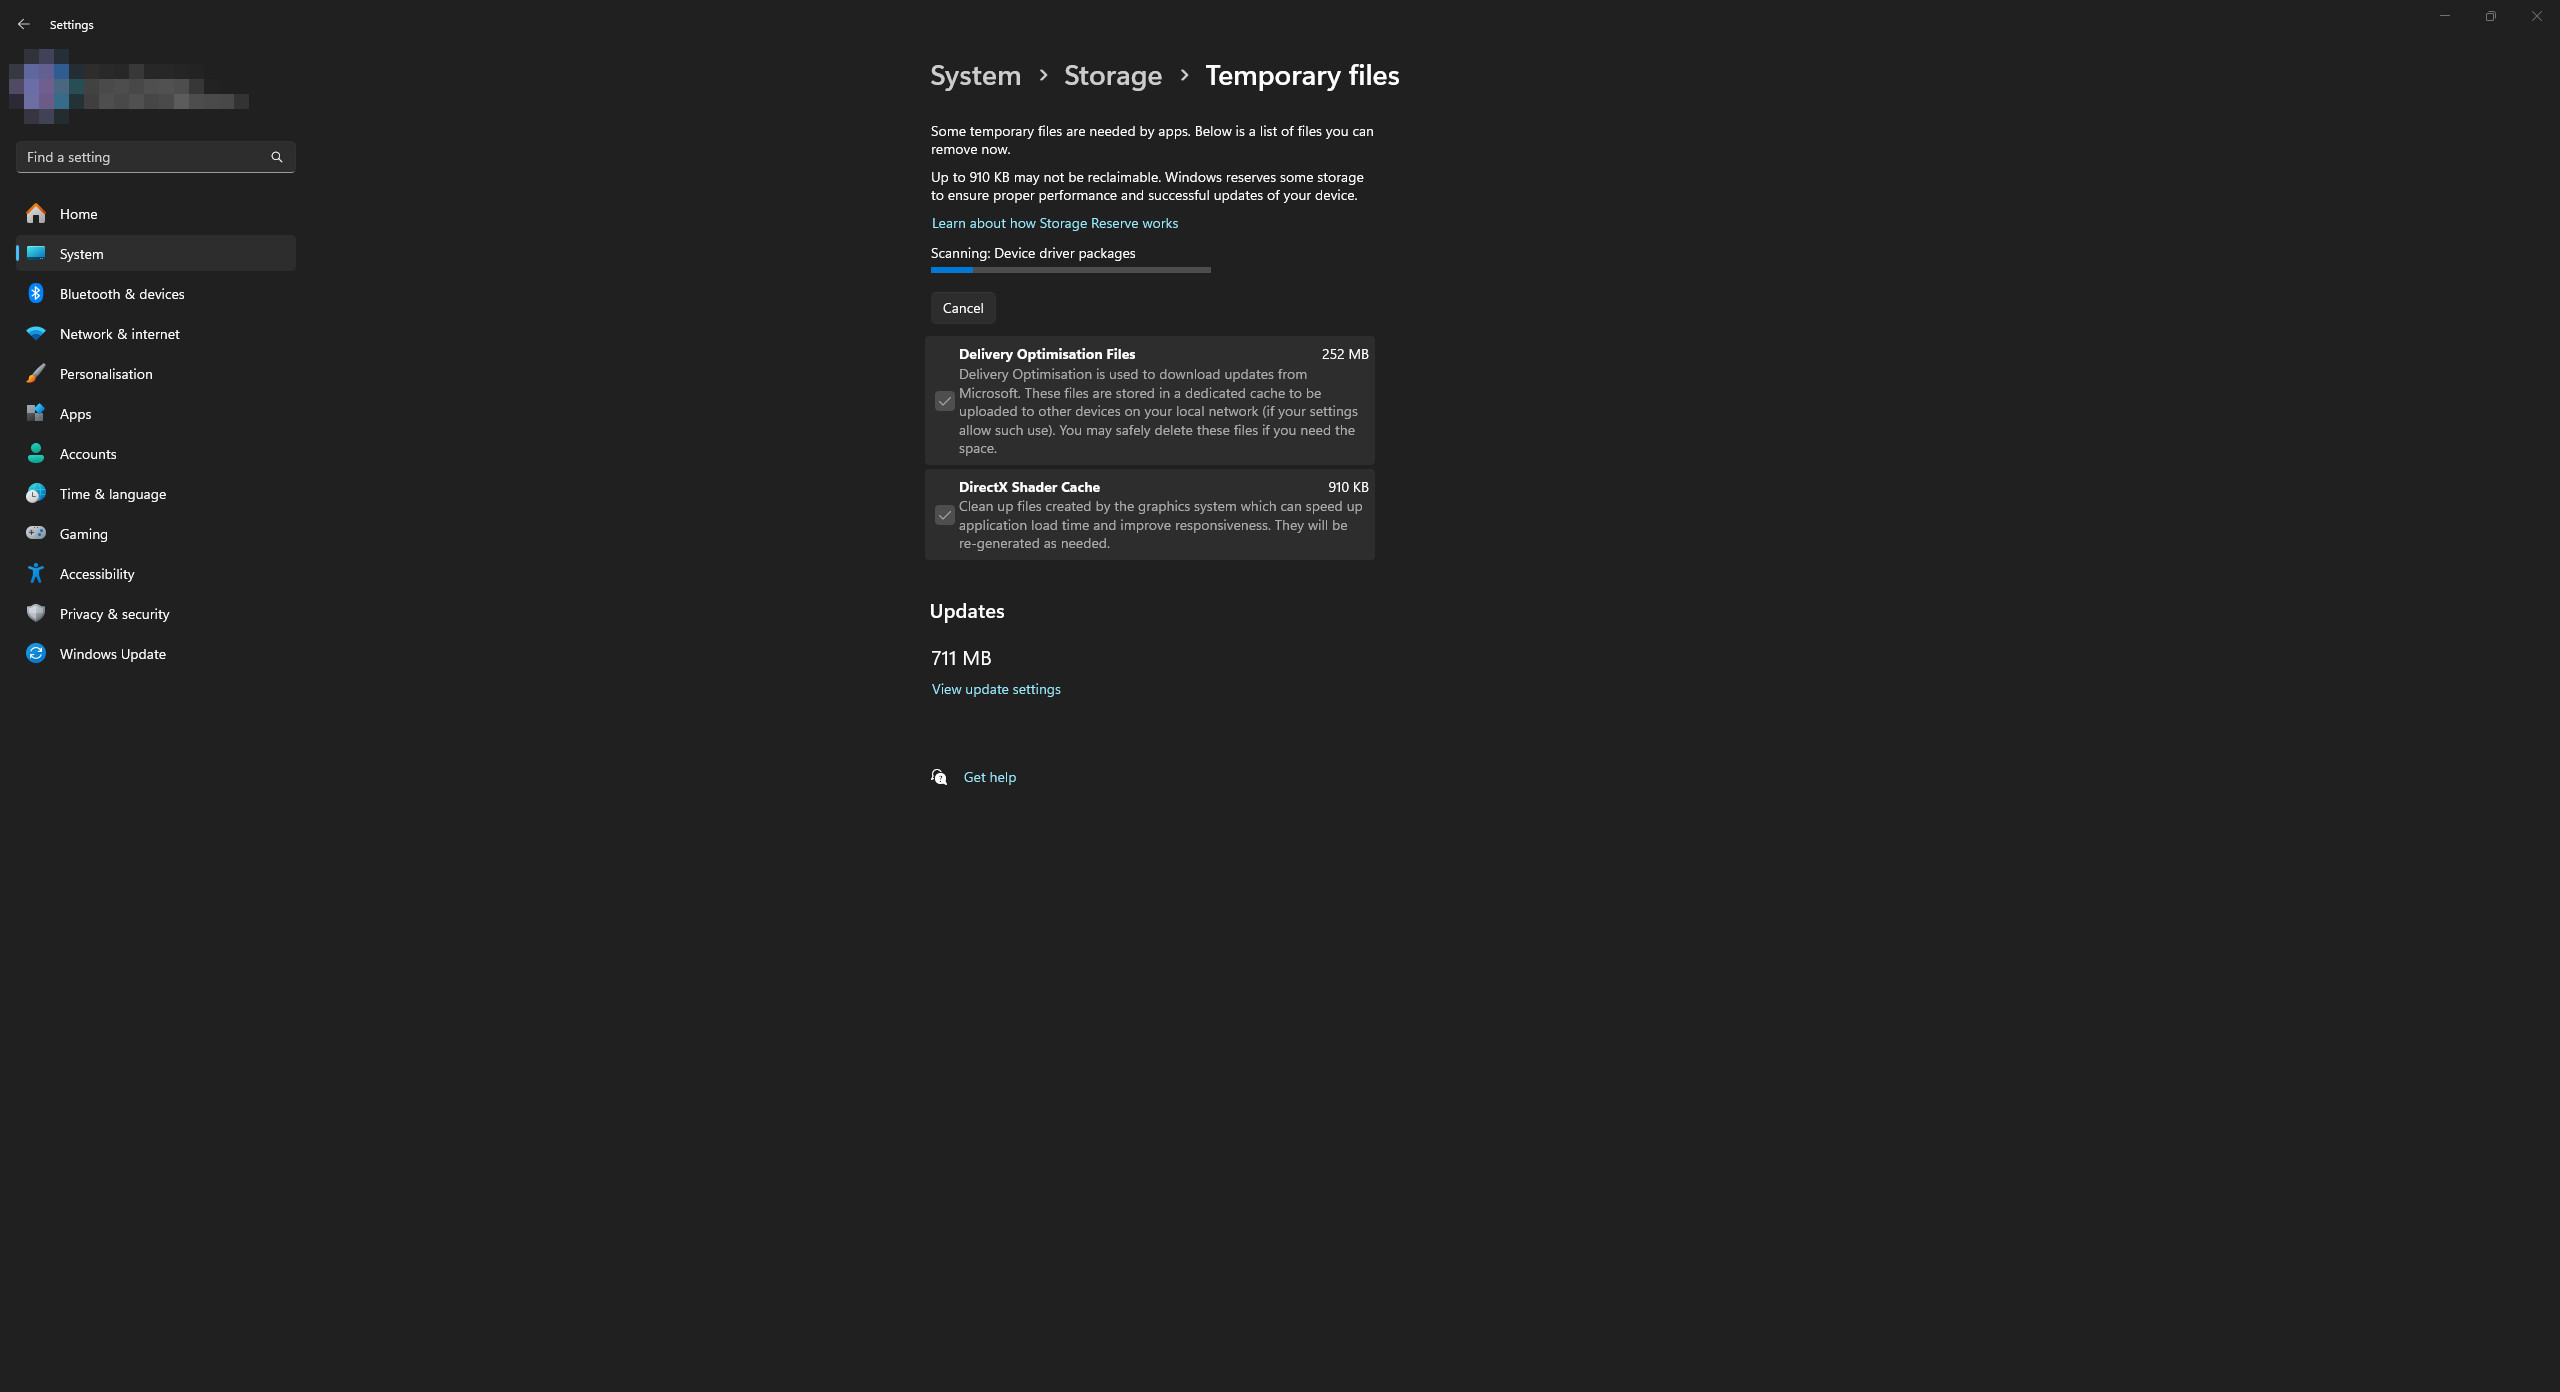
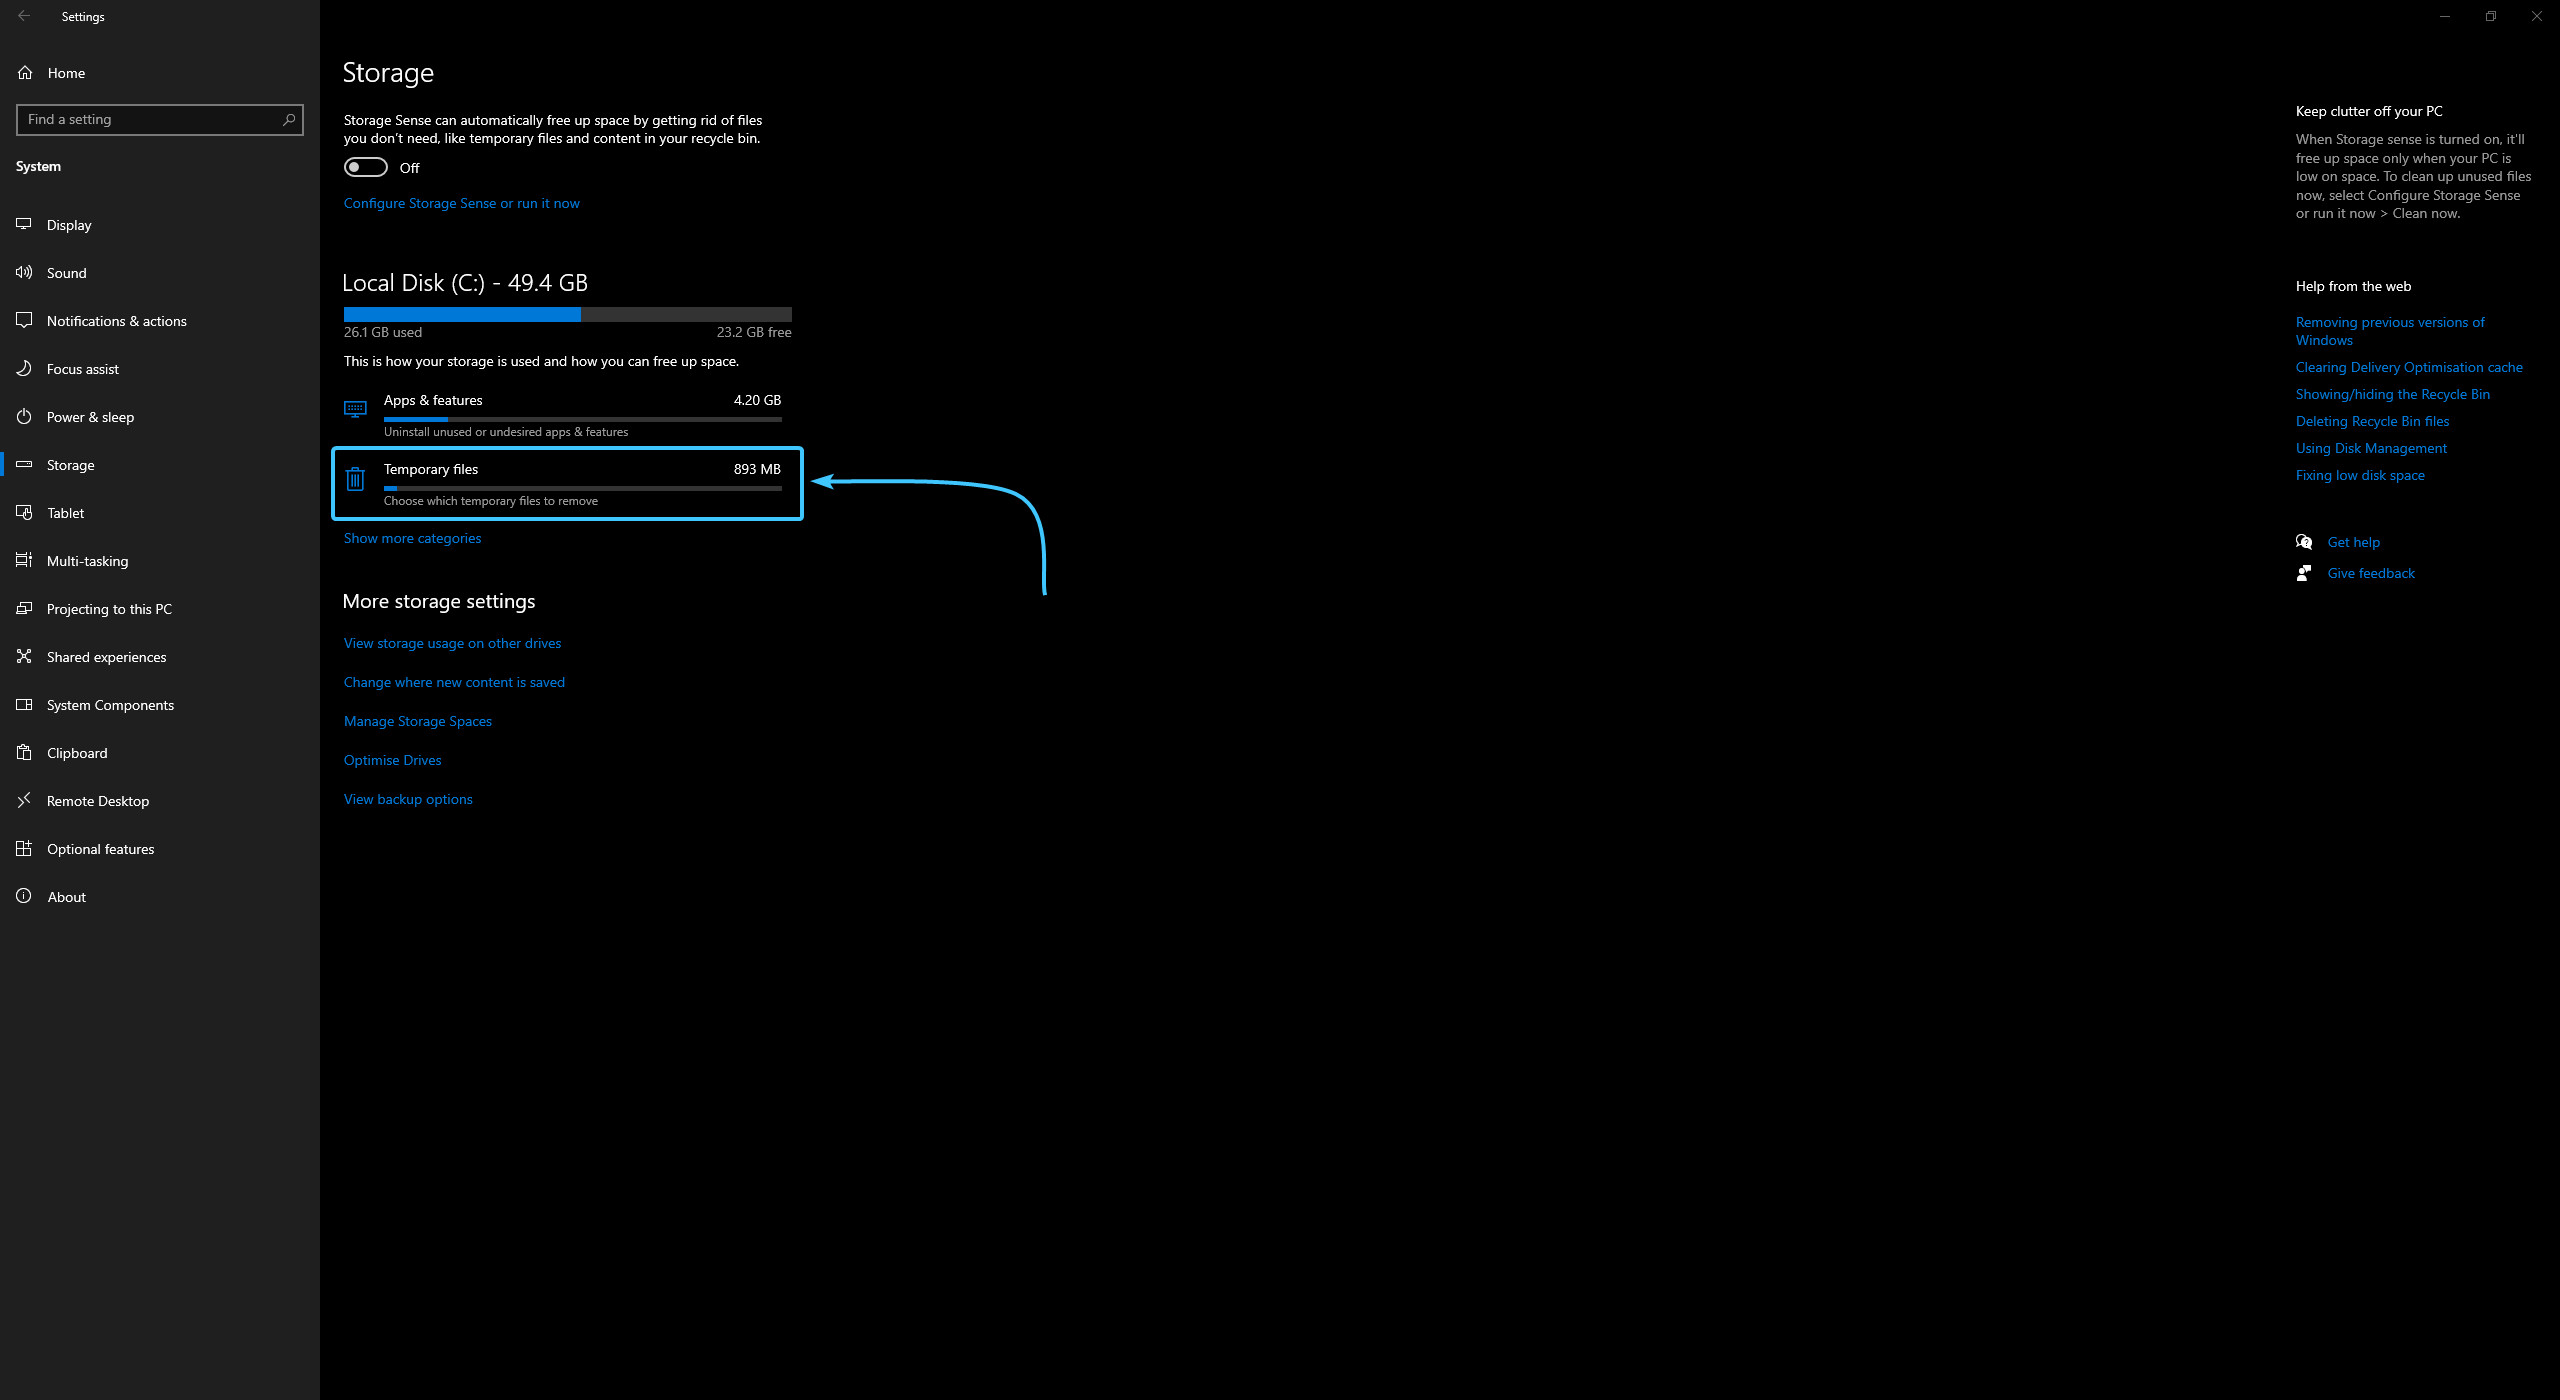
3. The options in the “Storage” section will open. In the list at the top, click the “Temporary files” button.

4. Wait for the scanning of the various files to complete. It will take about one minute.
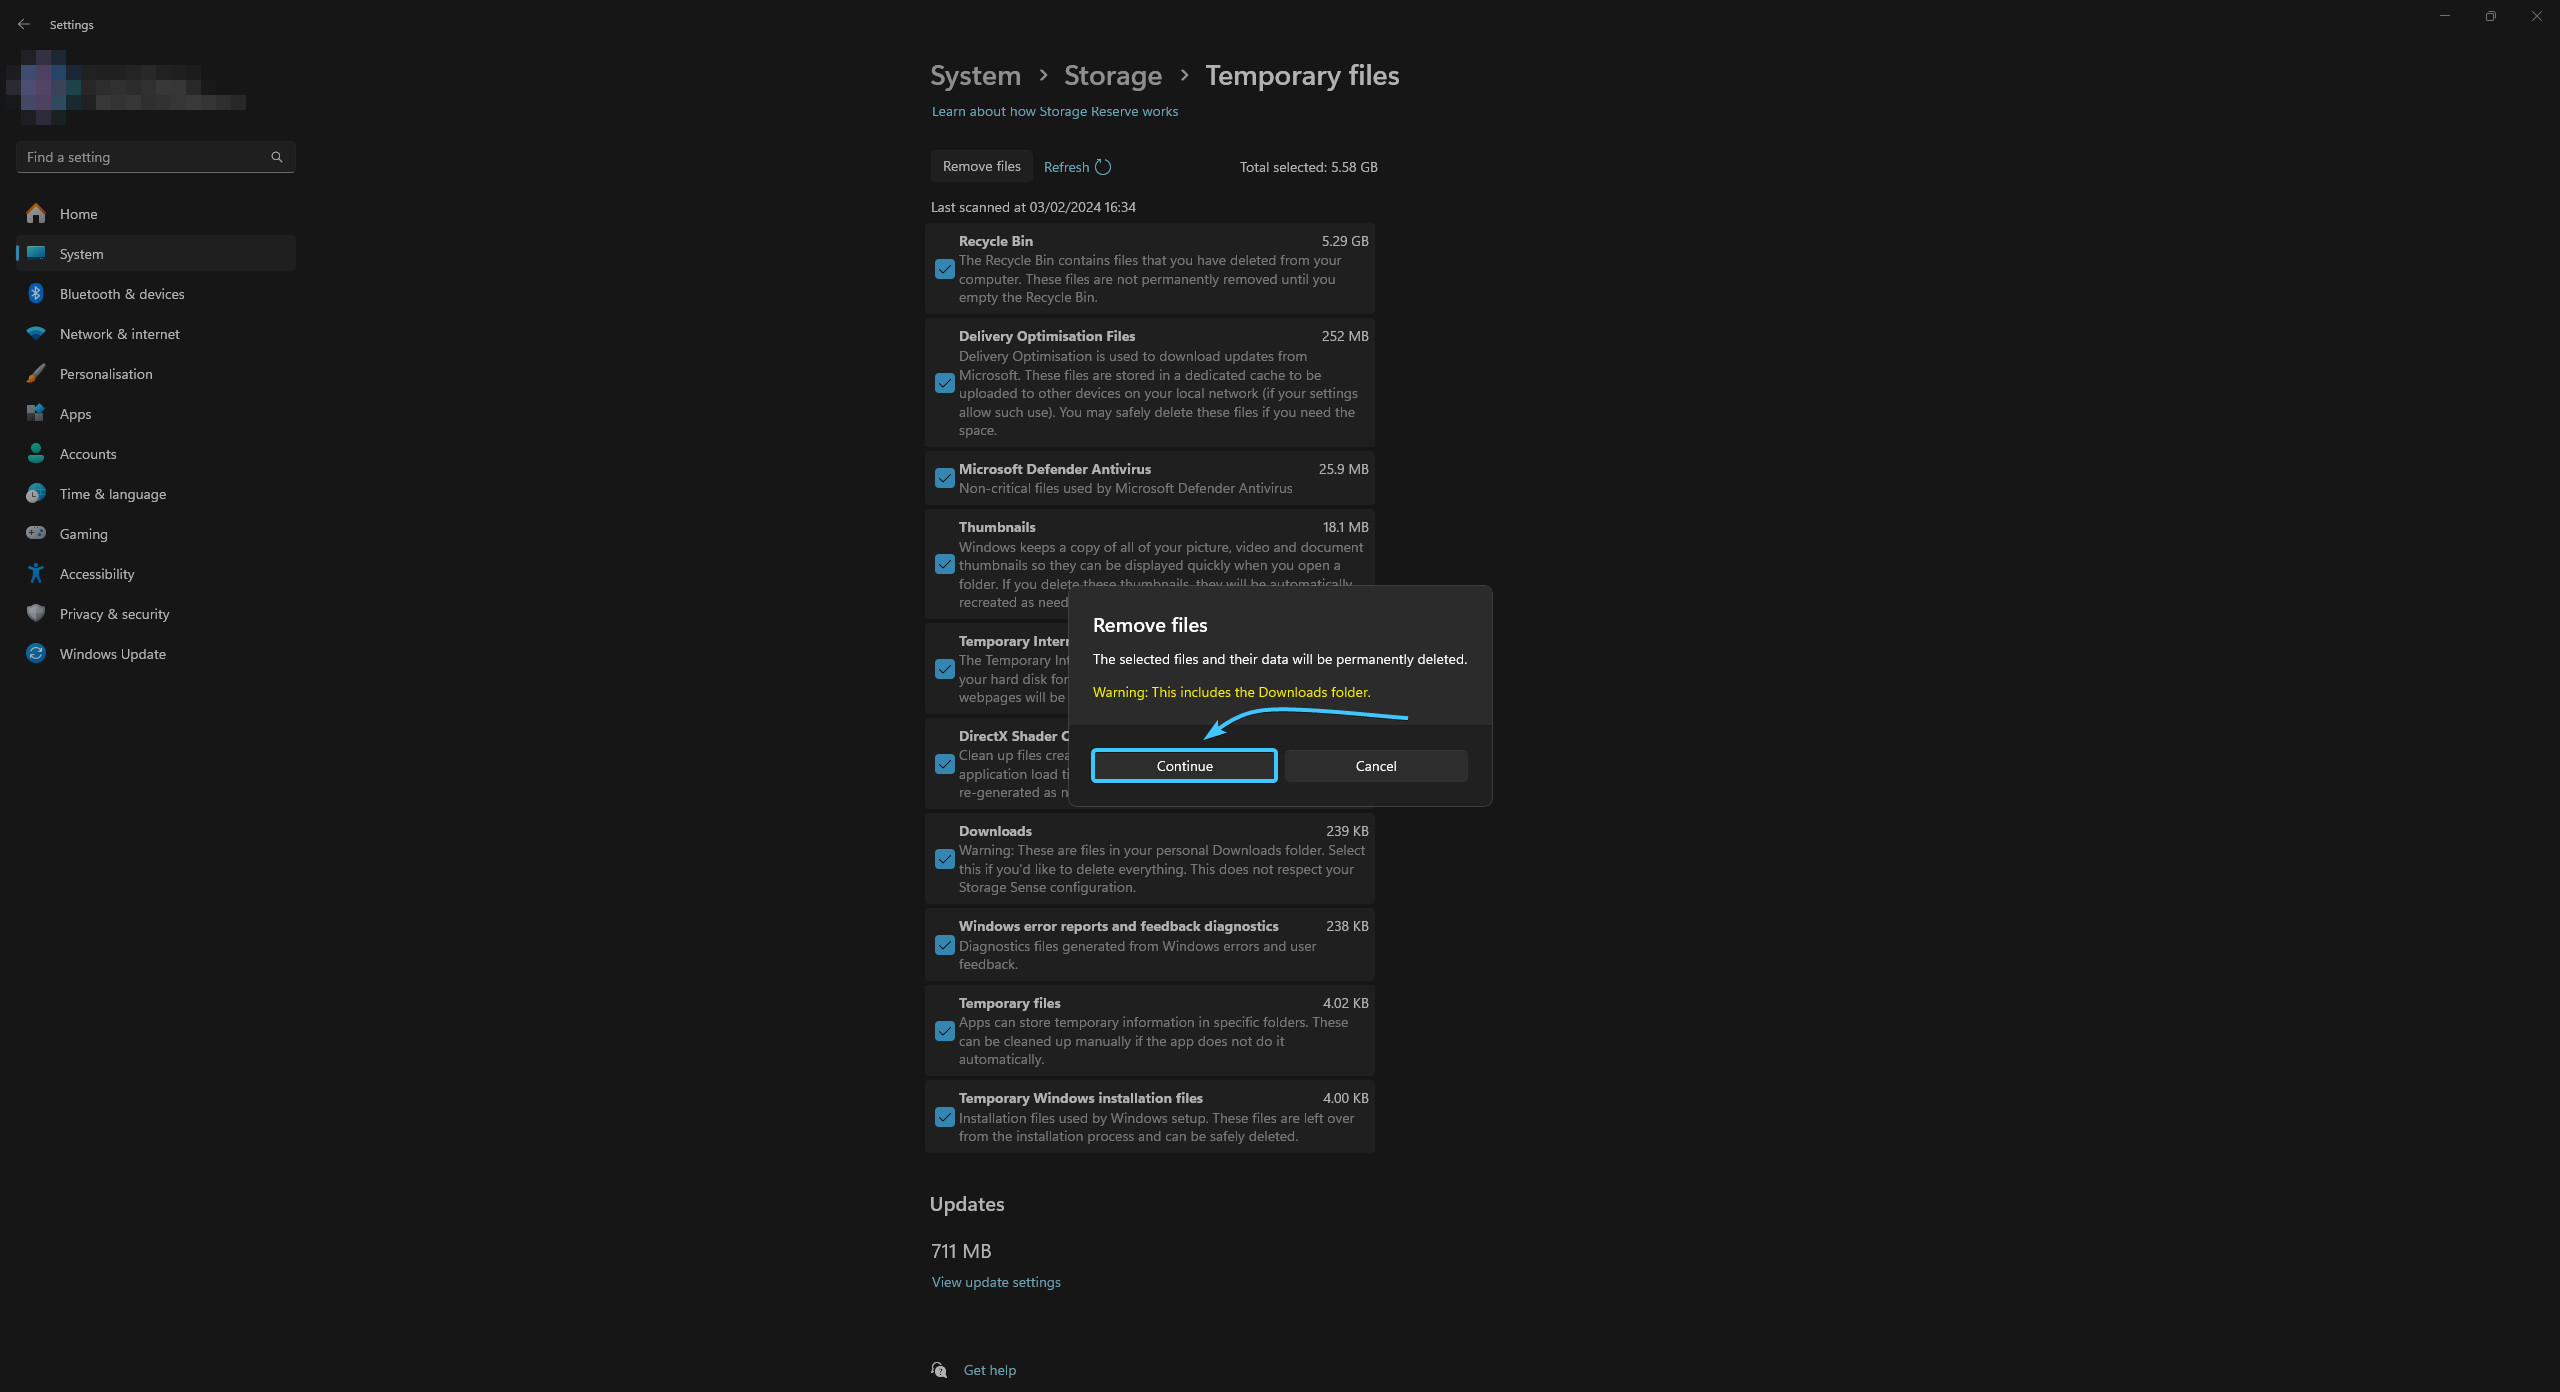
5. Tick all items of temporary files and click the “Remove files” button.

6. A confirmation window for clearing temporary files will appear. Click the “Continue” button.
7. Wait for the process of removing temporary files to complete. It will take some time.

Deleting temporary files in Windows 10
1. Open the Start menu and go to Settings in the Windows 10 operating system.
2. A general list of system parameter categories will be displayed. Open the “System” category.
3. A list of the different sections of the “System” category will appear. Open the “Storage” section.

4. The options in the “Storage” section will open. In the list at the top, click the “Temporary files” button.
5. Wait for the scanning of the various files to complete. It will take about one minute.

6. Tick all items of temporary files and click the “Remove files” button.

7. Wait for the process of removing temporary files to complete. It will take some time.

Deleting temporary files in the “TEMP” folder
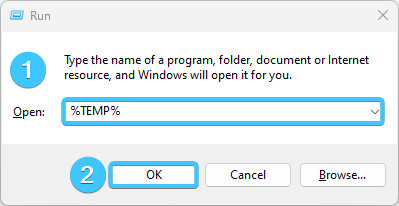
1. Press the Win + R key shortcut. Enter the command “%TEMP%” (without quotation marks) and press “OK”.
2. The “TEMP” folder opens. Press the CTRL + A key shortcut to select all files.

3. Right-click on the files. In the list that appears, select the “Delete” option.

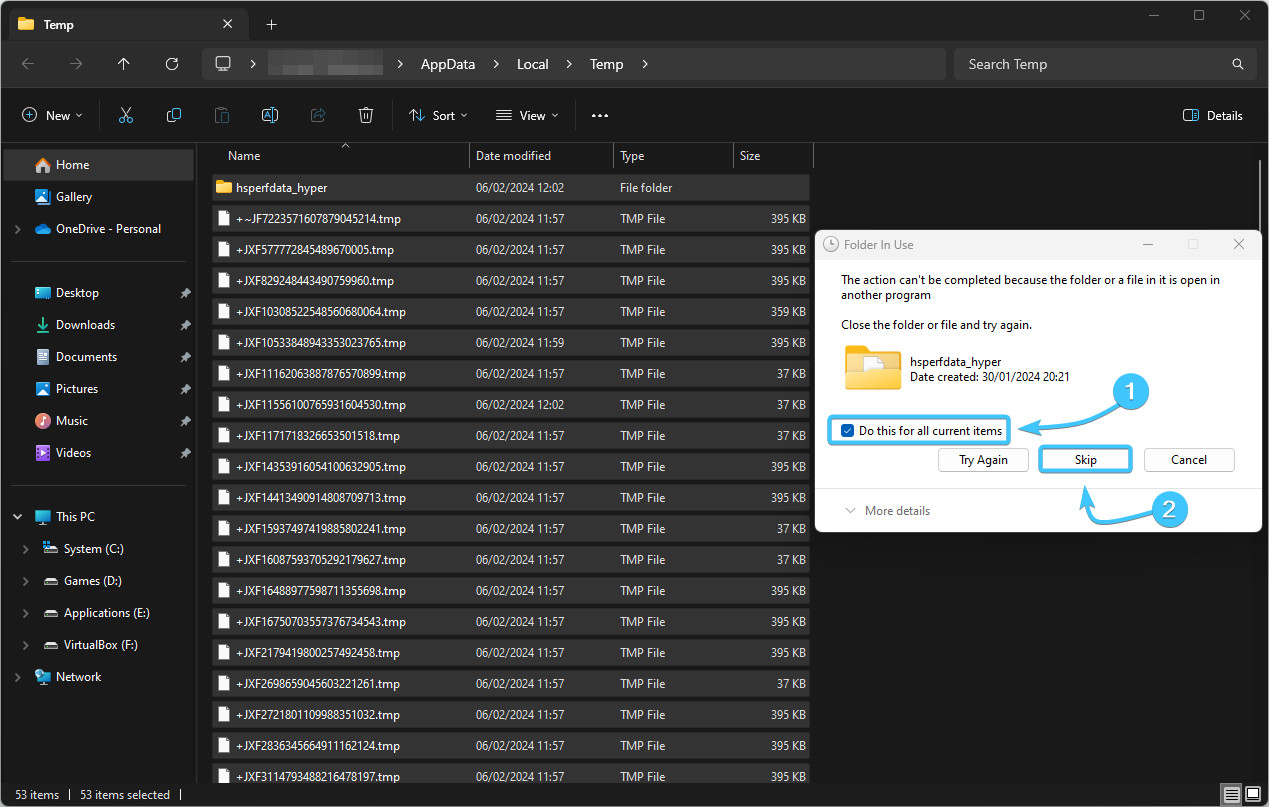
4. Tick the “Do this for all current items” checkbox. Click the “Skip” button.
5. Temporary files in the “TEMP” folder are successfully deleted. Do not forget to empty the system recycle bin.

Other guides
- Switching DEP technology;
- Paging file setting;
- RAM diagnostics;
- Diagnosis of disc devices;
- Power plans in Windows 11;
- Disabling the Hyper-V component;
- Windows 11 system installation;
- Windows system update;
- Disabling application startup;
- Windows 10 system installation;
- Adding power plans;
- Windows time correction;
- Disabling core isolation;
- Uninstalling applications on the system;
- Disabling visual effects;
- MSInfo32 and DxDiag reports;
- Disabling disc indexing;
- Optimising the disk device;
- Windows integrity check;
- Removing “Java options”;
- Restoring system fonts;
- Disabling the debug parameter;
- Location of the application list;
- Power plans in Windows 10;
- Disabling remote assistant;
- Operating system reset;
- Operating system activation;
- Enabling storage sense;
- Pausing system updates.