Содержание
Вступление
Новая карта севера — больше, круче, красивее.

Конечно, каждый из нас за что-то любит «Старый» север. В конце концов, основа его нынешнего вида появилась ещё 5 лет назад.
И за это время он не так сильно поменялся. Но сейчас пришло время увидеть те самые глобальные изменения.
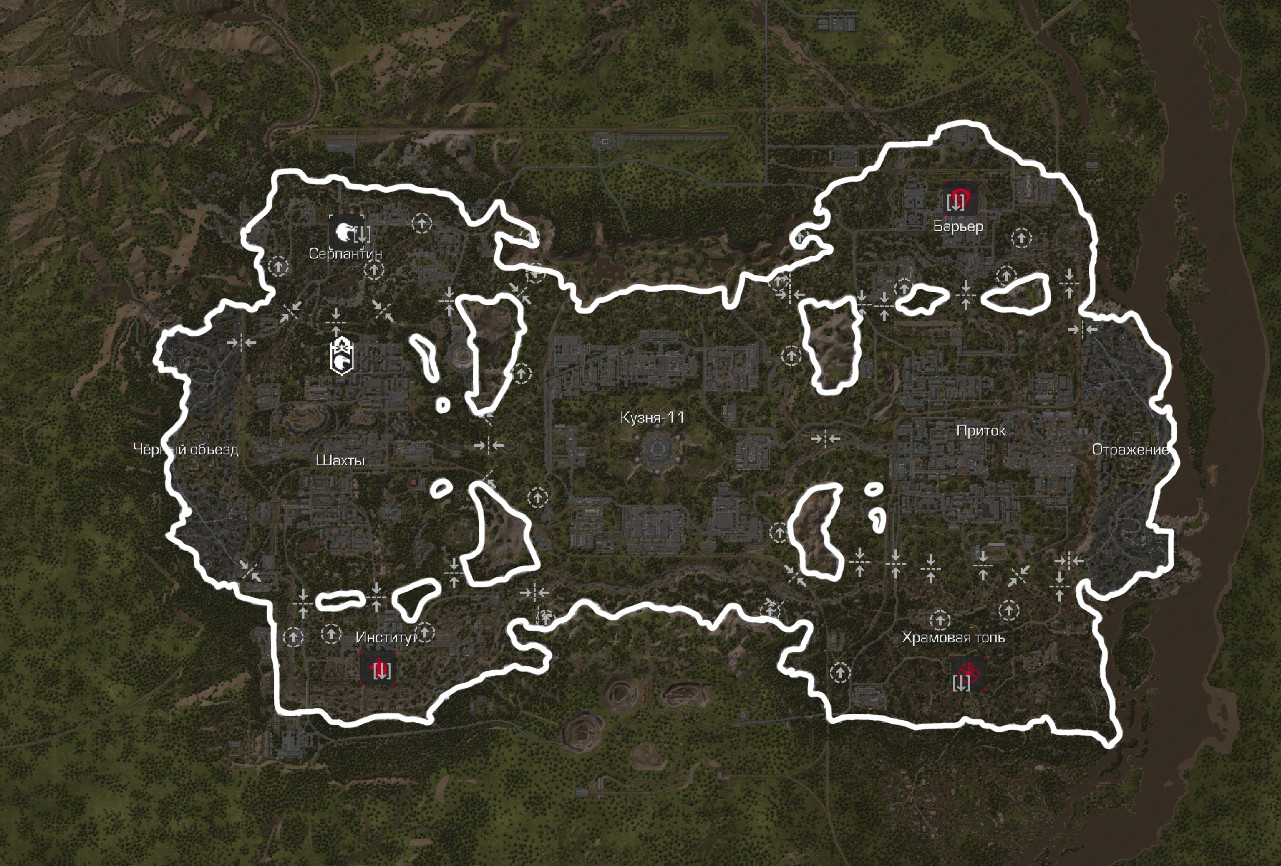
Как и многие другие нововведения «Дня Х», это то, что поменяет игровой опыт людей в лучшую сторону, исправит многие недочеты и создаст основу для дальнейших улучшений игрового процесса.
Домашние локации
Для каждой фракции мы подготовили свои «Домашние локации», где они будут существовать изолированно друг от друга:
|
Фракция |
Домашняя локация |
|
Наёмники |
Серпантин |
|
Заря |
Институт |
|
Рубеж |
Барьер |
|
Завет |
Храмовая топь |
Давайте взглянем на них поближе.
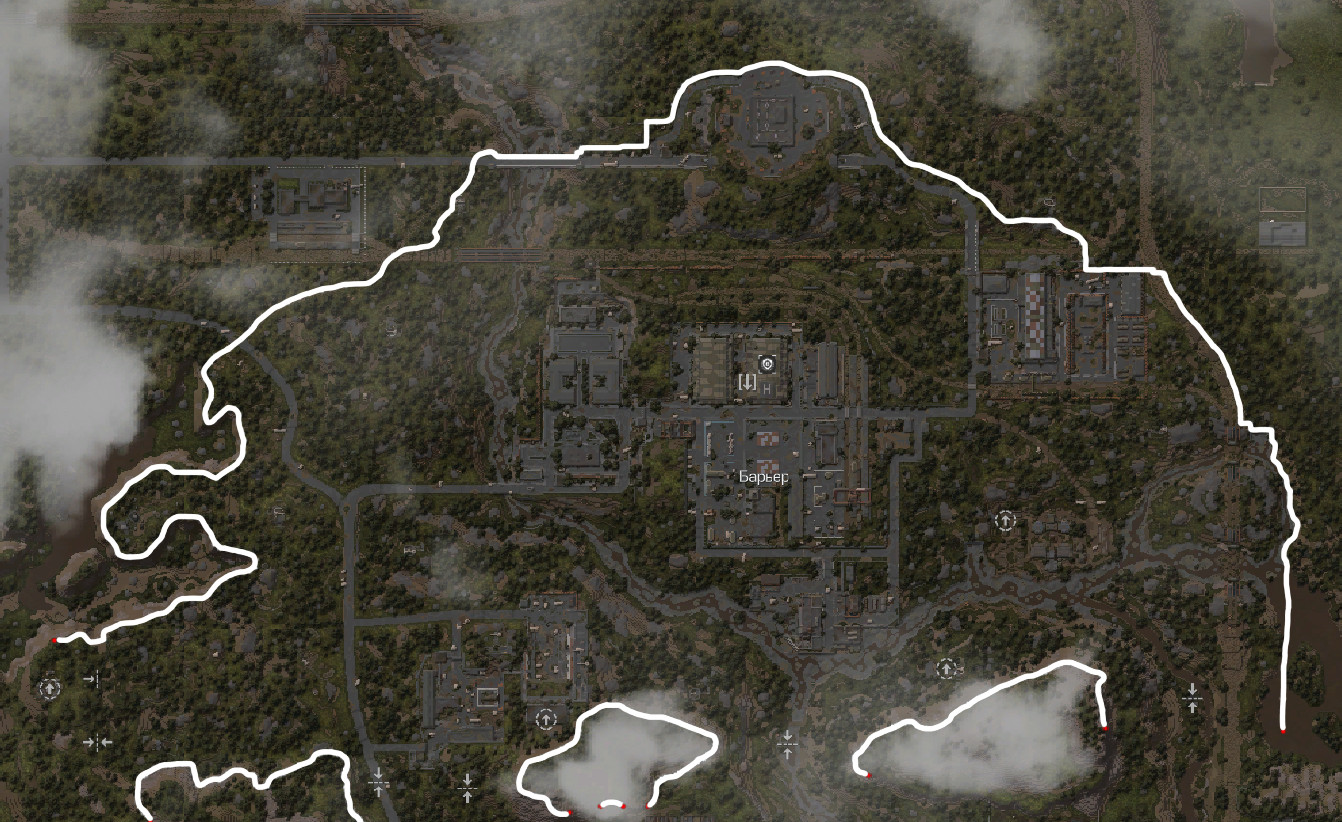
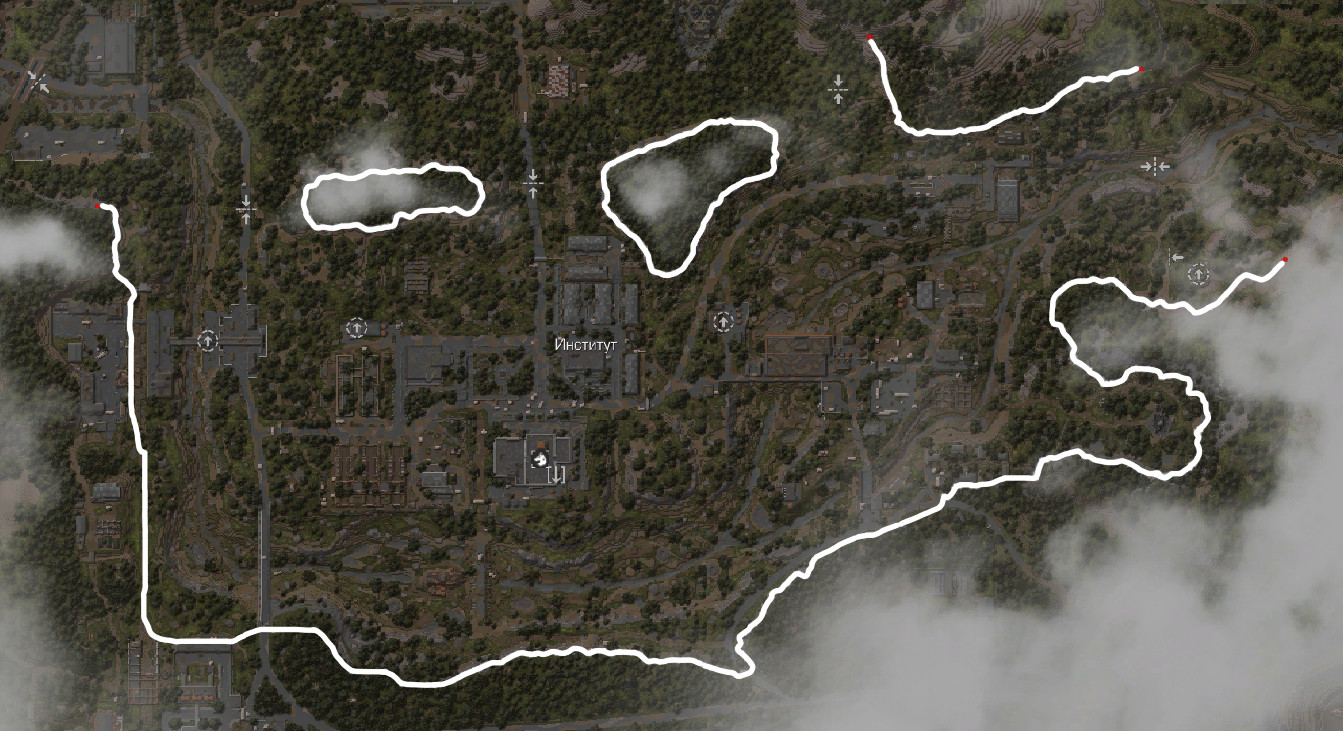
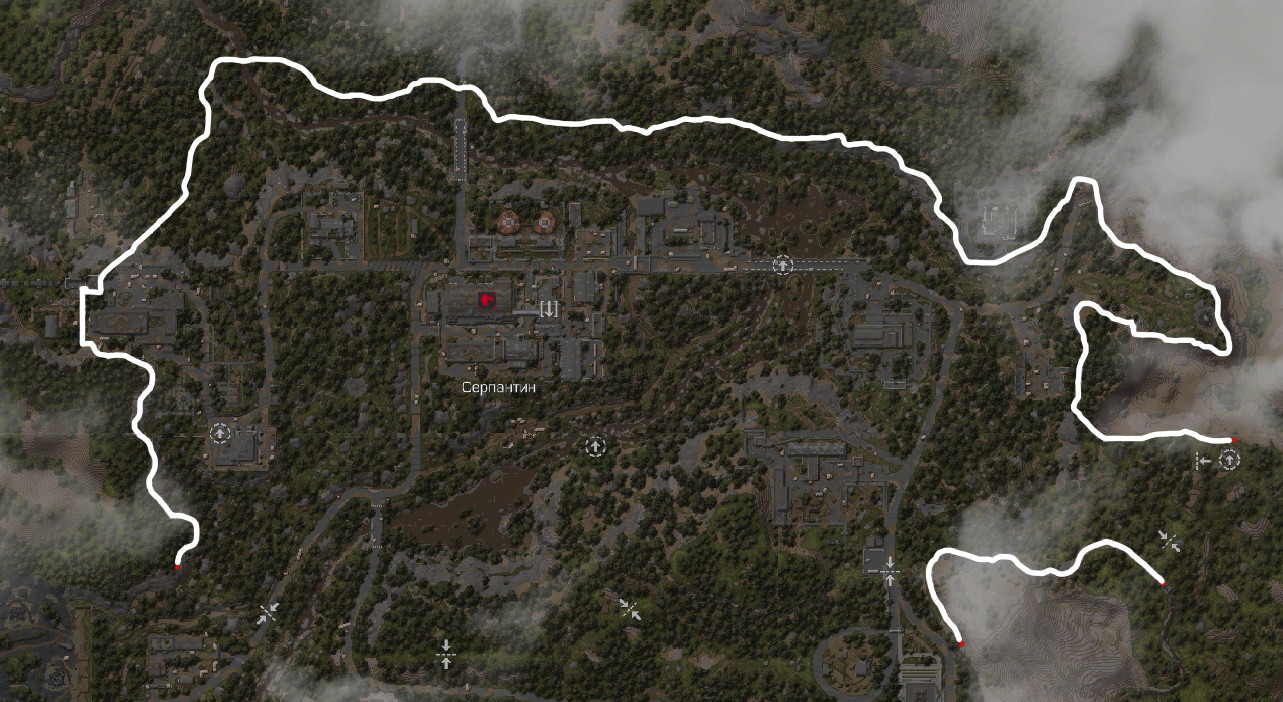
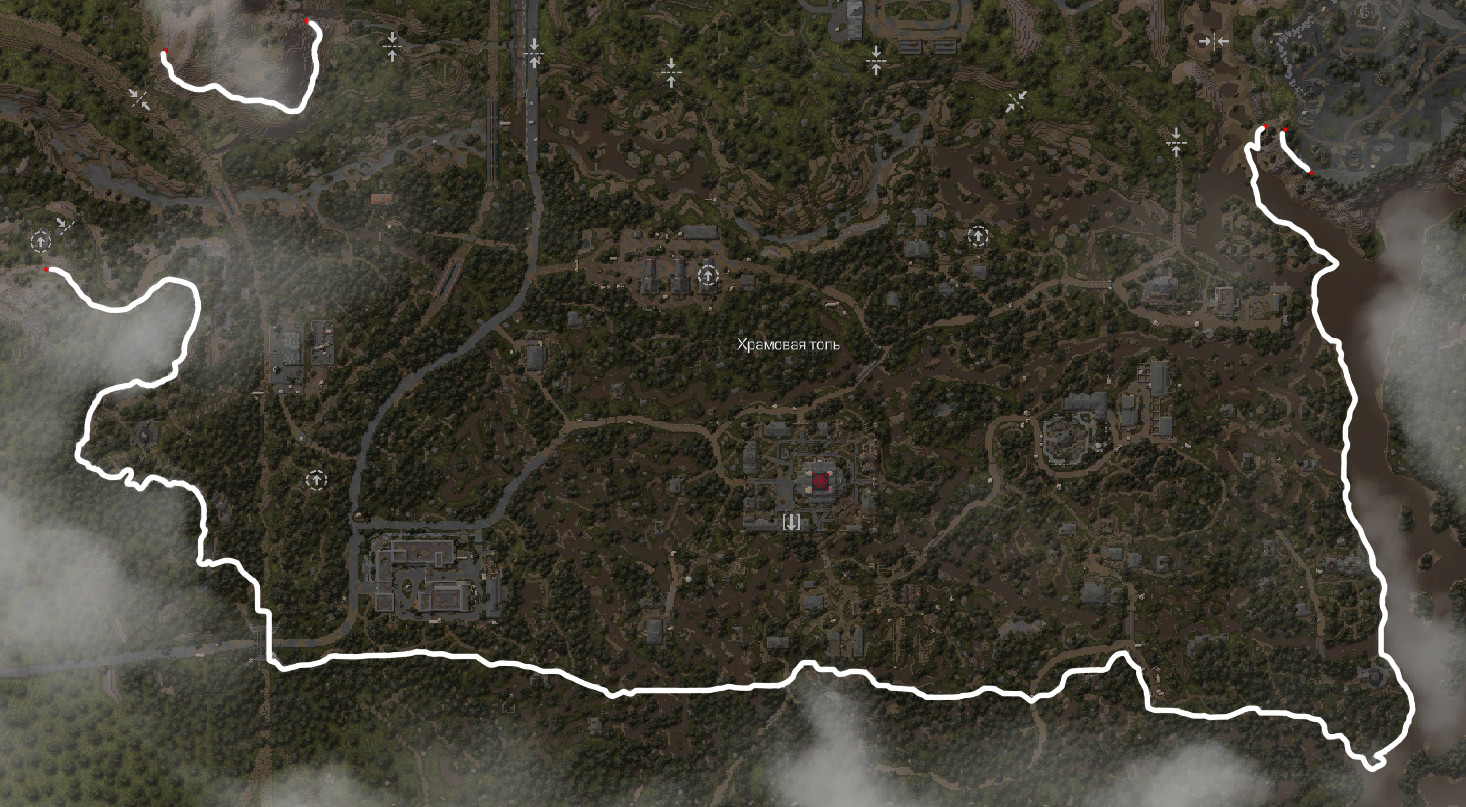
В середине каждой «Домашней локации» находится база фракции.
Возрадуйтесь, члены фракций Зари и Завета, теперь вам не надо прятаться под землей! Ваши базы перенеслись на поверхность.


Эти локации предназначены специально для безопасной добычи ресурсов игроками, которые по какой-либо причине не могут продвигаться дальше в другие локации или хотят быстро завершить сбор оставшихся ресурсов для бартерного снаряжения.
По сравнению с другими локациями севера, на «Домашних локациях» добывается меньше всего ресурсов из-за наименьшей PvP опасности.
Из «Домашней локации» можно попасть в:
- Оспариваемые локации;
- Любеч-3;
- Лабиринт;
- Кузню-11, для прохода на которую из «Домашней локации» у игрока должна быть защита от пси-заражения третьего уровня.
Оспариваемые локации
Это локации предназначены для сражений двух противоположных фракций. На данный момент готовы две локации:
- Шахты, где противостоят Наемники и Заря;
- Приток, где противостоят Рубеж и Завет.
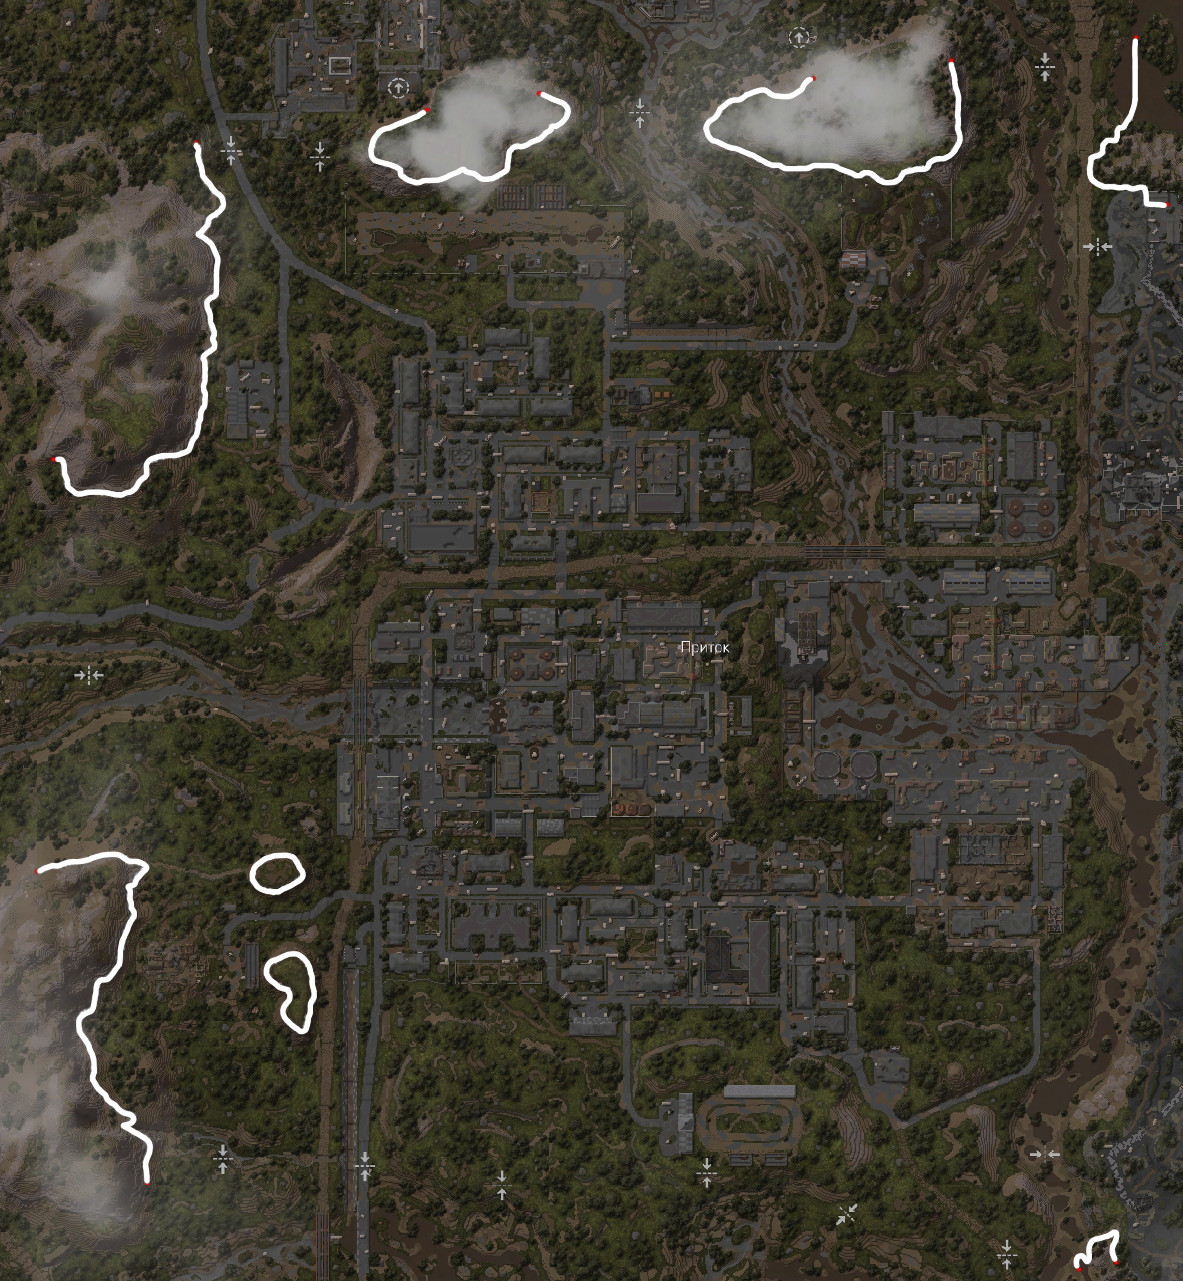
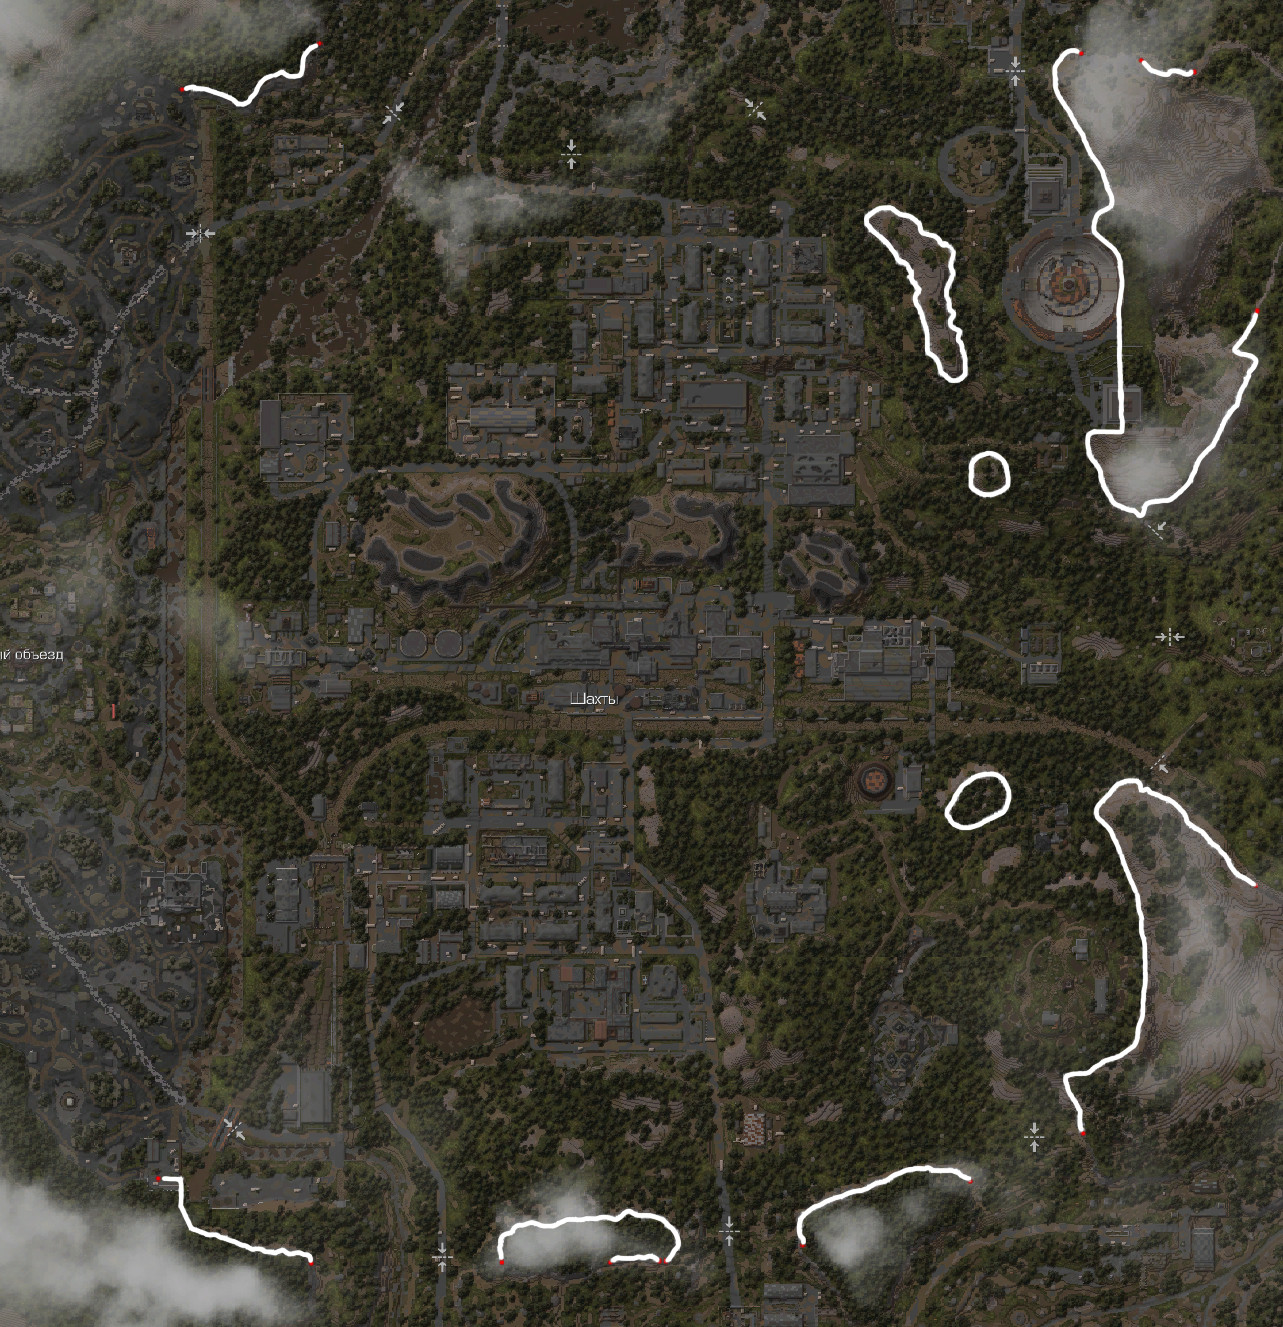
На данных локациях количество получаемых ресурсов значительно увеличено по сравнению с «домашними локациями», но и опасности стало больше. Кроме игроков и NPC противоположной фракции, вам будут мешать мутанты, которые сконцентрировались на окраине, и хорошо экипированные наемники корпорации ZIVCAS, расположившиеся посередине локаций.
Давайте поподробнее разберем, что находится на «оспариваемых локациях».
В самом центре Притока и Шахт располагаются большие промышленные центры с плотной застройкой и большим количеством архианомалий, которые открывают игрокам простор для творчества тактик и стратегий ведения боевых действий против игроков противоположной фракции.


Ближе к верхним и нижним краям локации можно найти «зараженные зоны». Это небольшие пространства с невероятным количеством аномалий на квадратный метр, созданные для собирательства новых ресурсов и артефактов. Естественно, для каждой такой зоны необходима повышенная защита от заражений, будьте осторожны!


Штабы фракций
На «оспариваемых локациях» также находятся штабы фракций.
Это безопасная зона, где игроки могут приобрести расходные материалы по более высокой цене по сравнению с ценами на базах северных фракций, расположенных на «домашних локациях».
Данное место используется для возрождения во время участия в активности «Аванпосты», а также для безопасного нахождения игроков во время выполнения квестов.


Из оспариваемых локаций можно попасть в:
- «Домашние локации»;
- Кузню-11;
- Черный объезд или Отражение.
Кузня-11
Центральная локация Севера, где все фракции противостоят друг другу.
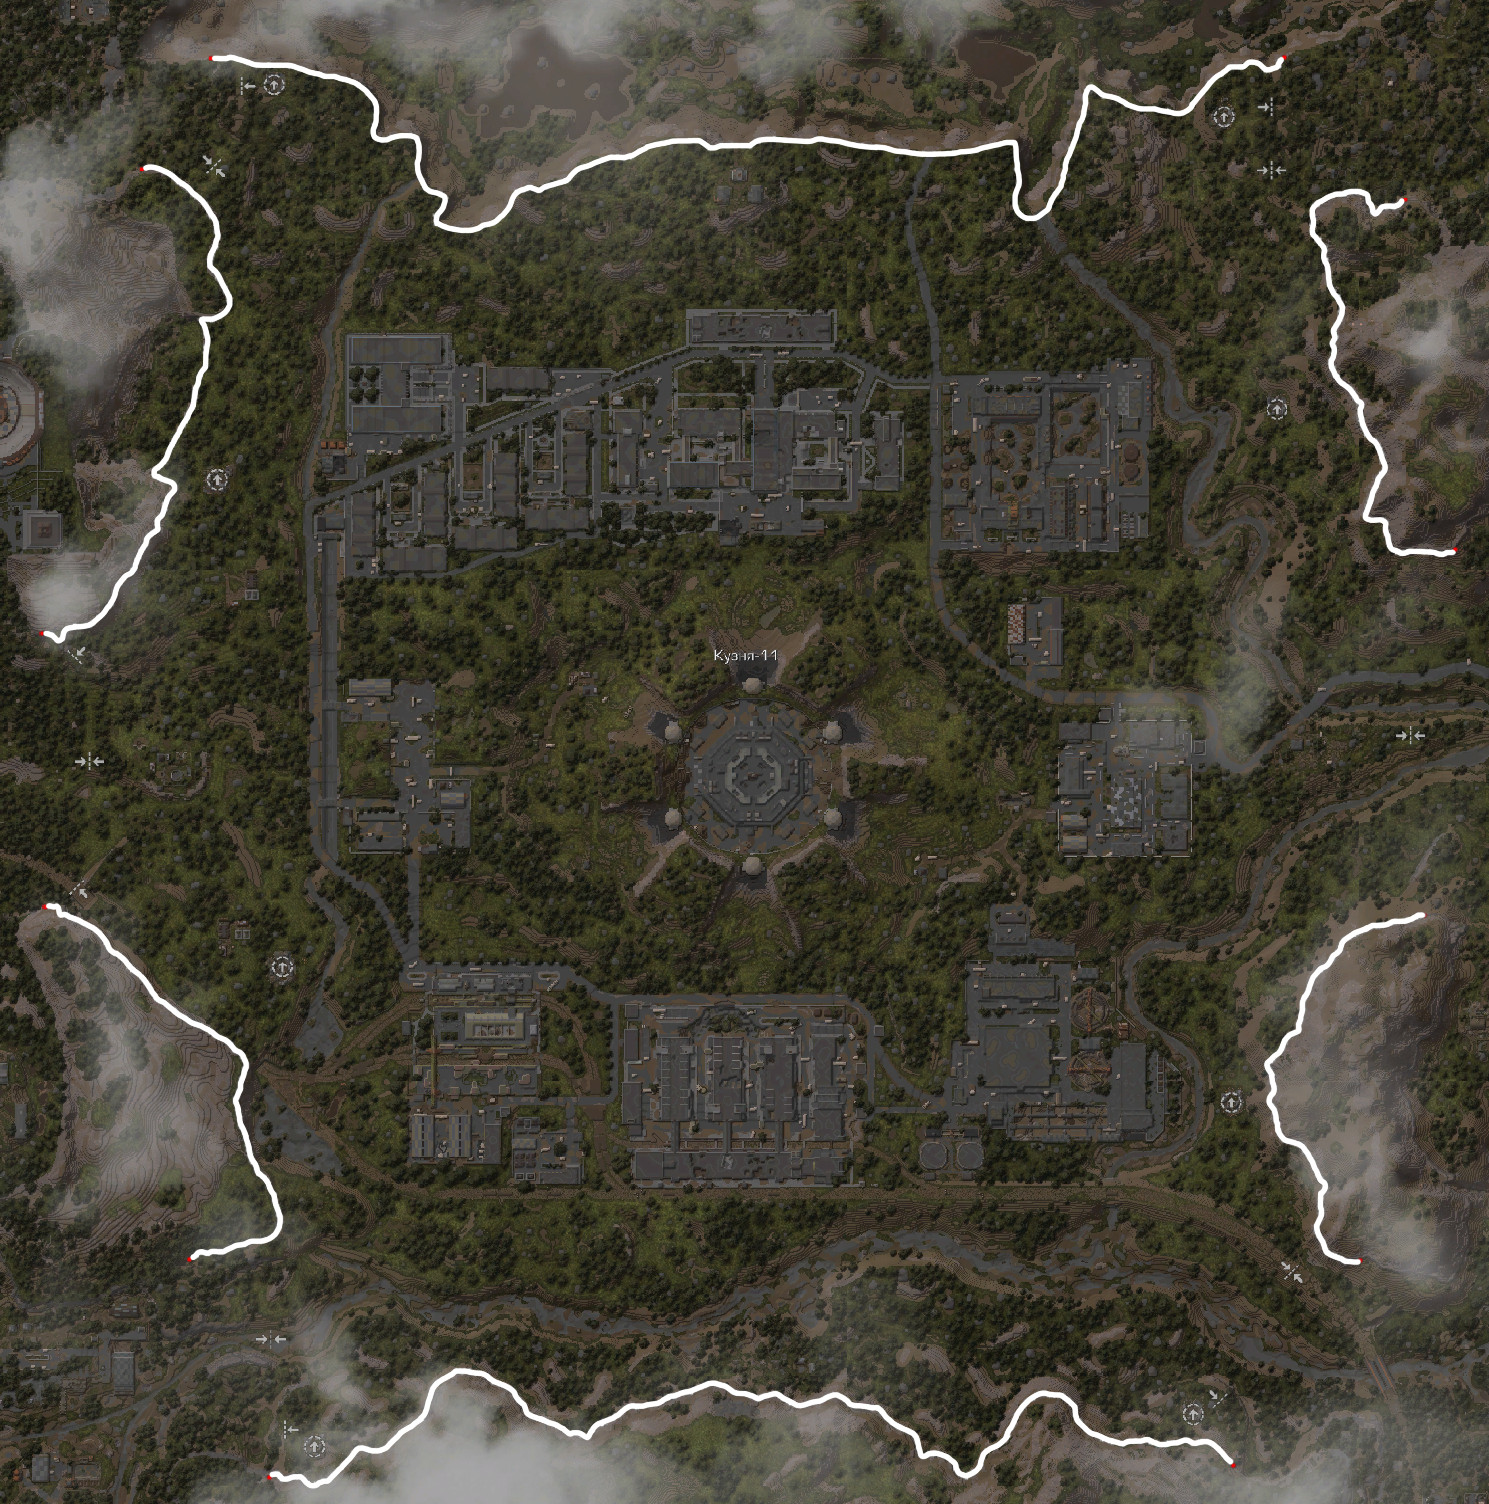
В Кузне-11 можно добыть больше всего ресурсов, но и потерять их гораздо проще.
Несложно заметить, что Кузня-11 является самой большой локацией нового Севера. Давайте поэтапно разберем, что же в ней такого интересного.
Как мы видим, локация представляет собой периметр зданий, который окружает «что-то» страшное посередине.
Сам периметр — это военные склады, городские здания и заводы. Огромные массивы строений, которые снизу доверху наполнены опасными мутантами и наемниками корпорации ZIVCAS. Не переживайте, любителей аномалий мы тоже не забыли, поэтому вместе со всем перечисленным строения наполнены всеми видами аномалий.
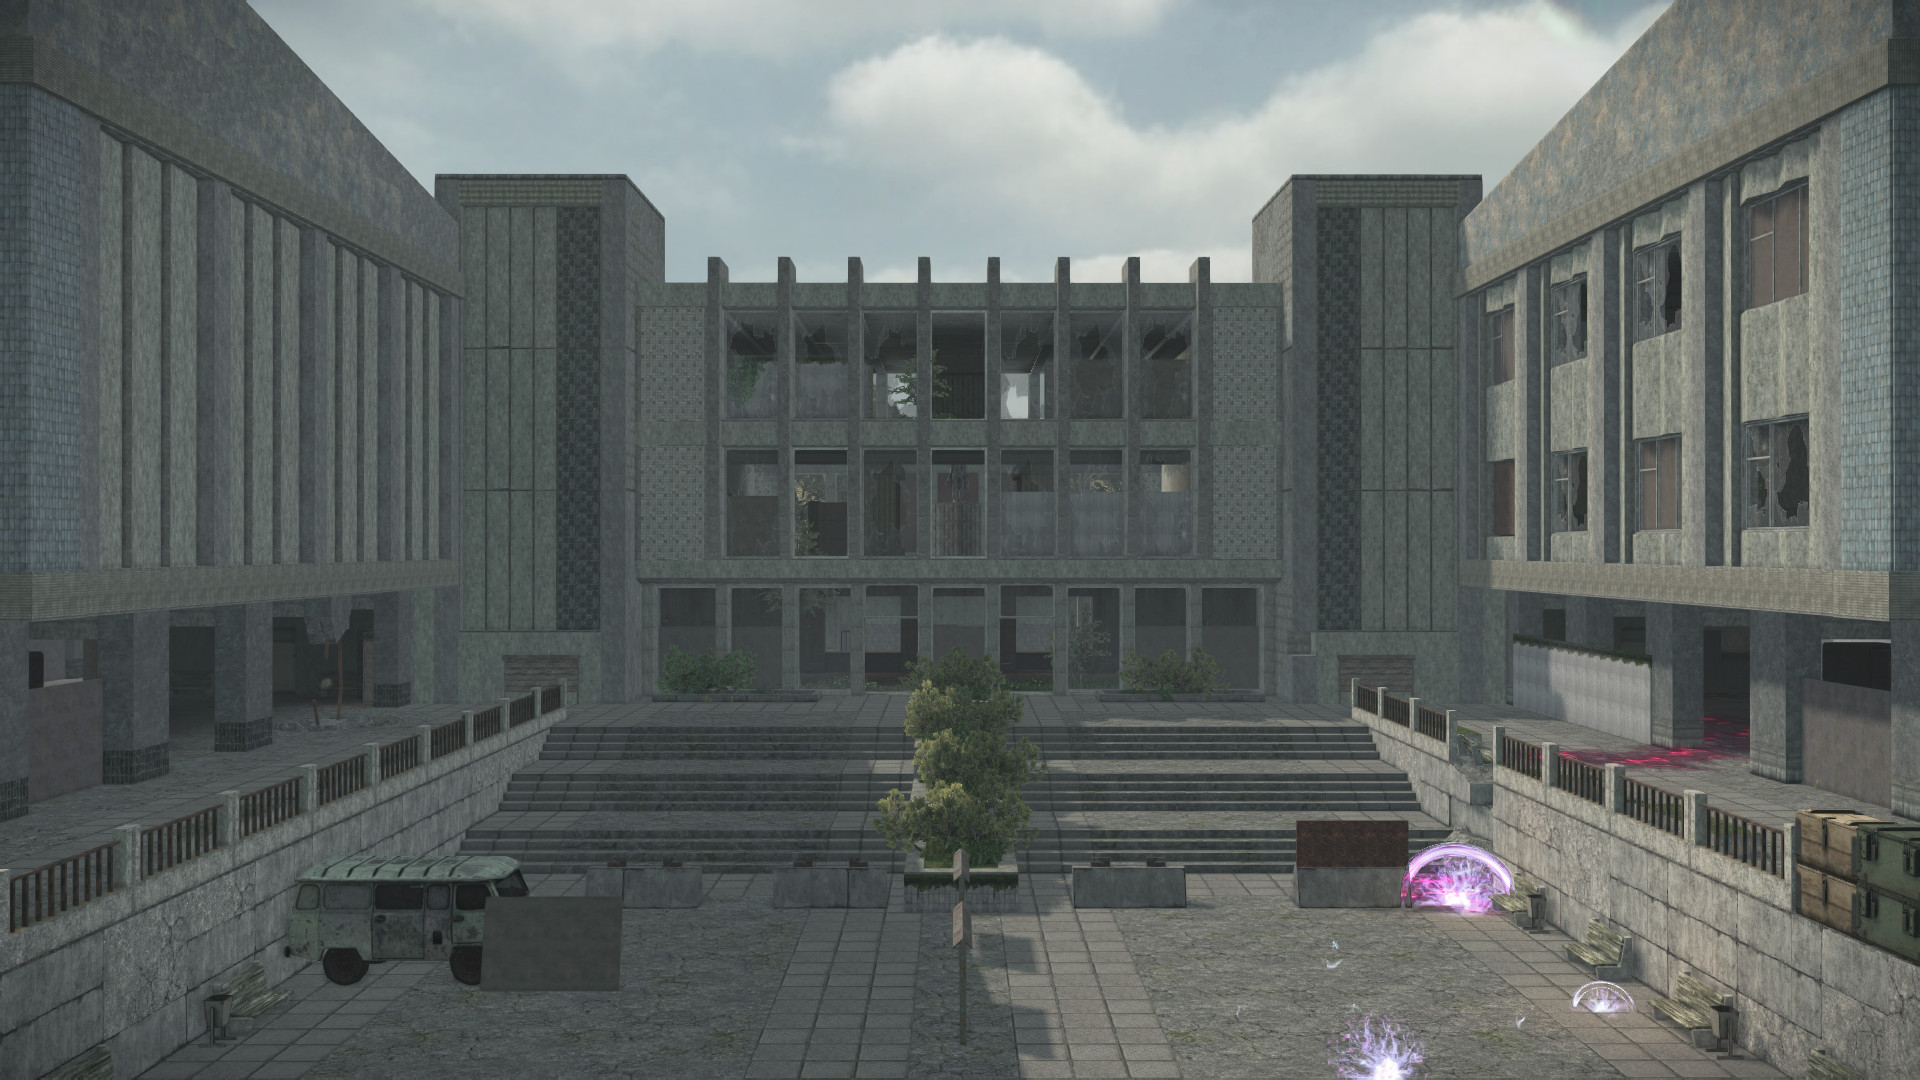
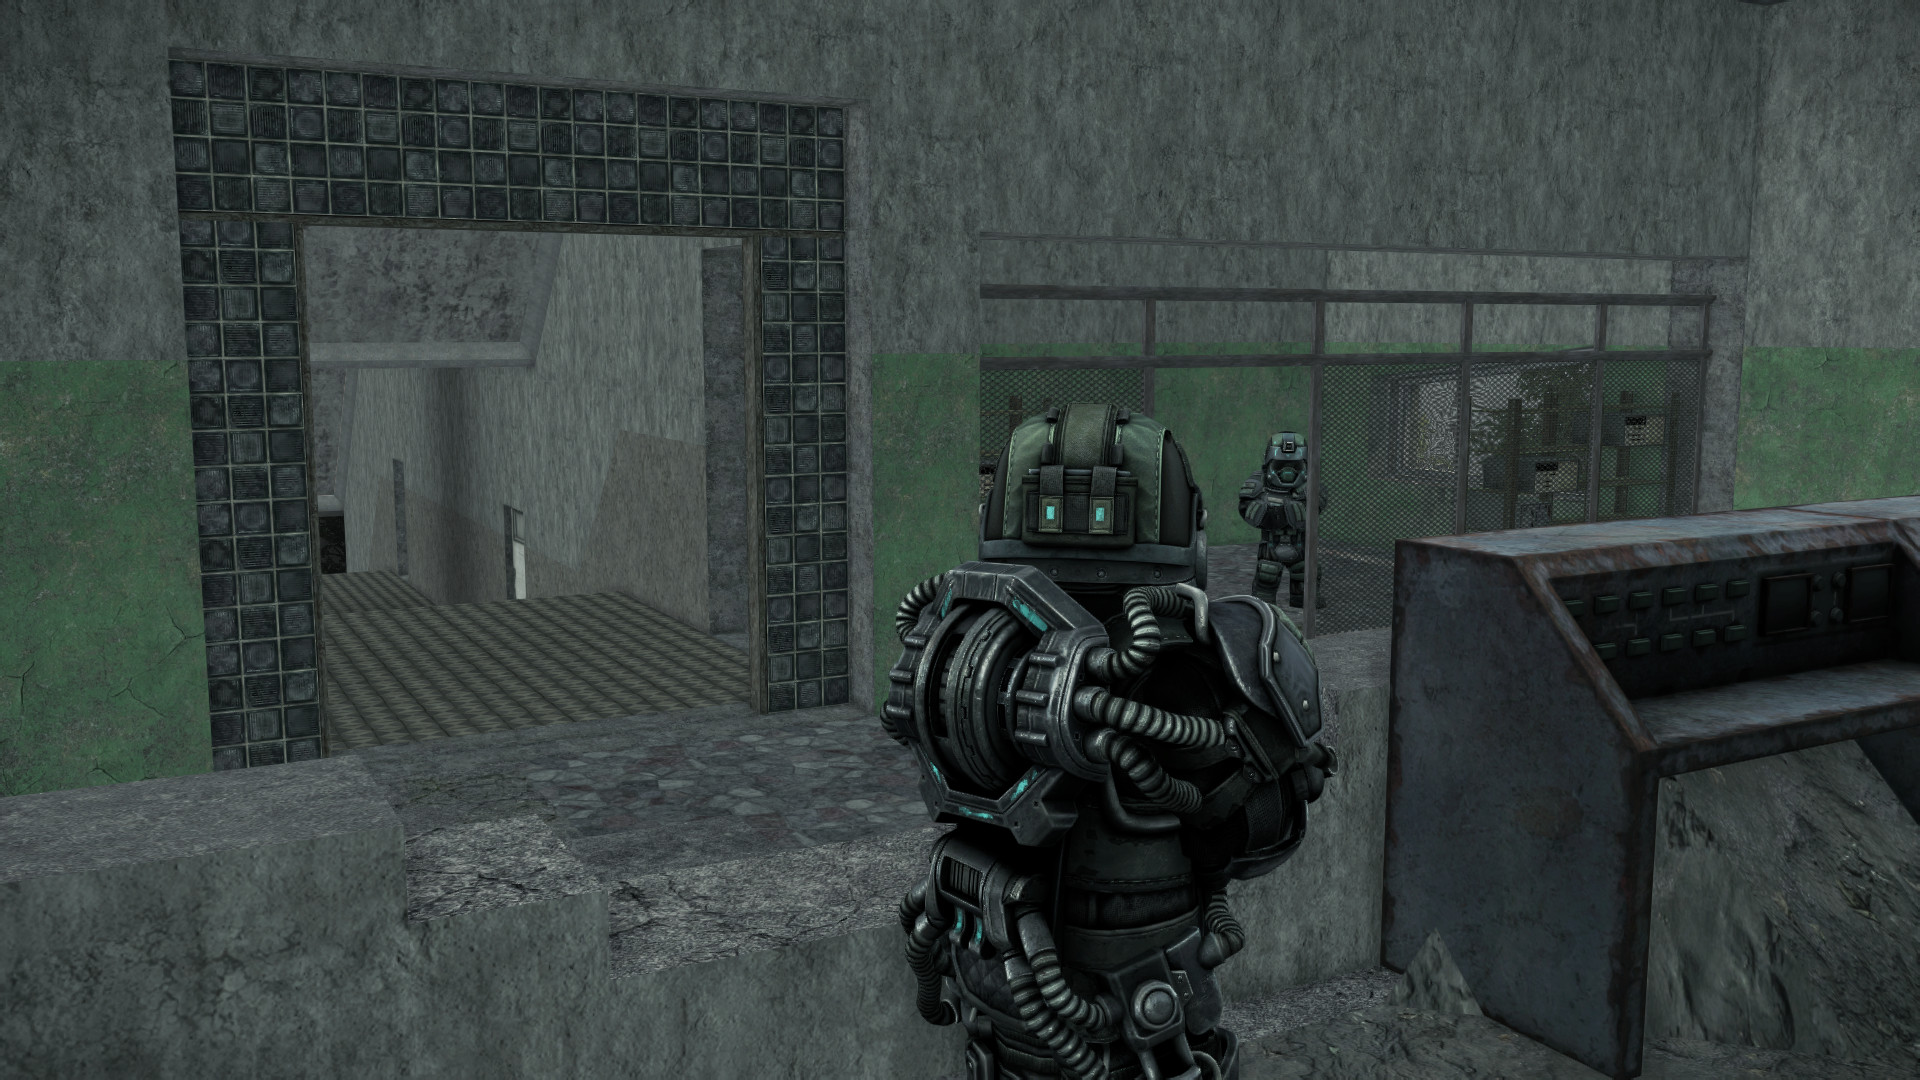
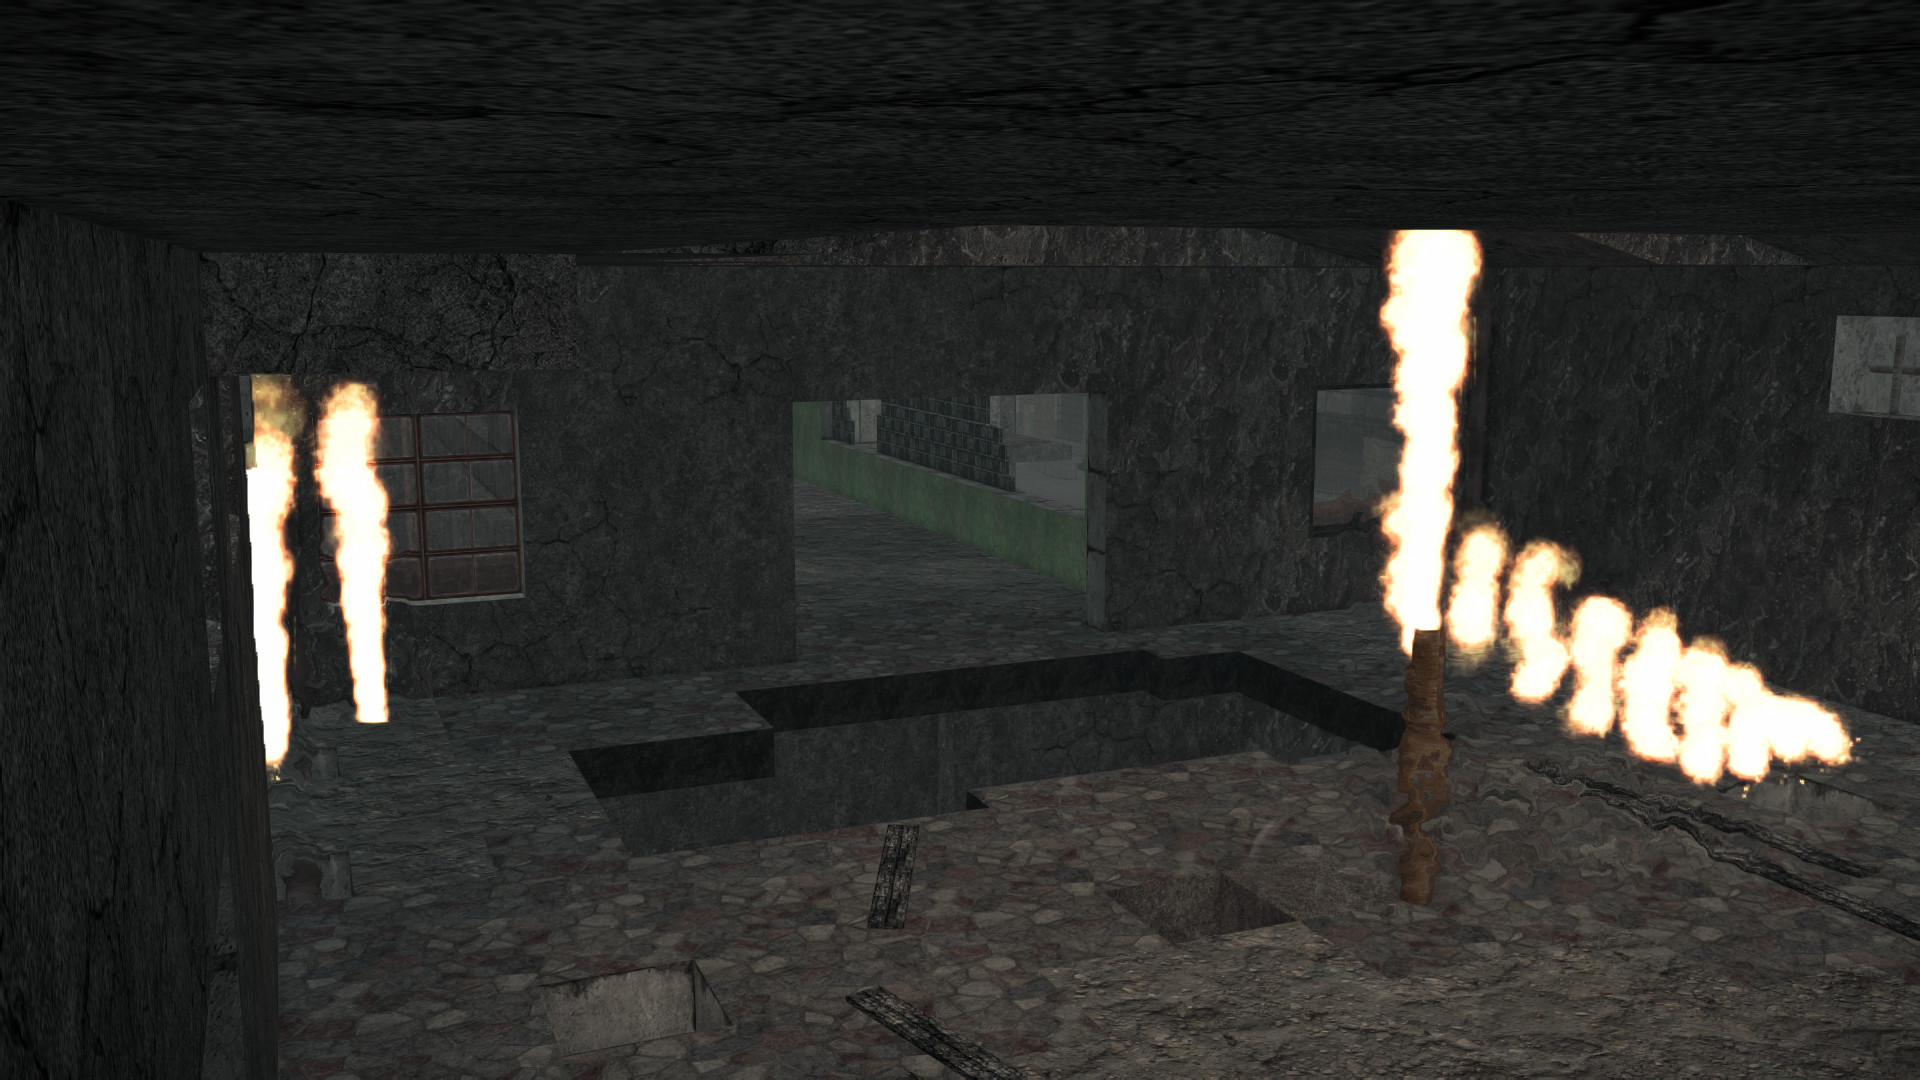
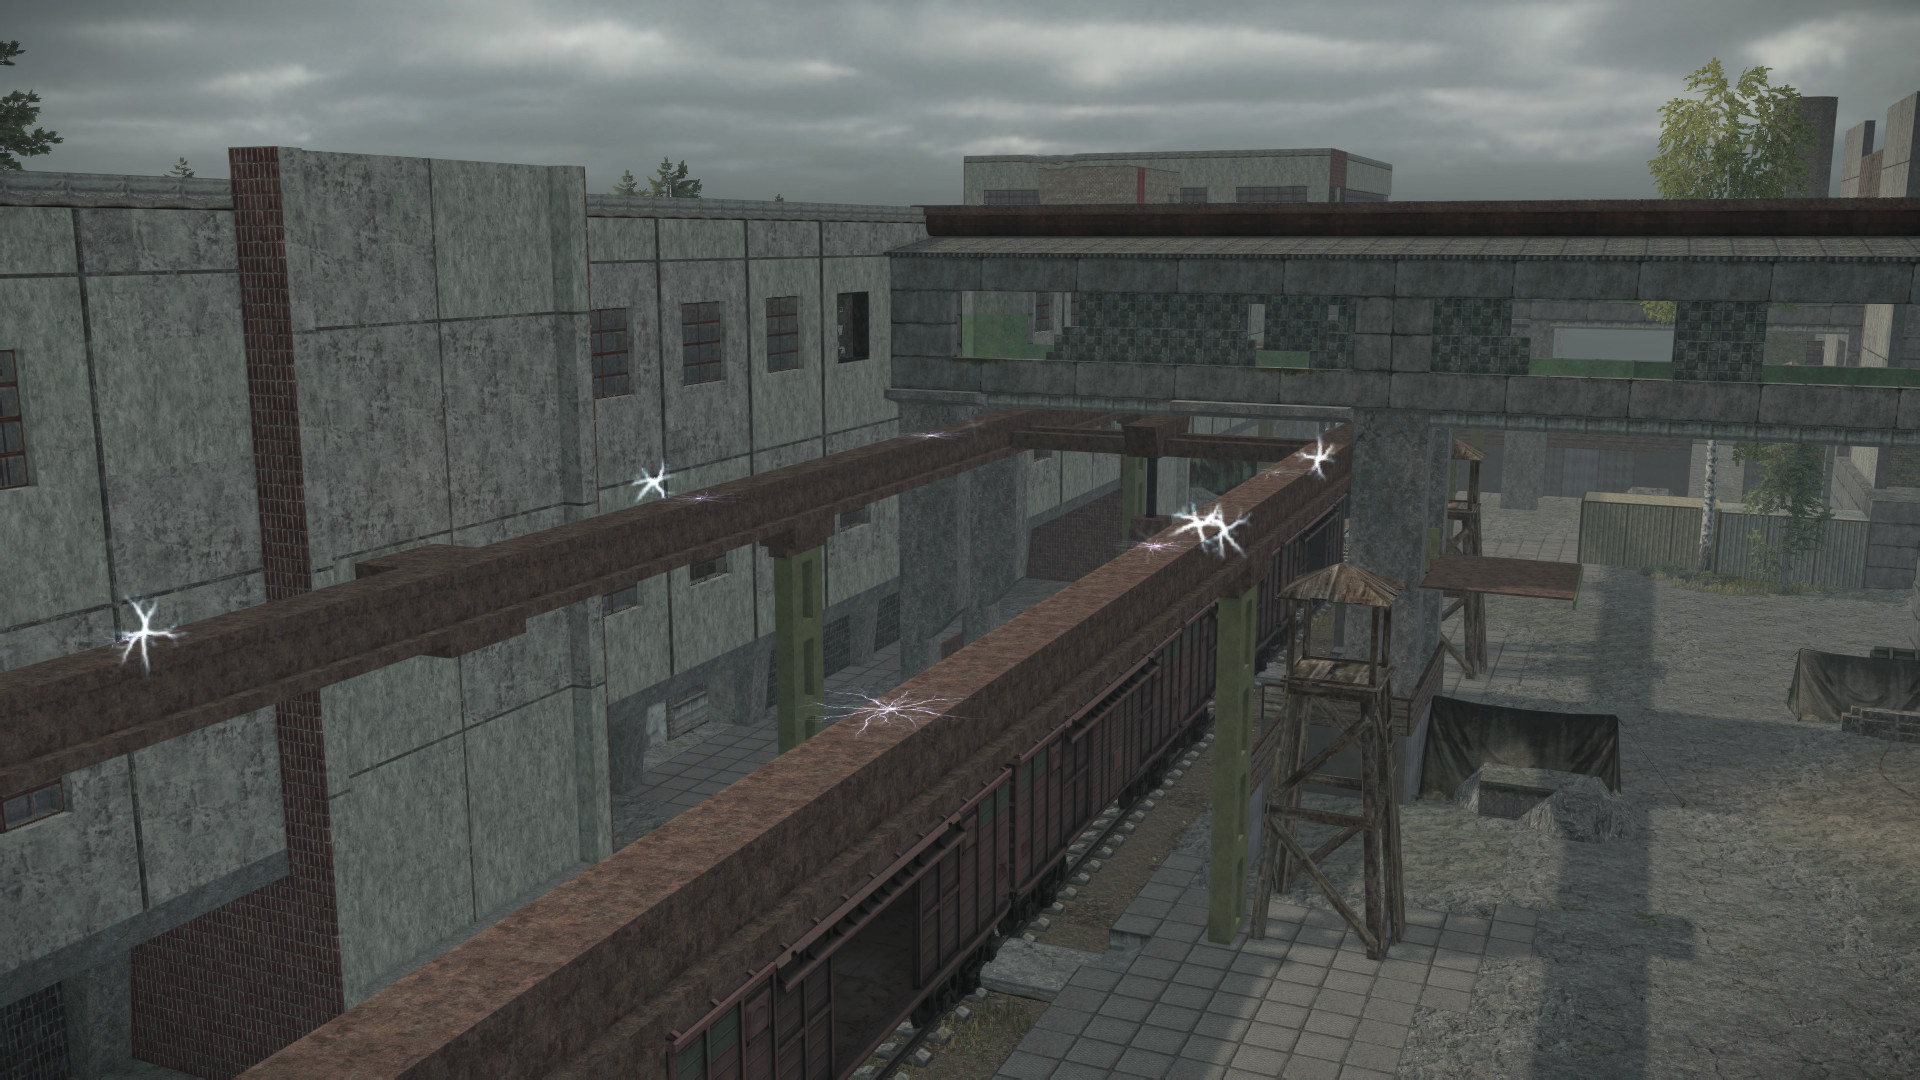
Теперь перейдем к центру Кузни-11 — Шайбе.

В самом сердце здания игроки смогут найти безопасный способ выбраться из локации, однако активировать его не так-то просто. Для этого необходима специальная карта, которая, по слухам, имеется только у офицеров корпорации ZIVCAS.
Из Кузни-11 можно попасть в:
- «Домашние локации»;
- «Оспариваемые локации»;
- Тихую Заводь.
Зараженные зоны
Для комбинированной и научной брони были созданы специальные локации, где теперь преимущественно находятся такие активности, как:
- Защита ученых;
- Аномальный разлом;
- Протоаномалии;
- Сигналы;
- Прикопы.
Также на этих локациях появляются более ценные артефакты, если сравнивать с обычными локациями.
На данный момент существуют три таких локации:
Черный объезд и Отражение
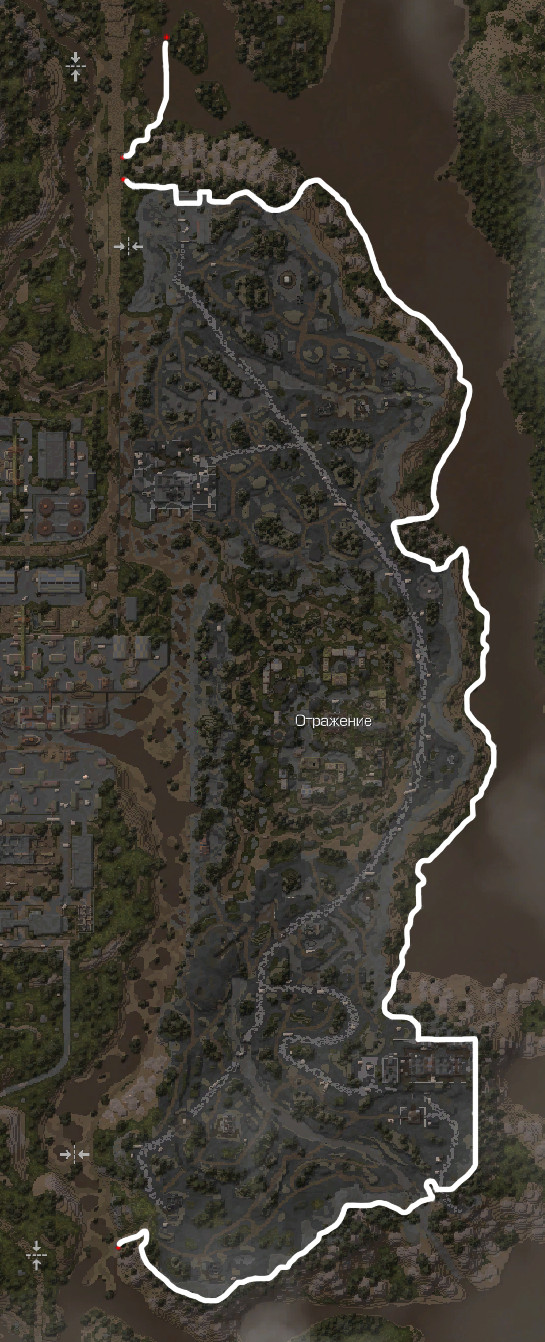
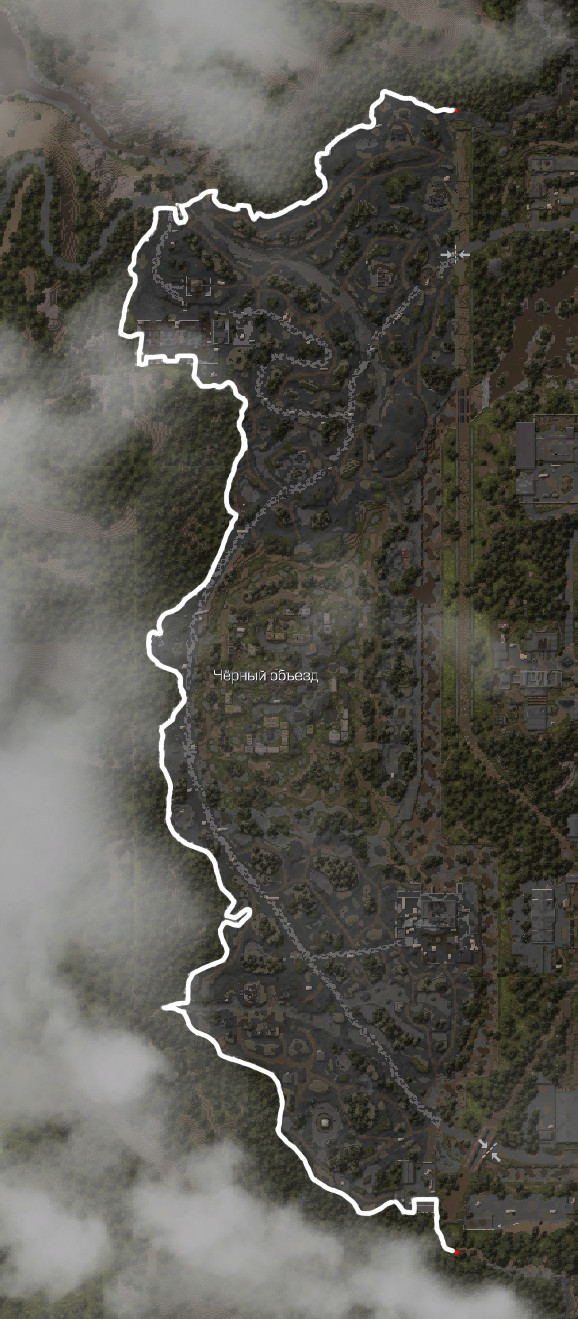
Эти локации покрыты вторым и третьим уровнями заражения для более комфортного существования в комбинированных и научных бронекостюмах.
Верхняя и нижняя части локации представляют собой испепеленную землю, покрытую зажигалками и повышенной температурой.

Ближе к центру настроение локации полностью меняется, а земля покрывается растениями и цветочками. Не только ими, конечно. Еще биозаражением, гравитационными и электрическими аномалиями. А пейзажи сожженной деревни переходят в картины загадочных бункеров.

Лабиринт

Это уникальная локация, представляющая собой, как не сложно догадаться, огромный лабиринт, созданный из непонятно откуда взявшихся кубов. Образовавшиеся коридоры наполнены аномалиями, мутантами и сломленными душами, которым так и не получилось найти отсюда выход.
Данная локация покрыта четвертым уровнем Пси- и Био-заражениями, что гарантирует безопасное пребывание только игрокам в научных бронекостюмах.

Однако не только причудливыми ландшафтами интересен Лабиринт. Некоторые сталкеры, которые смогли выбраться, говорили о загадочном Клондайке. Врали они или нет — неизвестно.
Но в чем мы точно можем вас заверить — Клондайк существует. Попасть в него непросто, но одни из лучших образцов артефактов, которые игрок сможет там найти, определенно того стоят.

