Guide

Table of Contents
List of recommended DNS servers
We recommend using the following DNS servers in case of problems:
- 1.1.1.1.1 and 1.0.0.1 — Cloudflare server;
- 8.8.8.8 and 8.8.4.4 — Google server;
- 208.67.222.222 and 208.67.220.220 — OpenDNS server.
Changing the DNS server on Windows 11
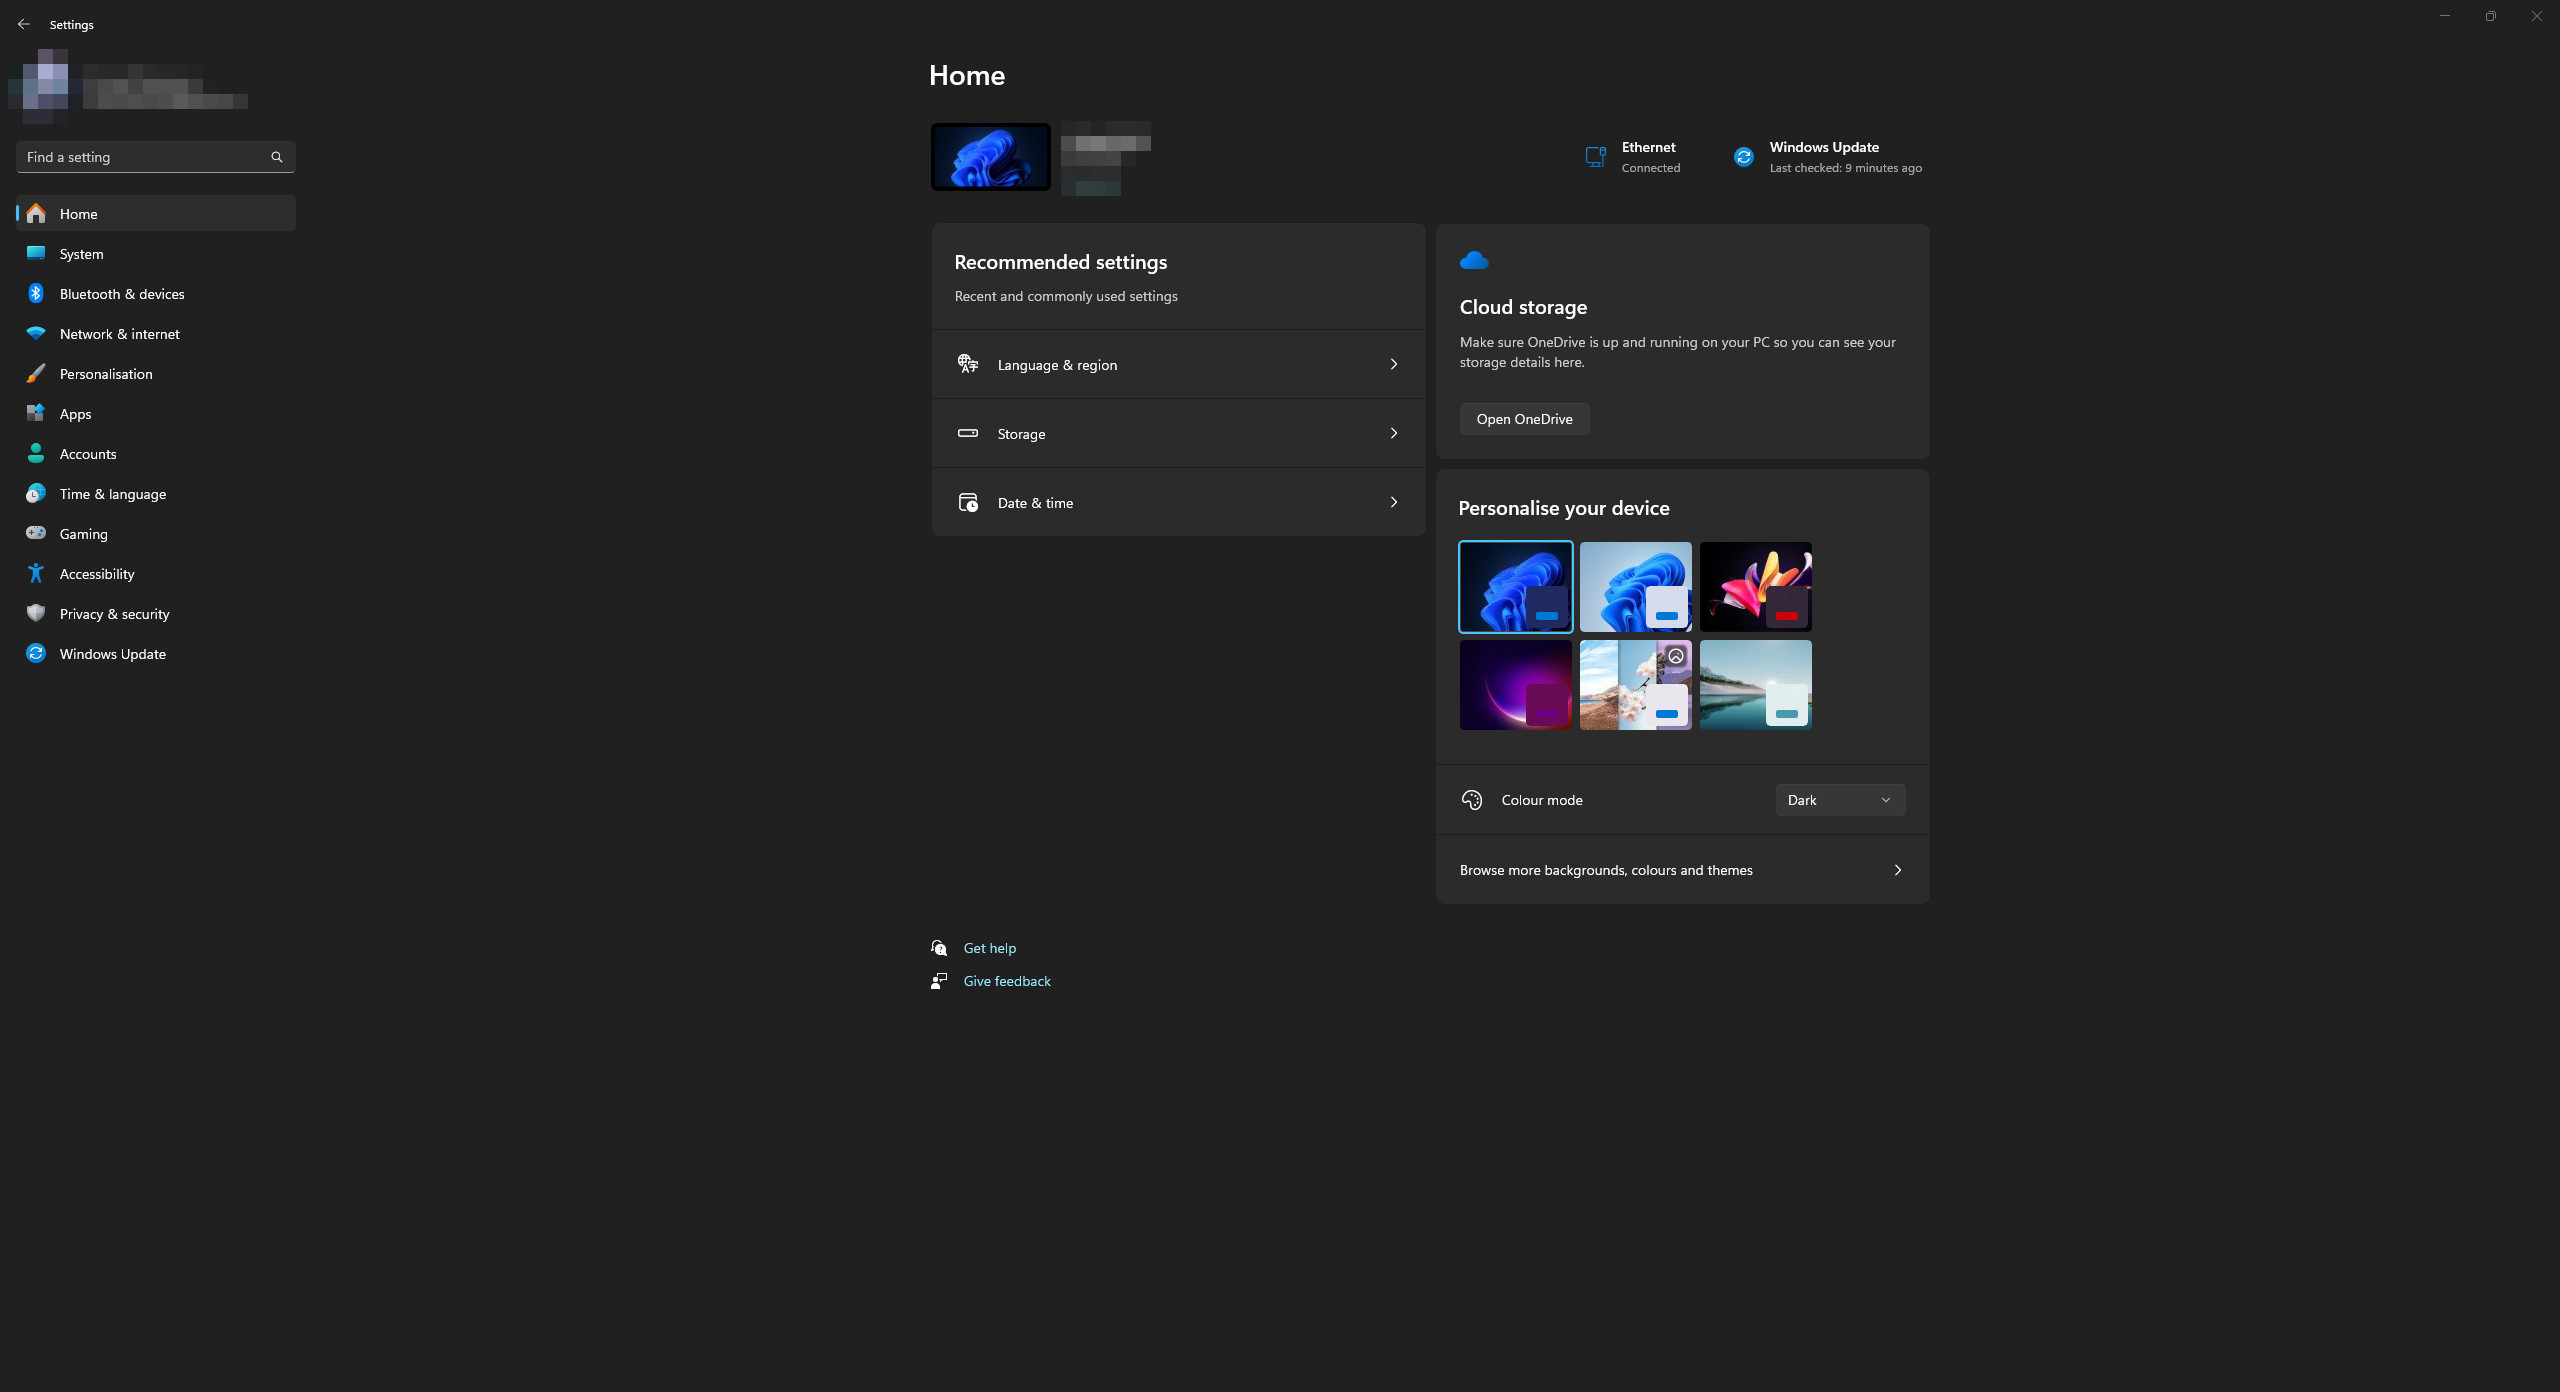
1. Open the Start menu and go to Settings on the Windows 11 OS.
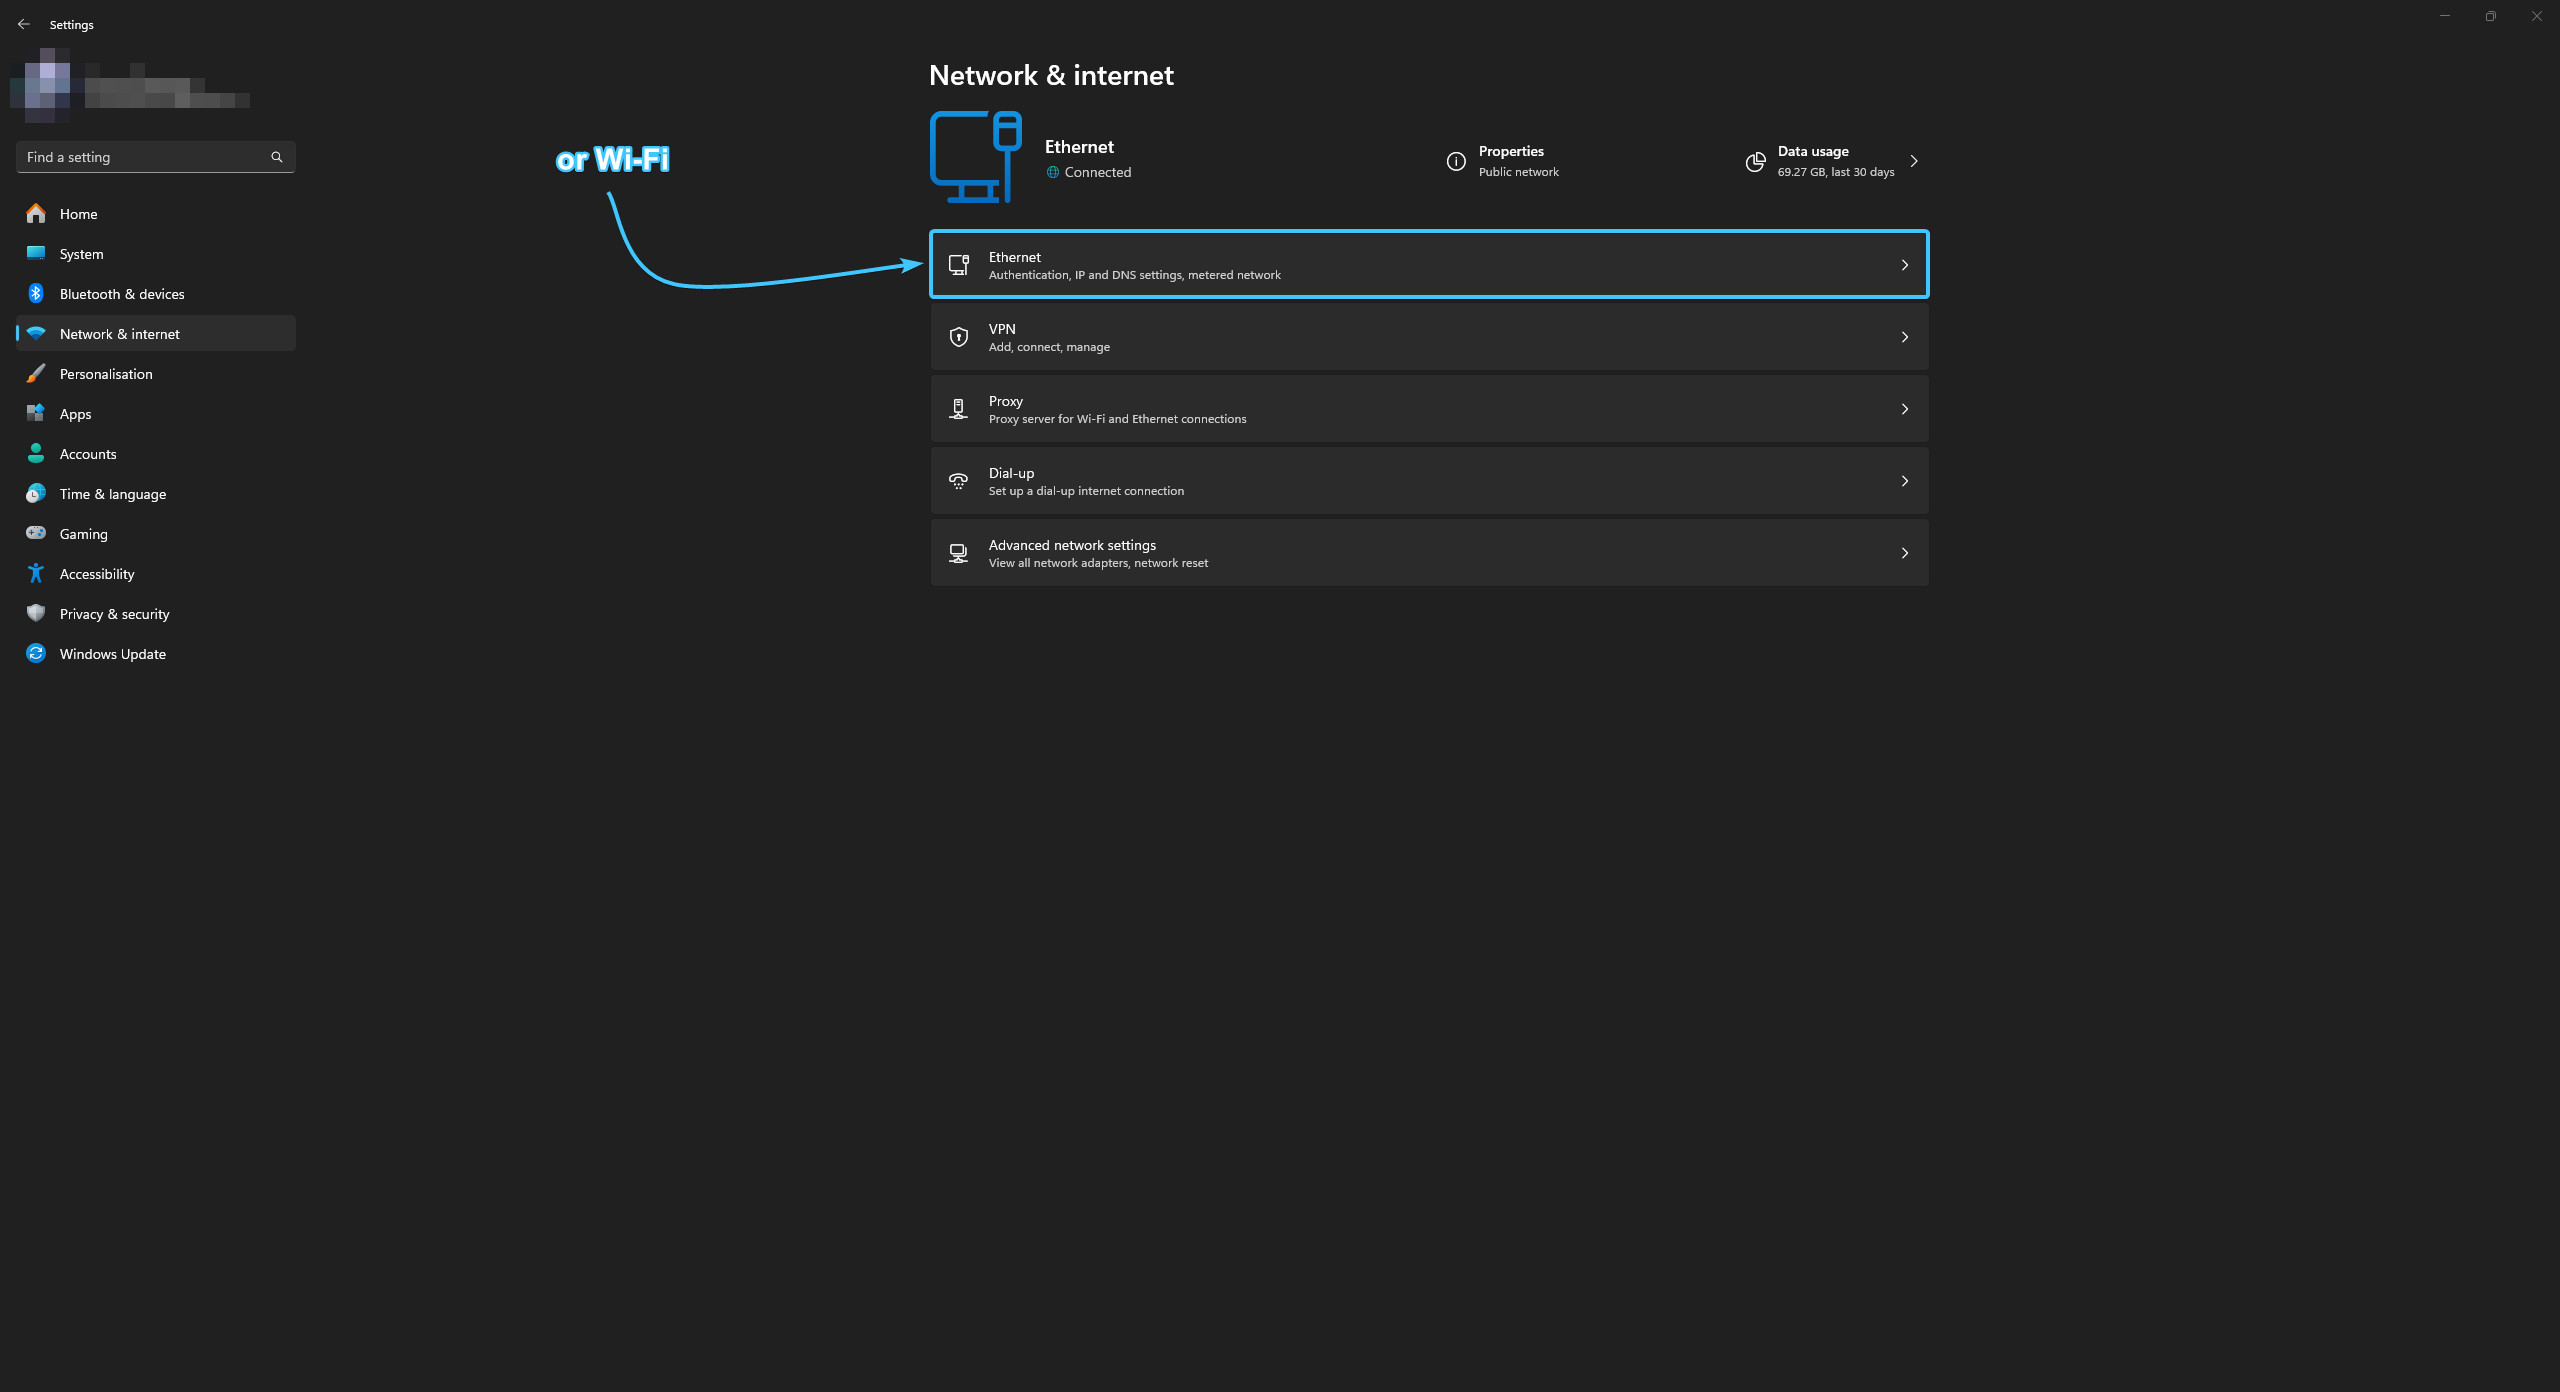
2. Open the “Network & Internet” category. Depending on your connection, open “Wi-Fi” or “Ethernet”.
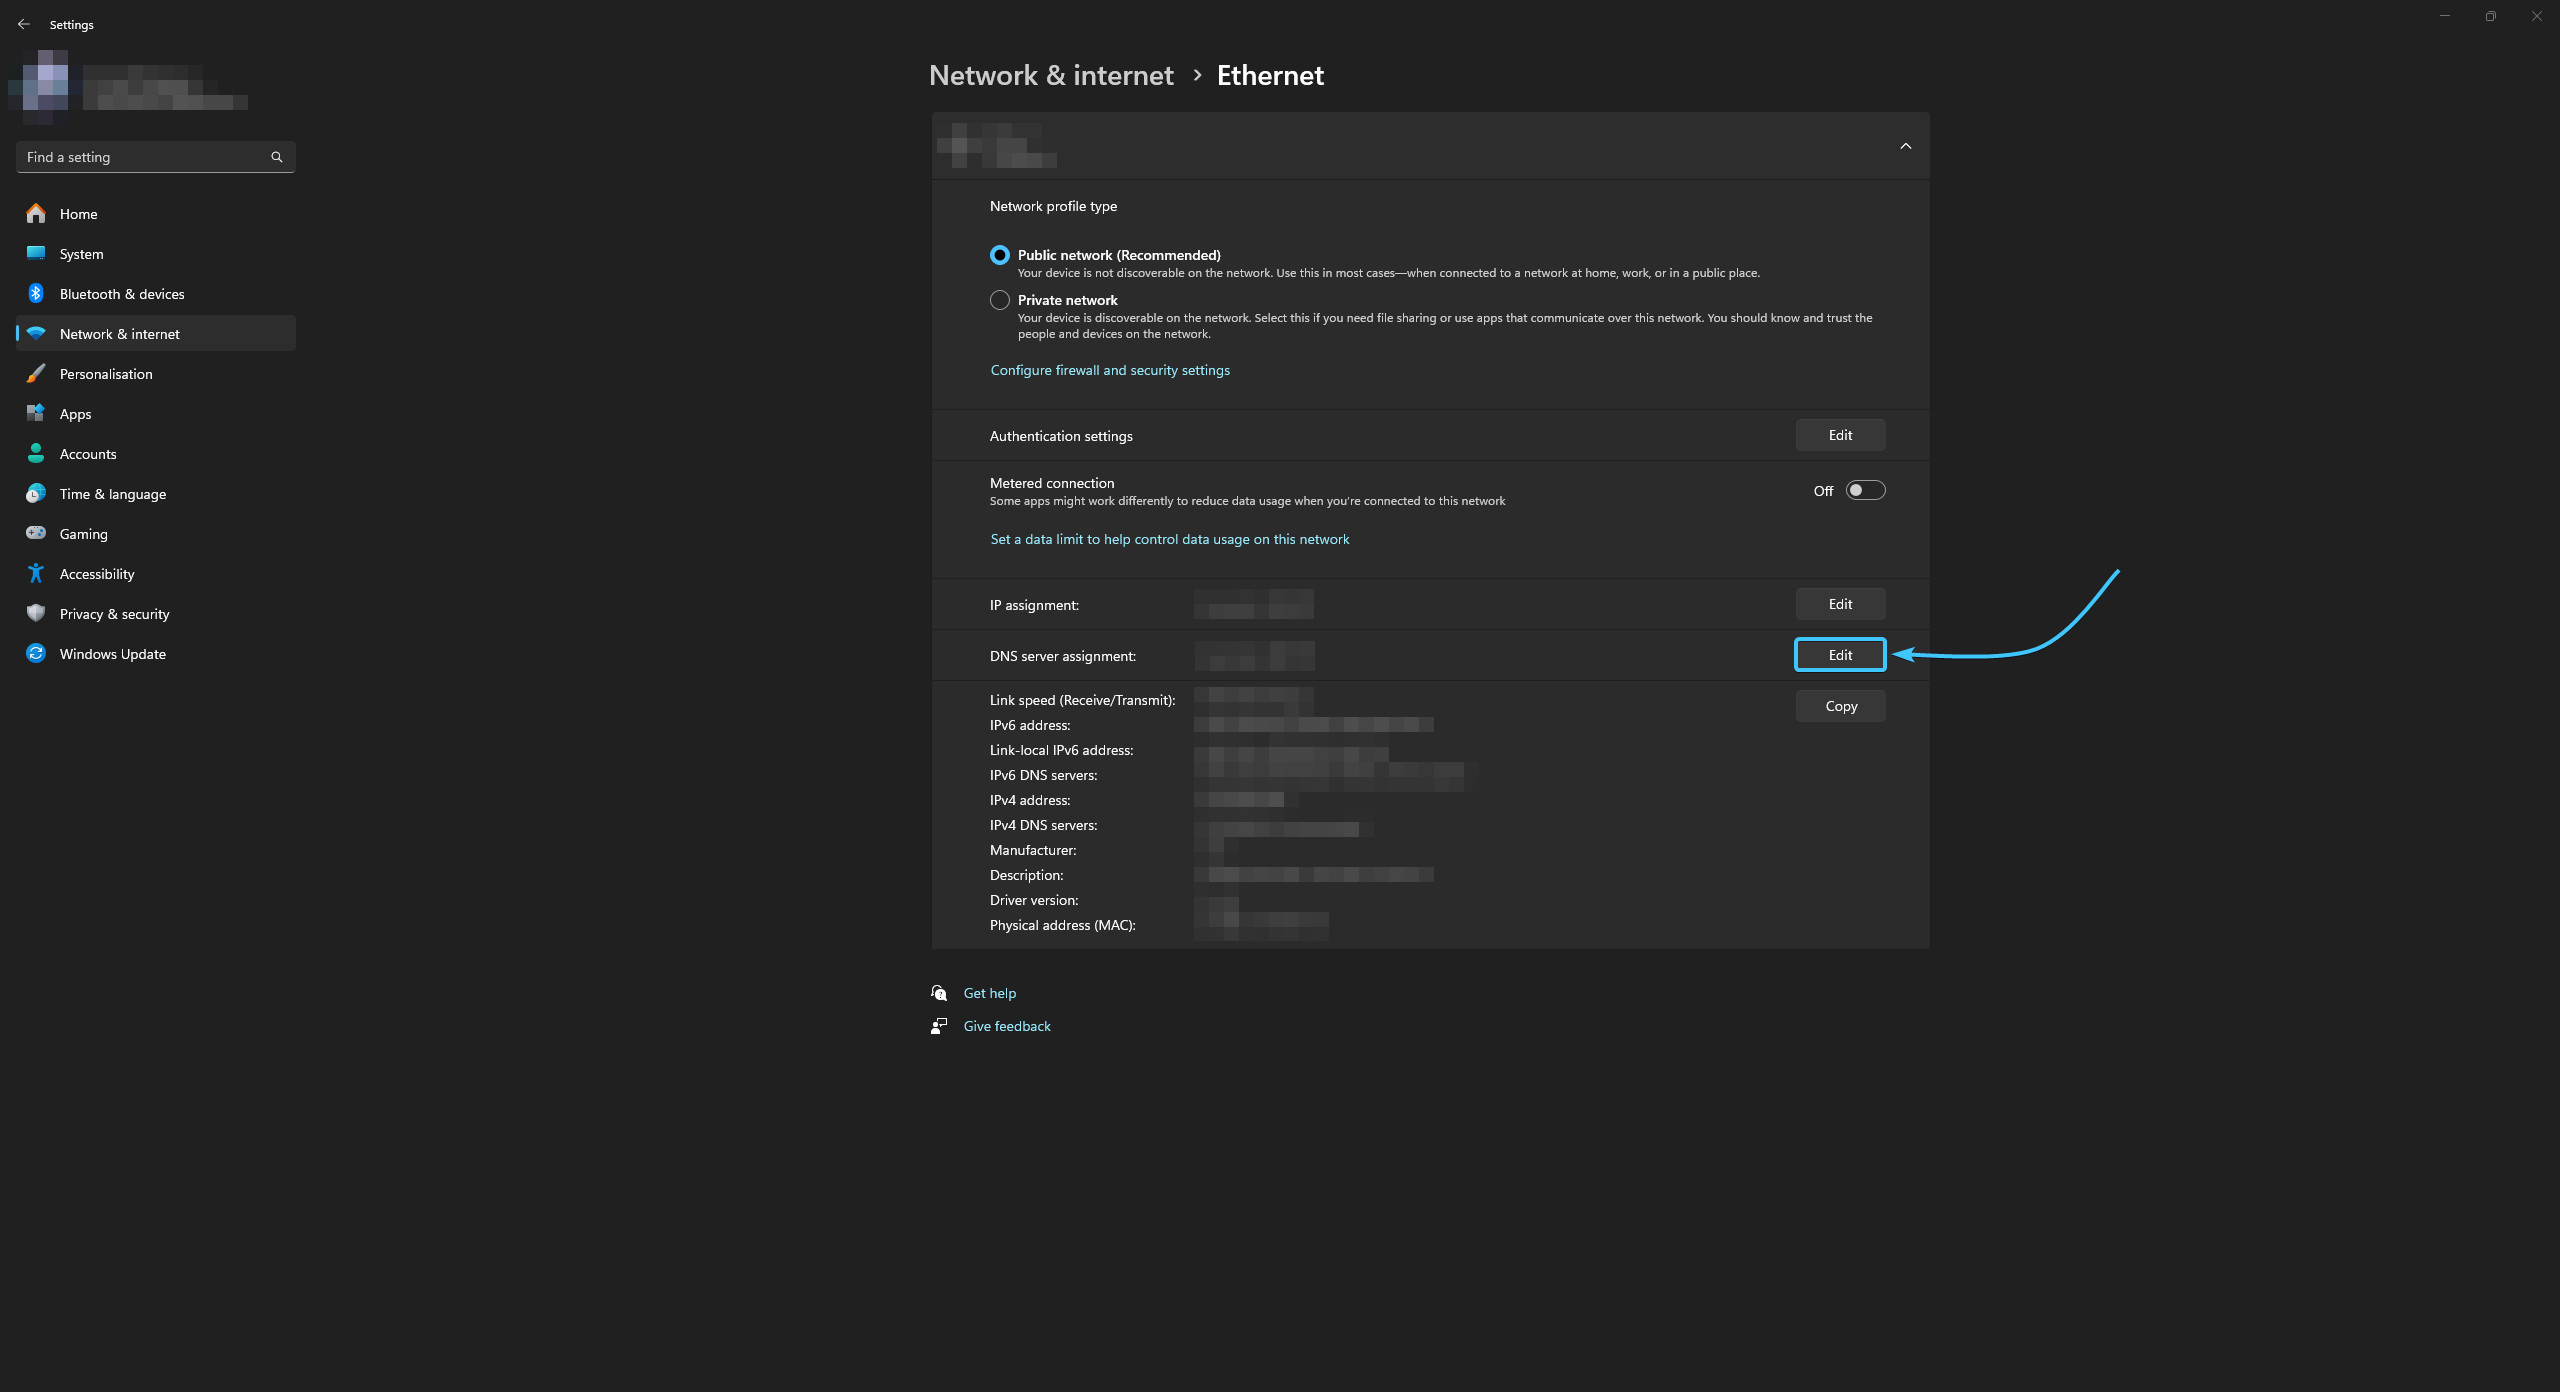
3. Click the “Edit” button next to the “DNS server assignment” option.
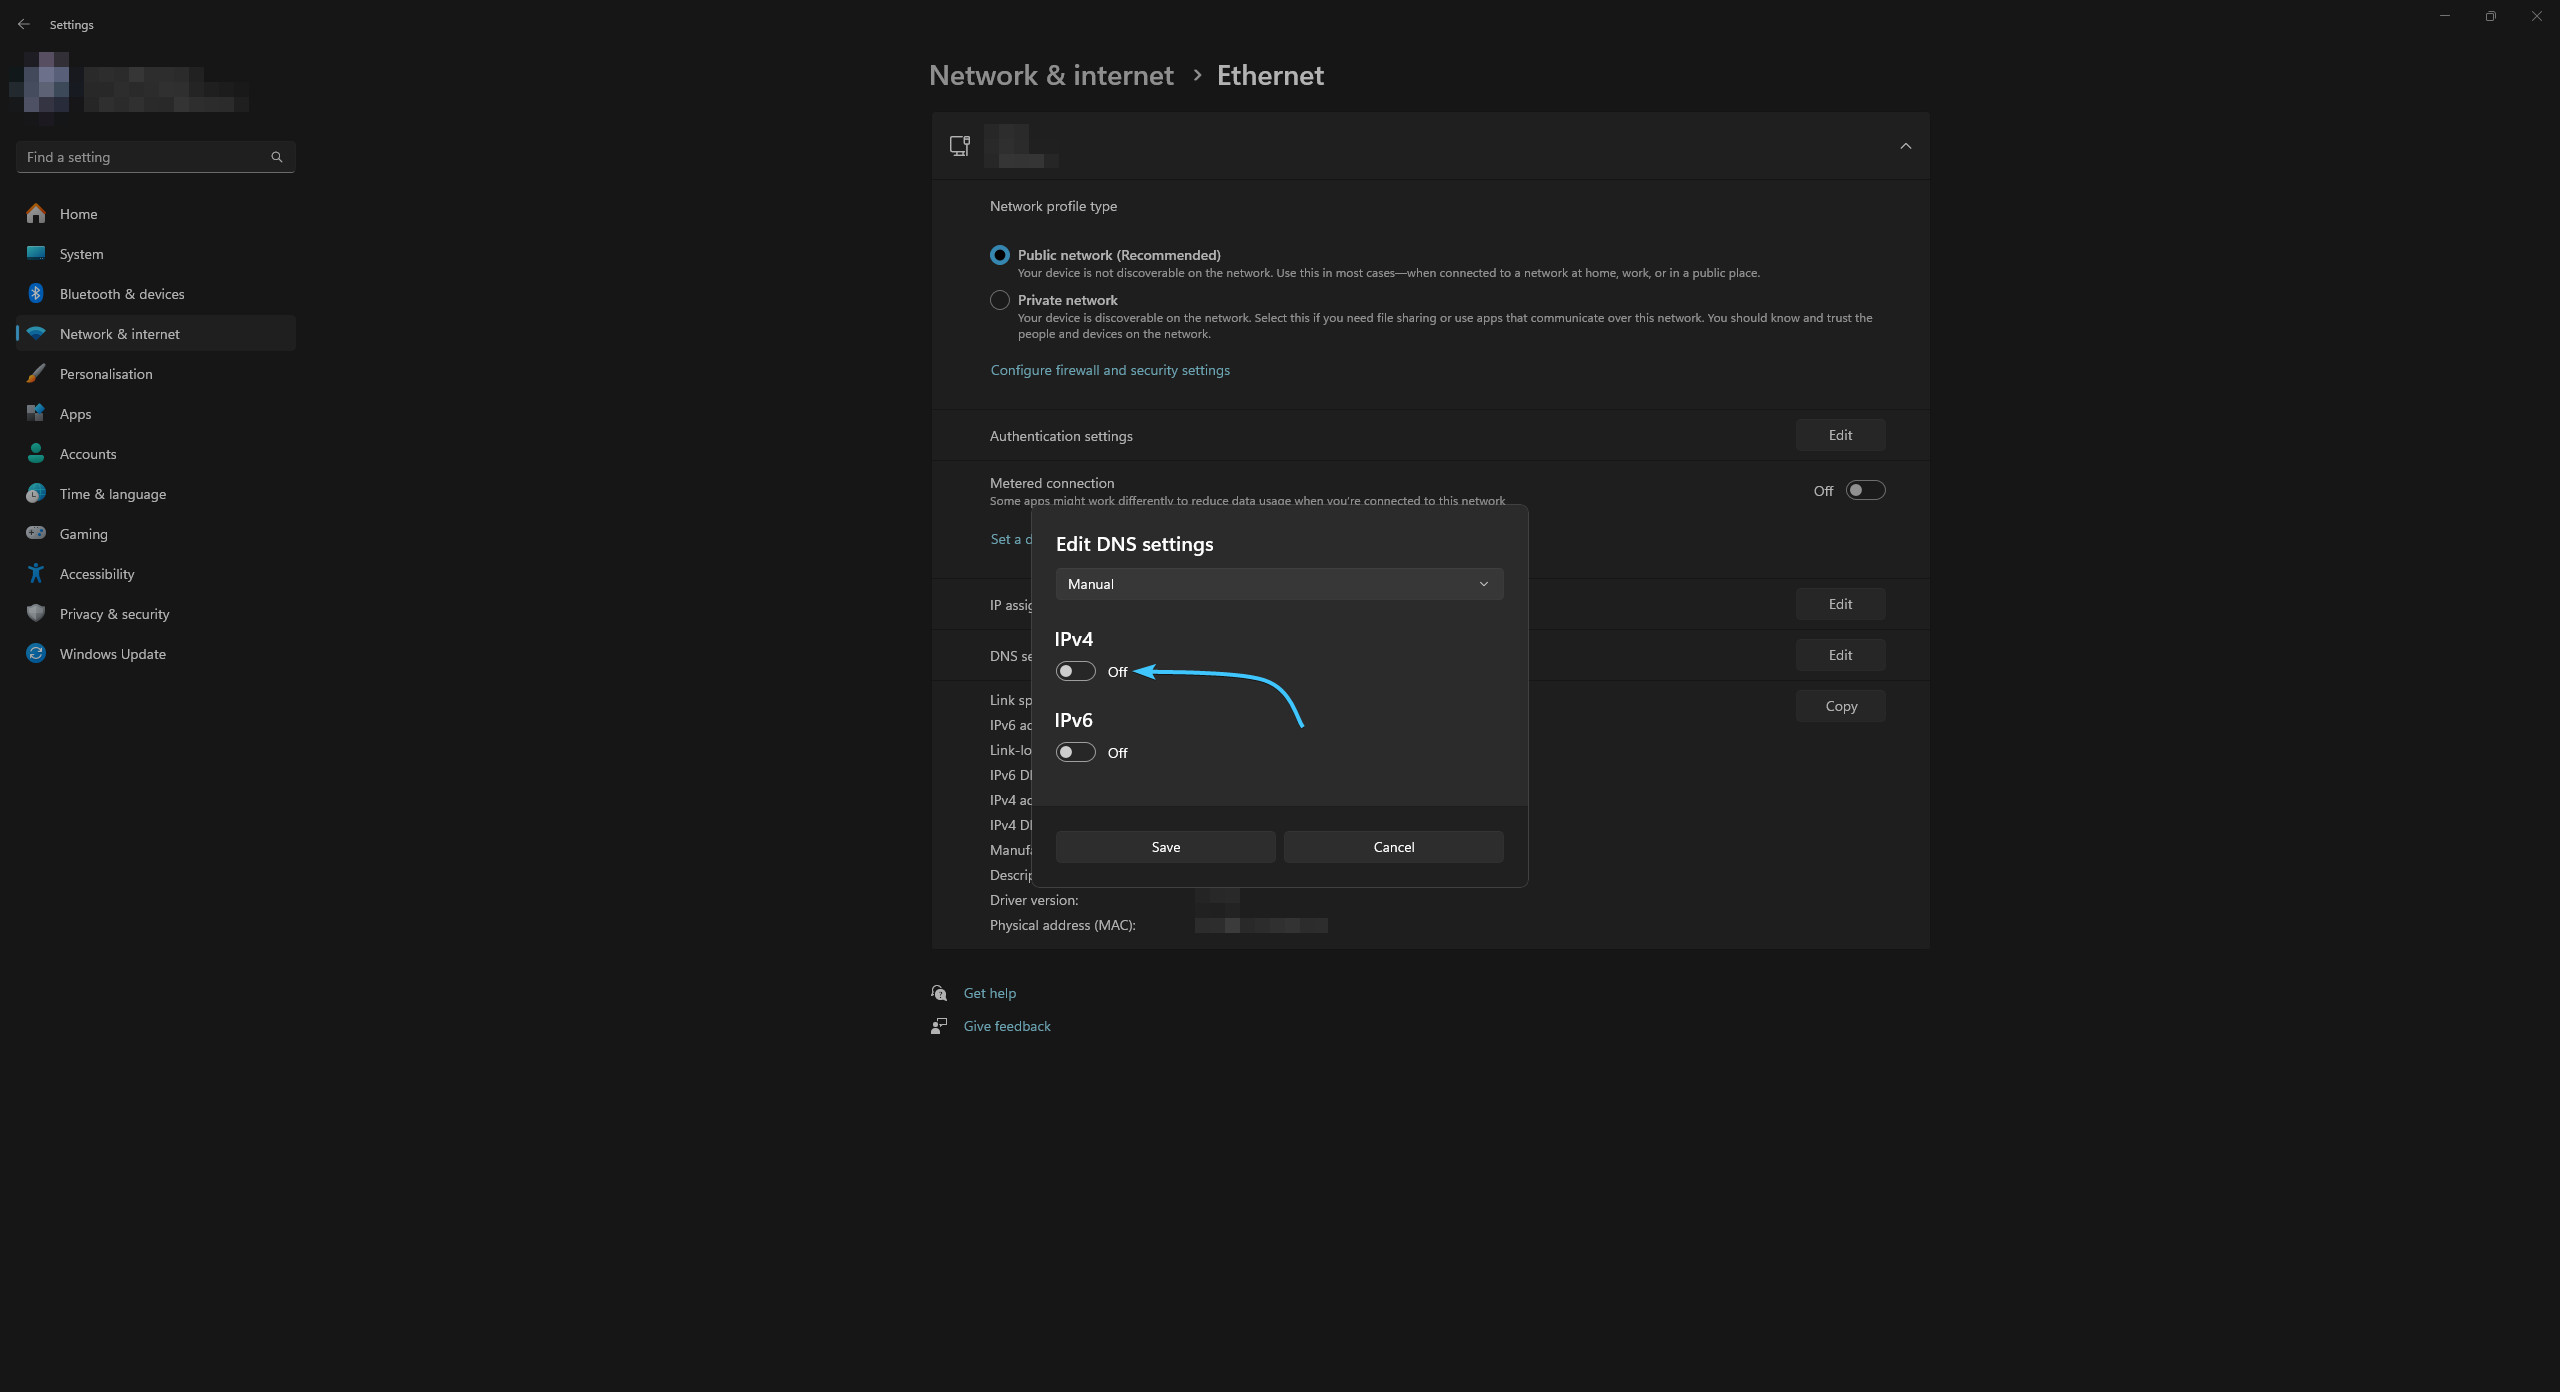
4. In the new window, click on “Automatic (DHCP)” and select the “Manual” option.
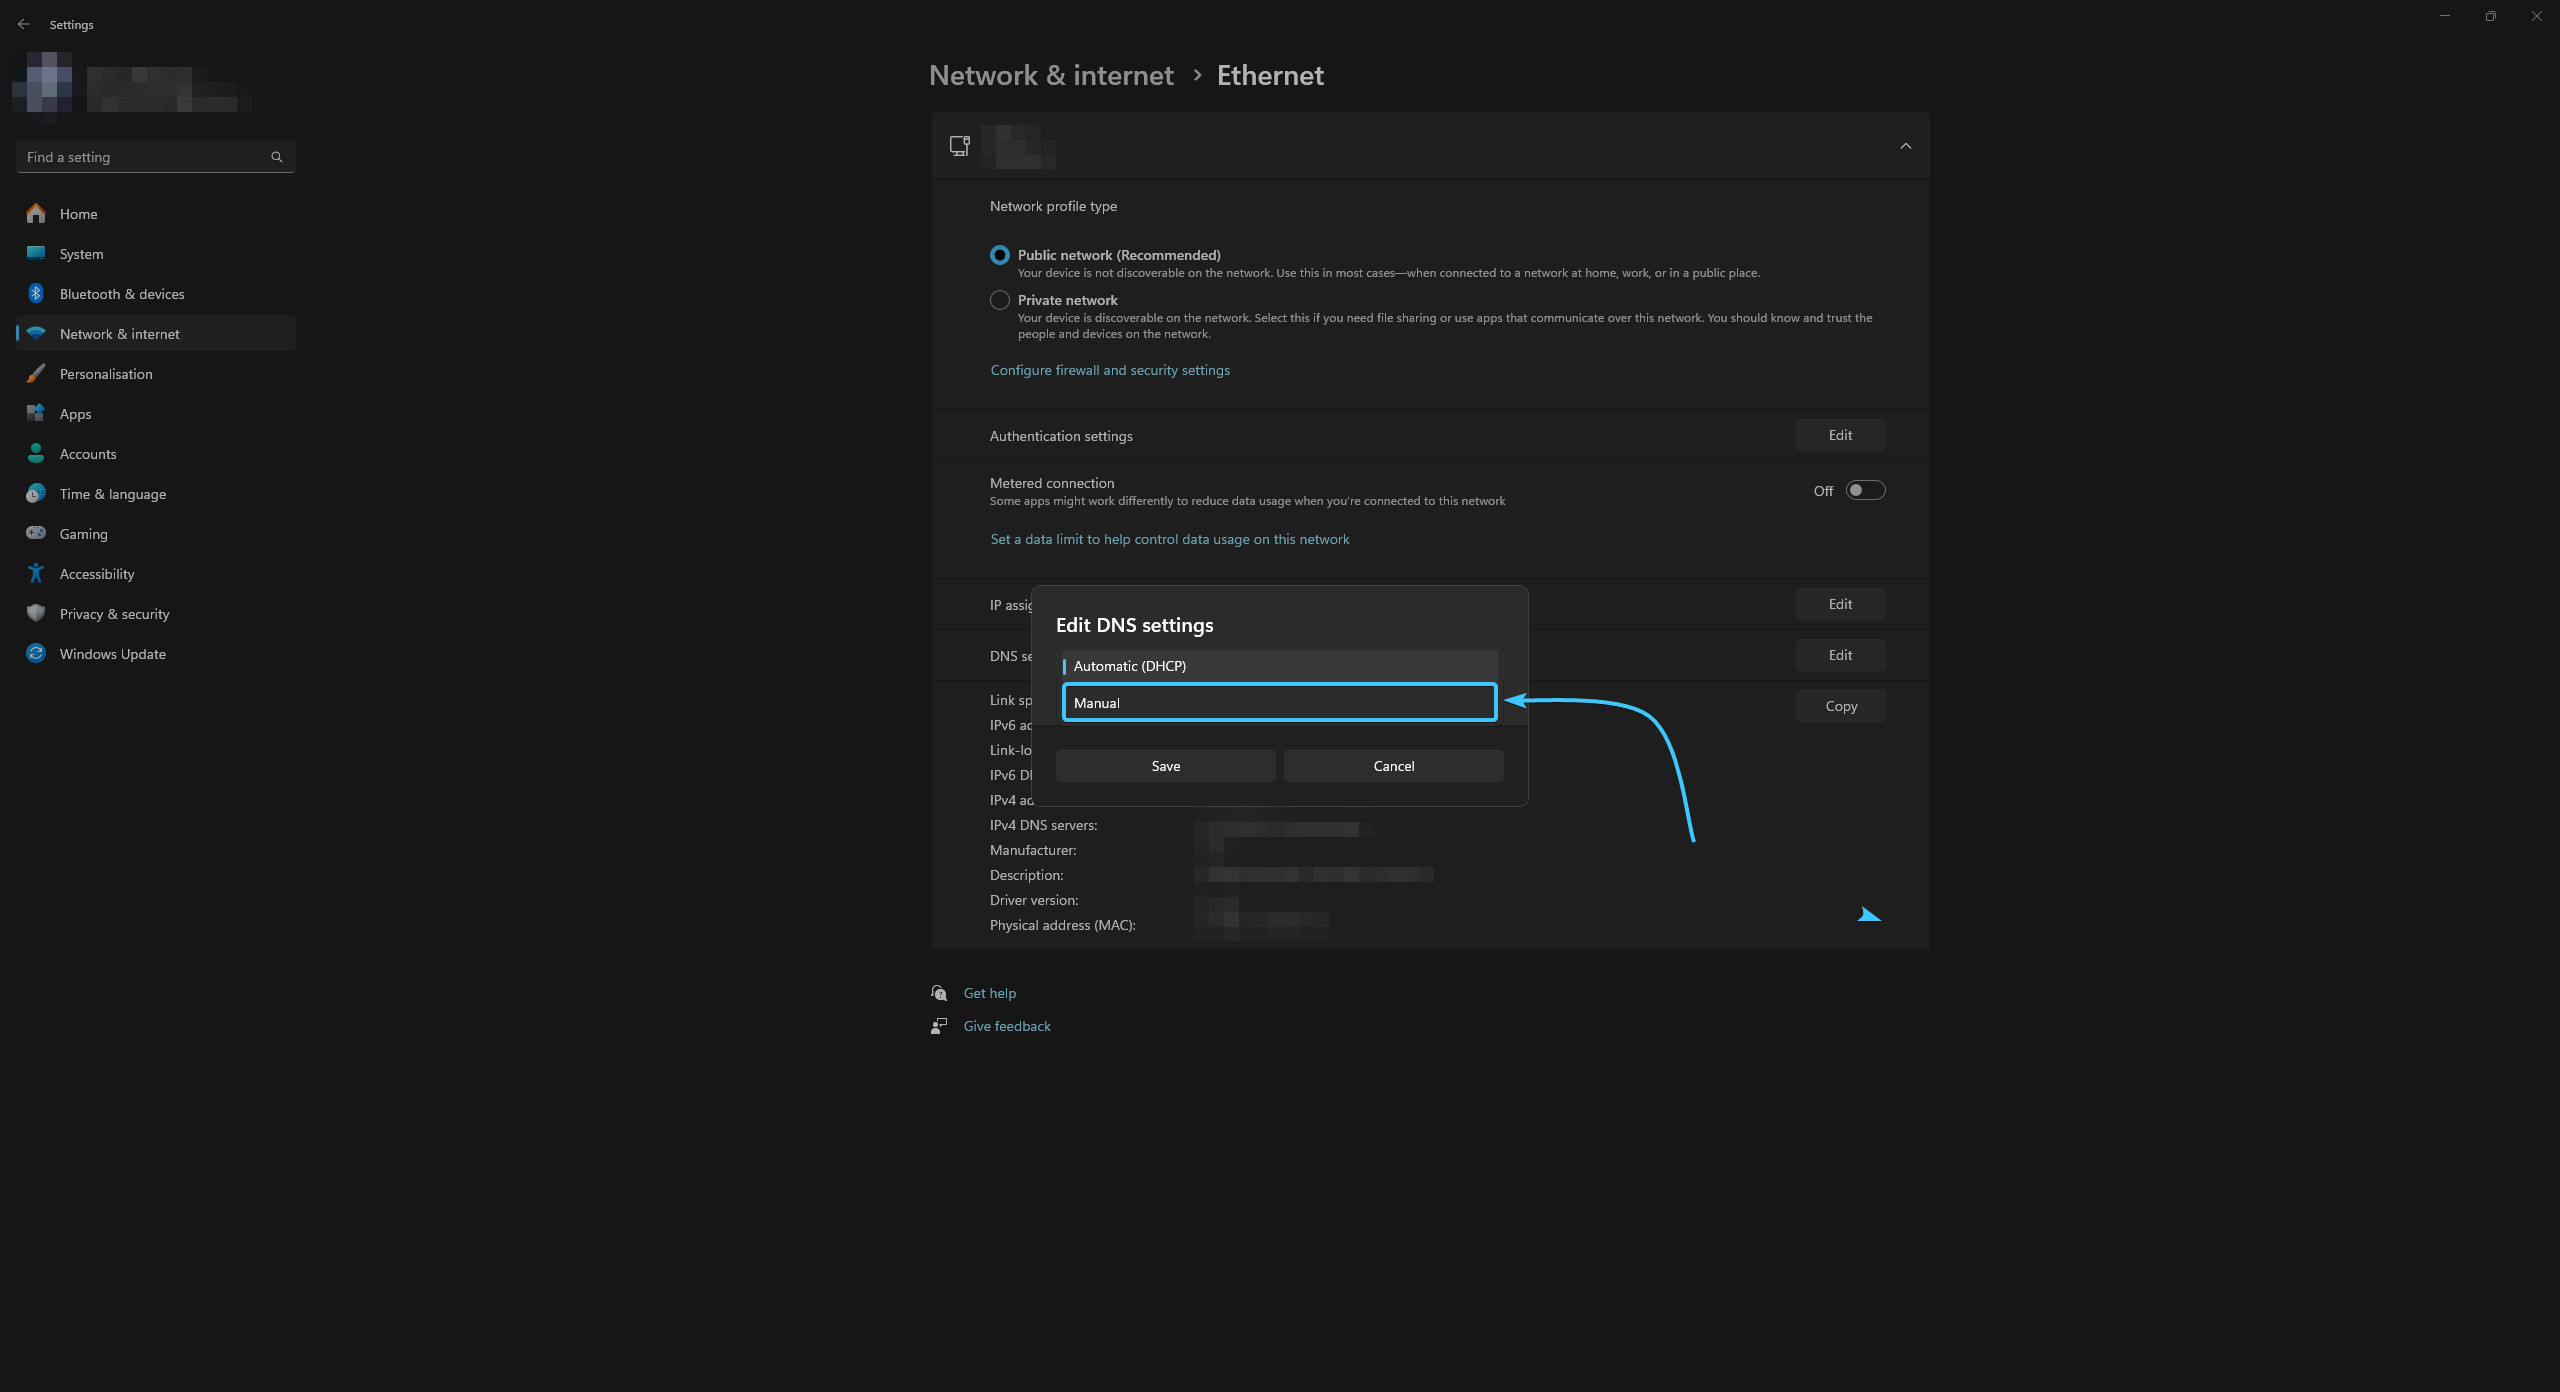
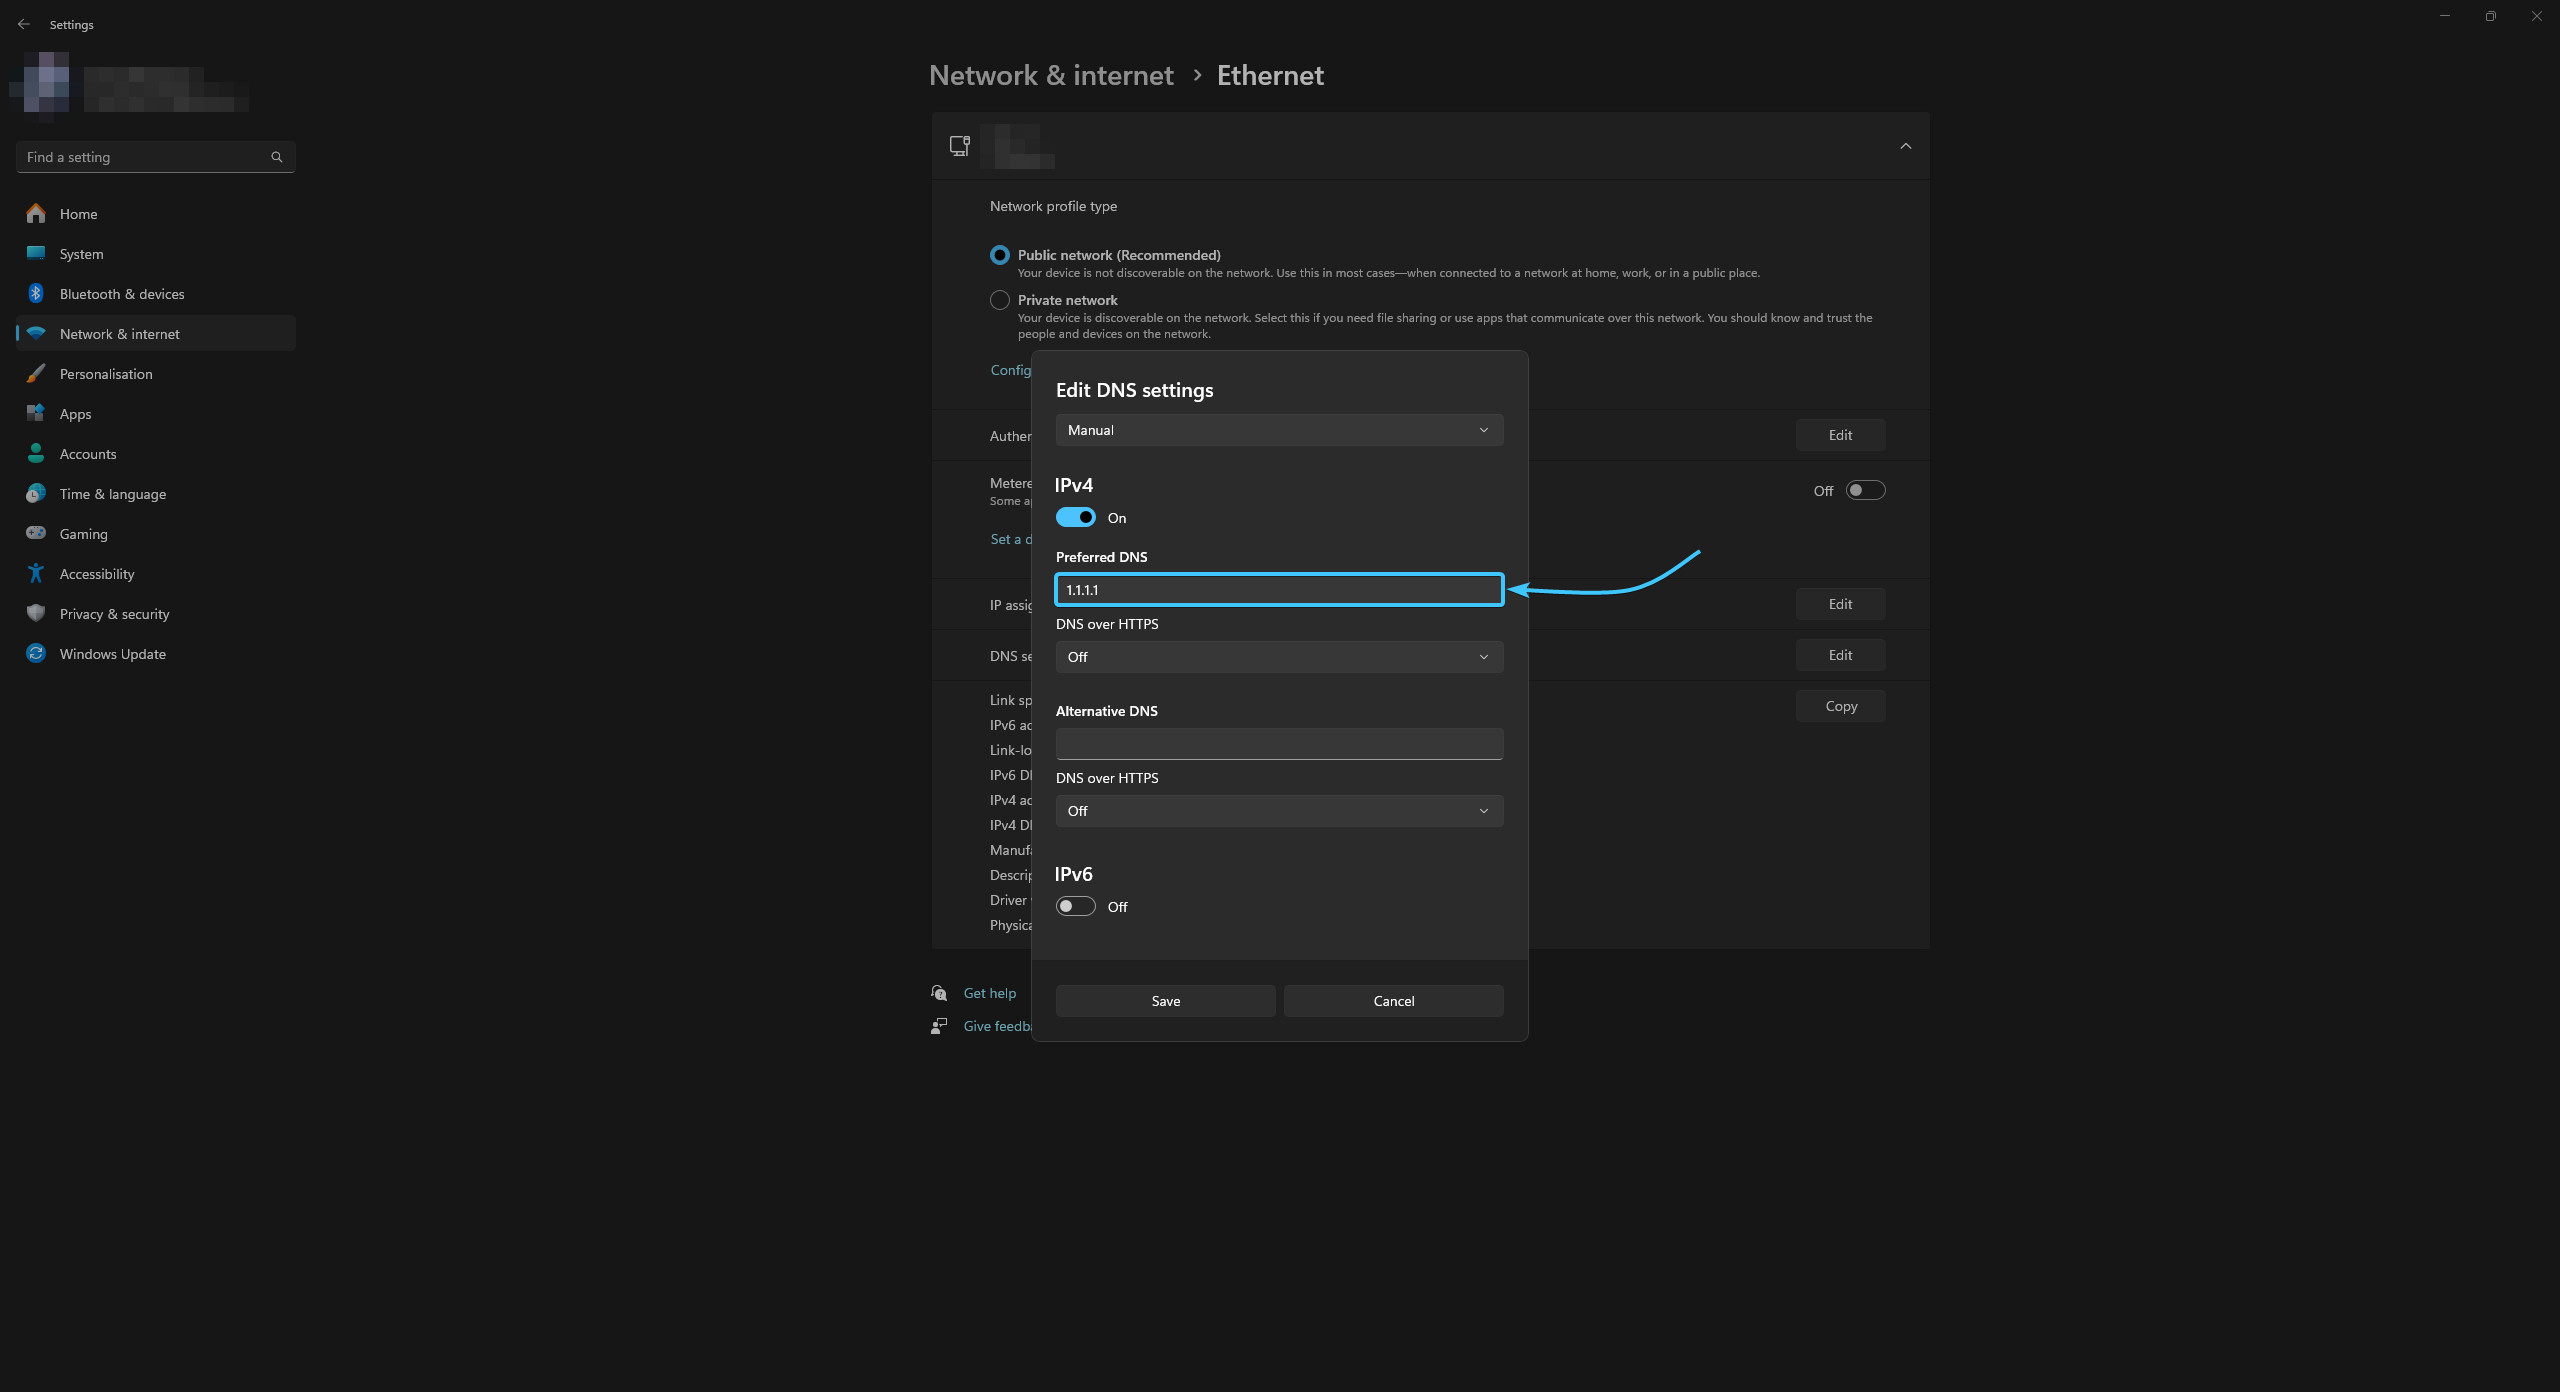
5. New parameters will appear. Move the slider of the “IPv4” parameter to the “On” position.
6. In the “Preferred DNS” field, enter the first address of the server you have chosen.
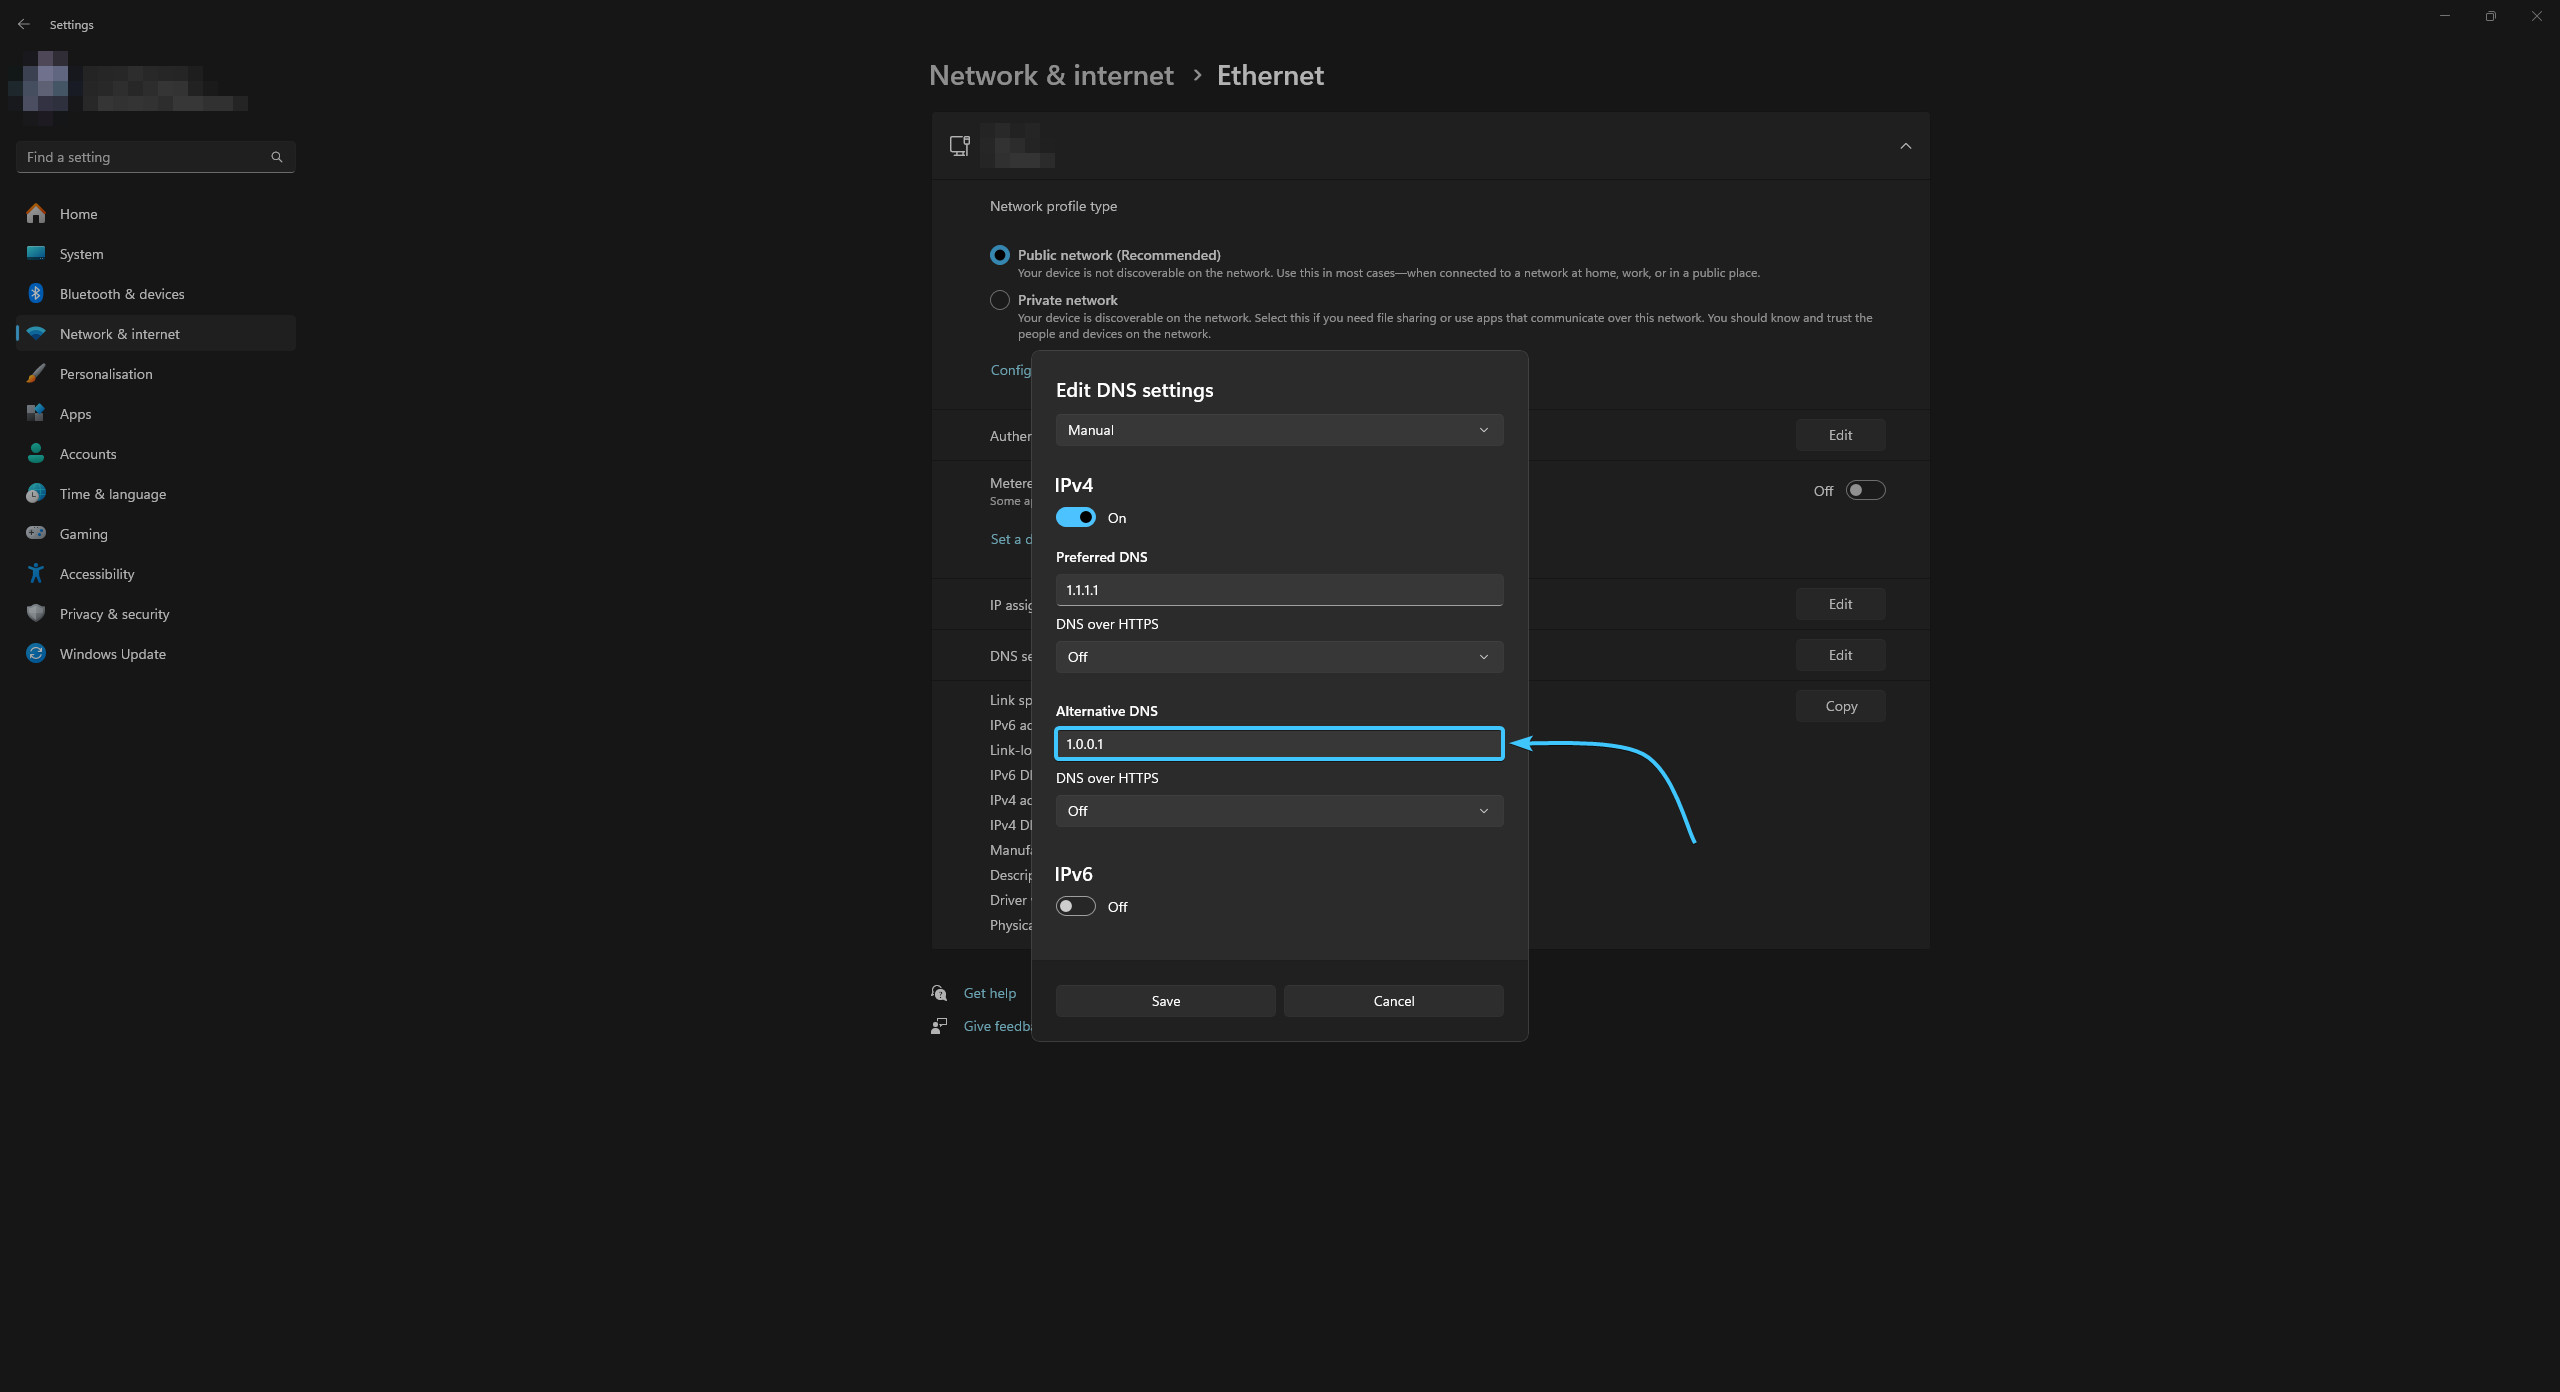
7. In the “Alternative DNS” field, enter the second address of the server you have chosen.
8. Set “DNS over HTTPS” parameter to “On (automatic template)”.
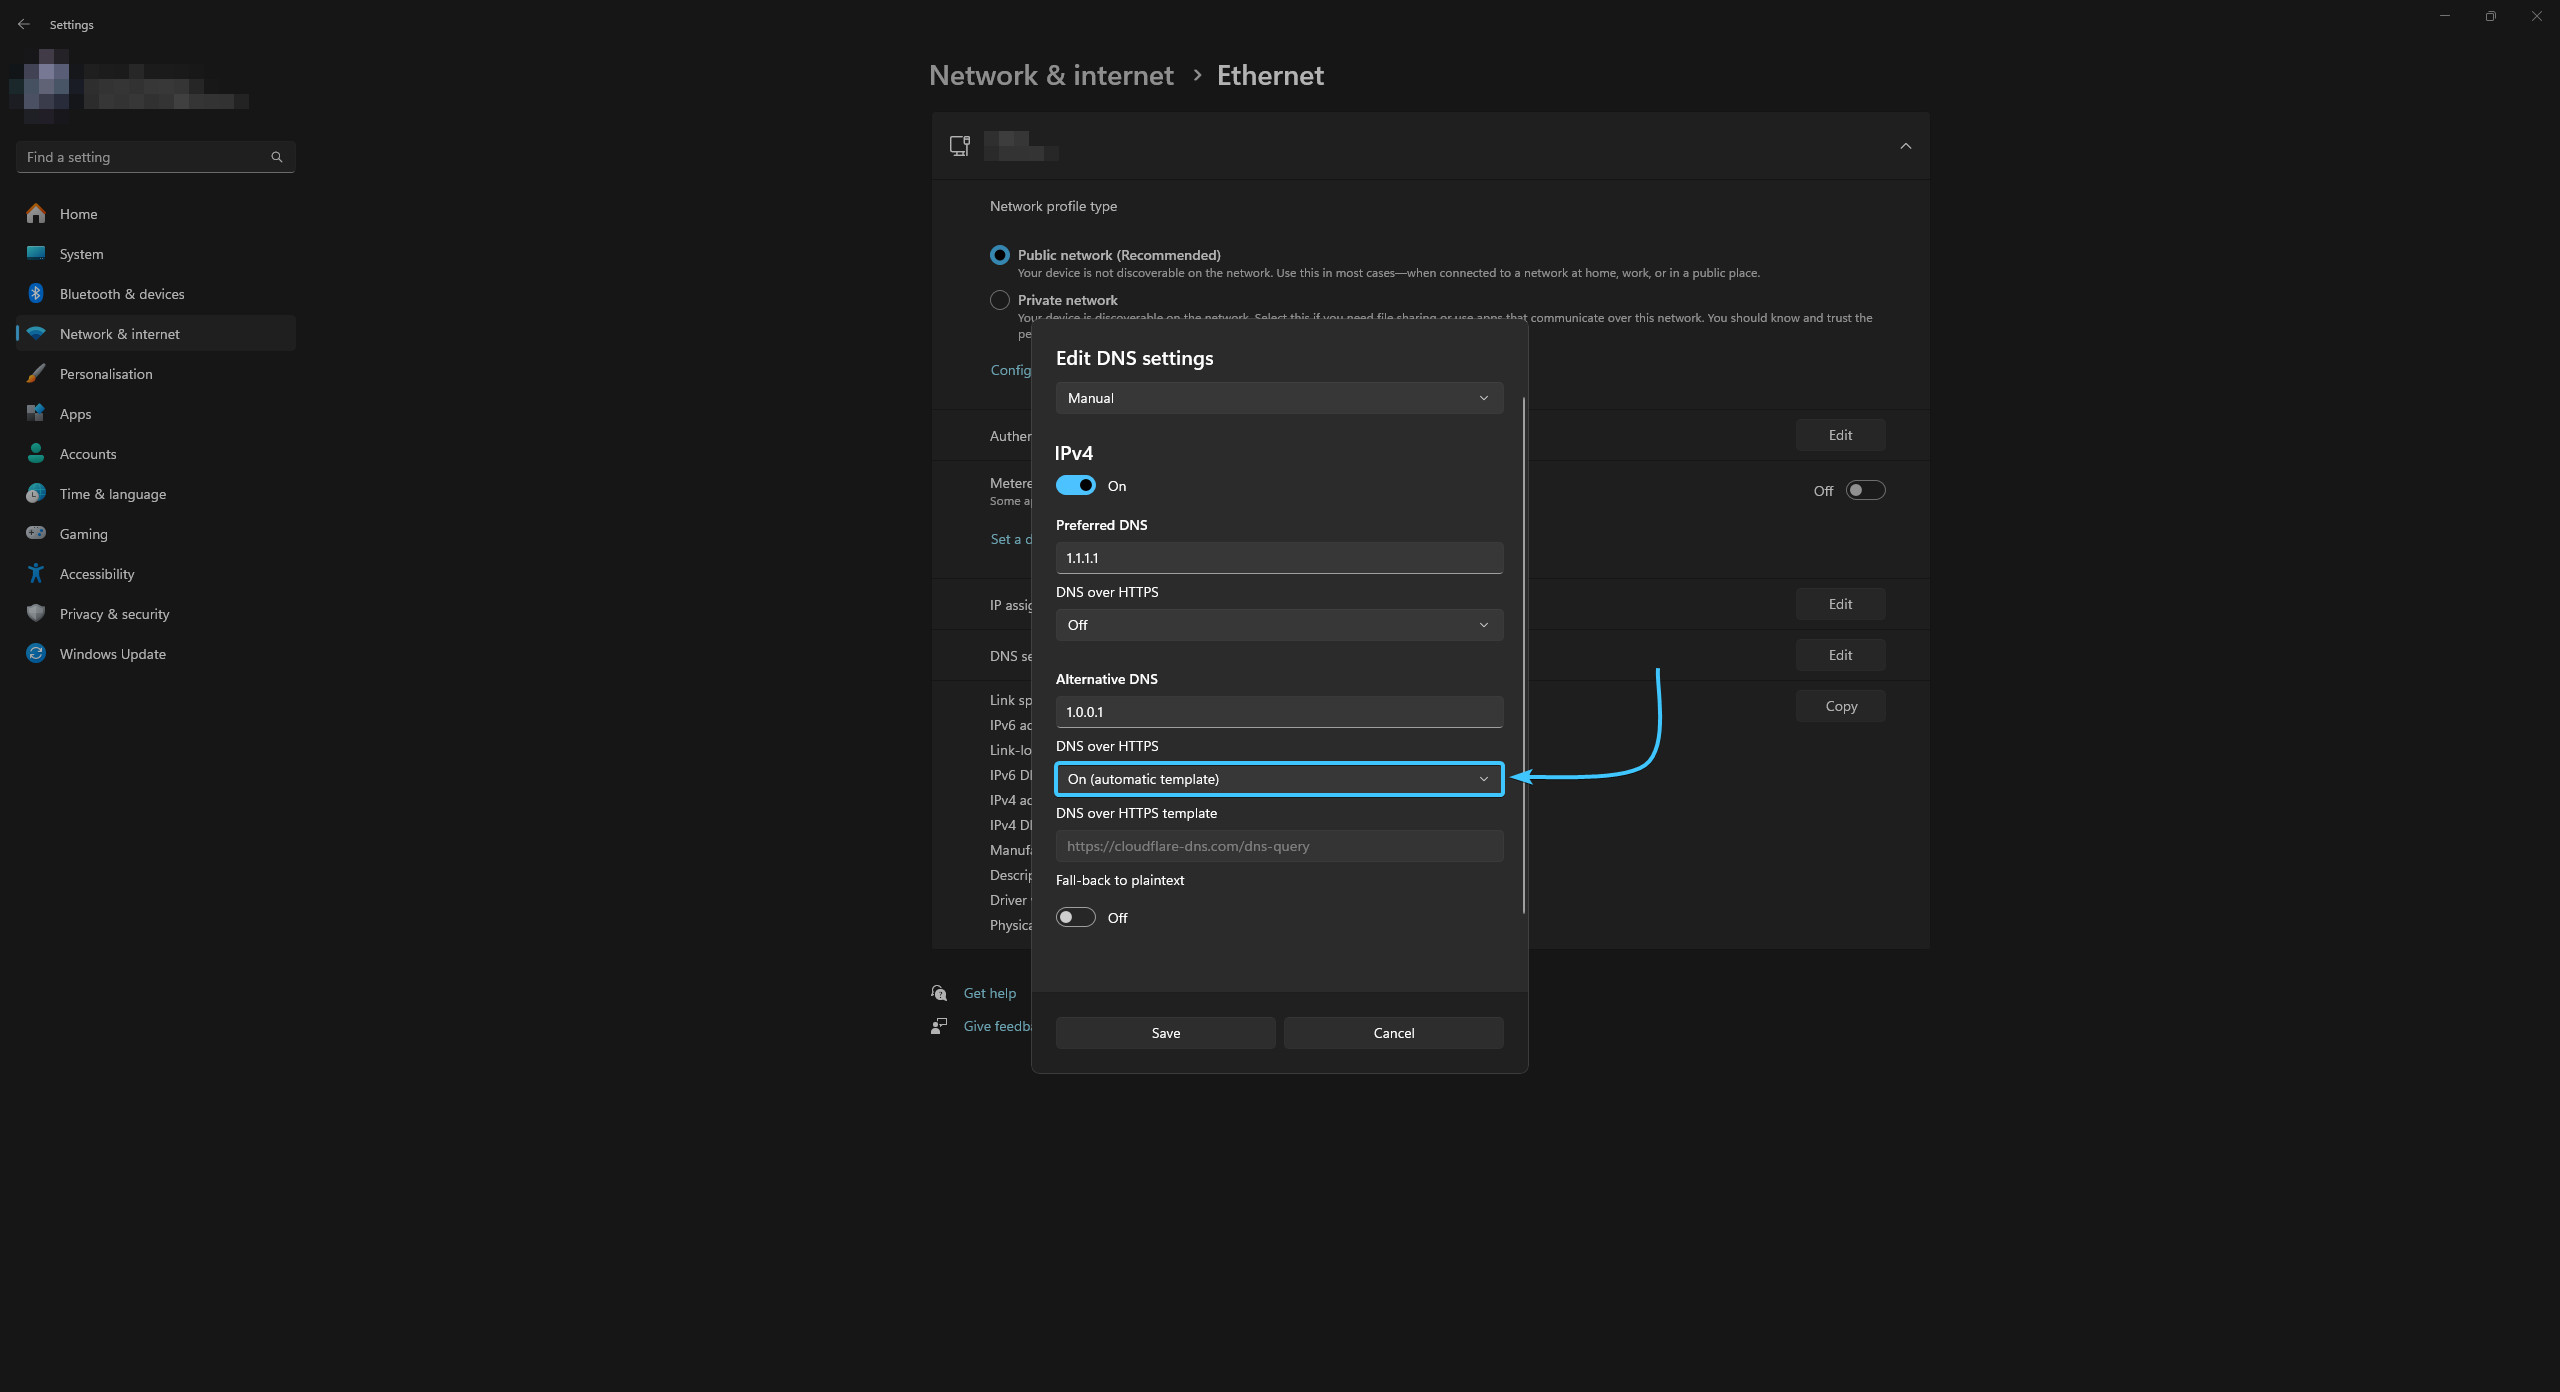
9. Click the “Save” button. Reboot the device to complete the DNS server change.

Changing the DNS server on Windows 10
1. Open the Start menu and go to Settings on the Windows 10 OS.
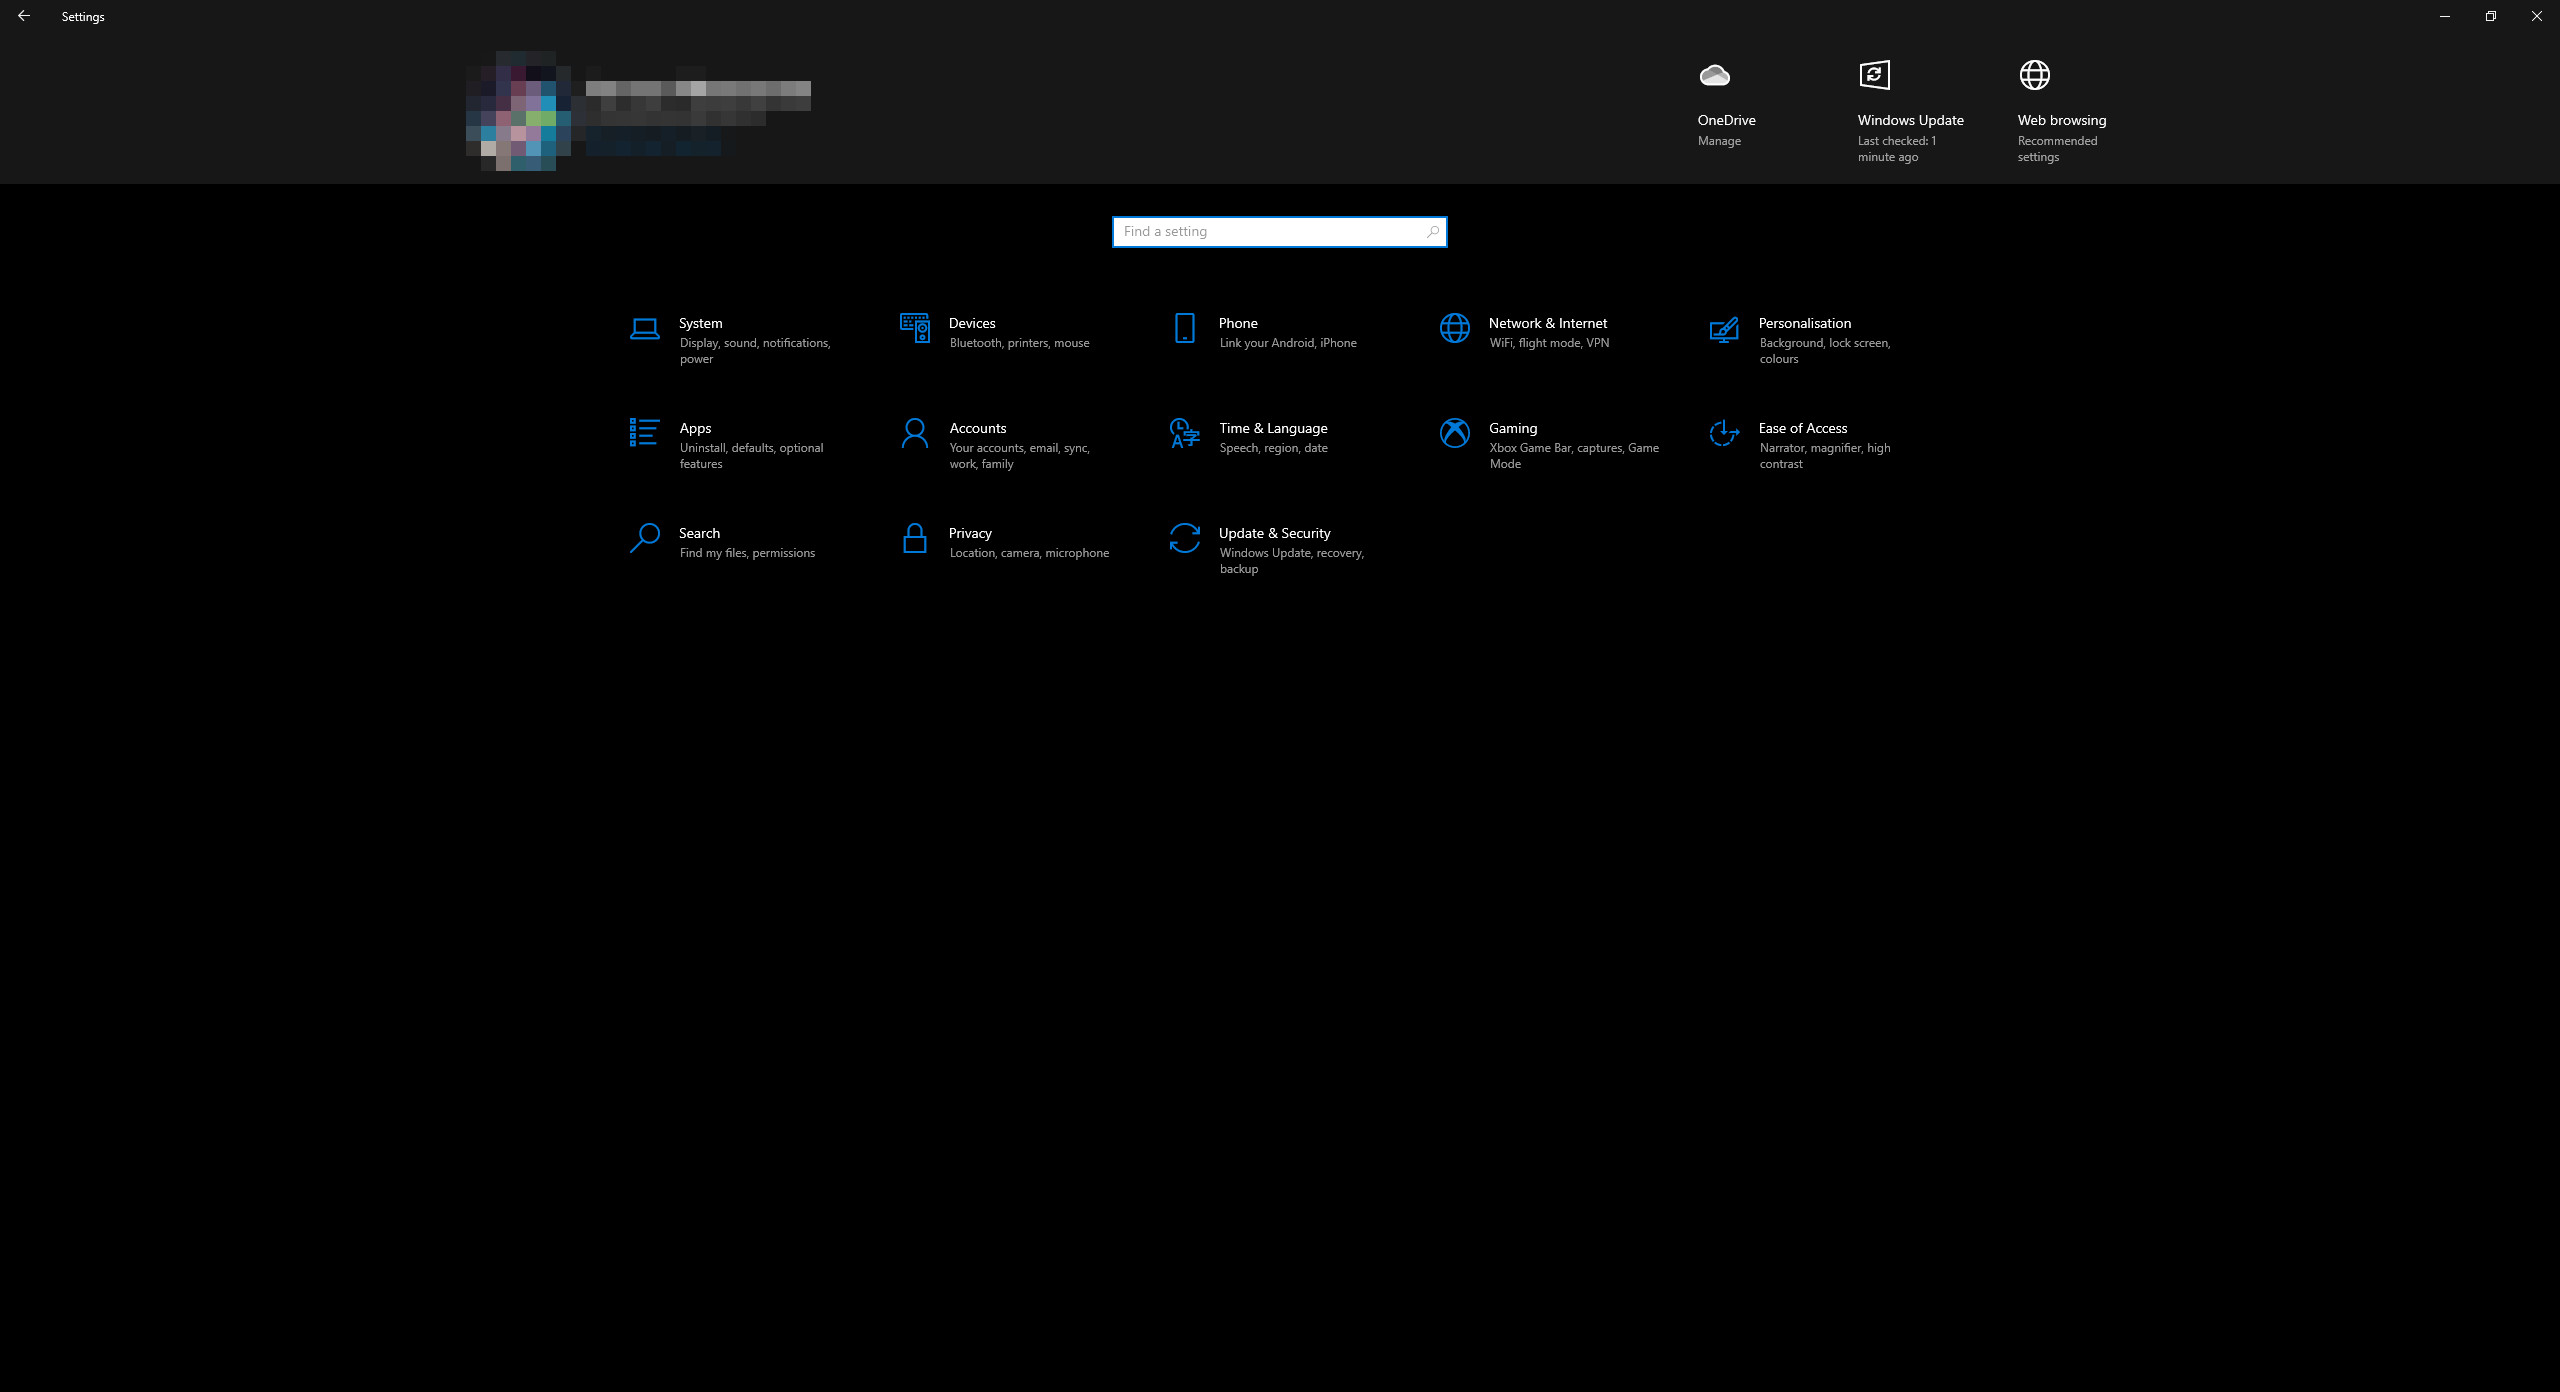
2. The general list of parameter categories will appear. Open the “Network & Internet” category.
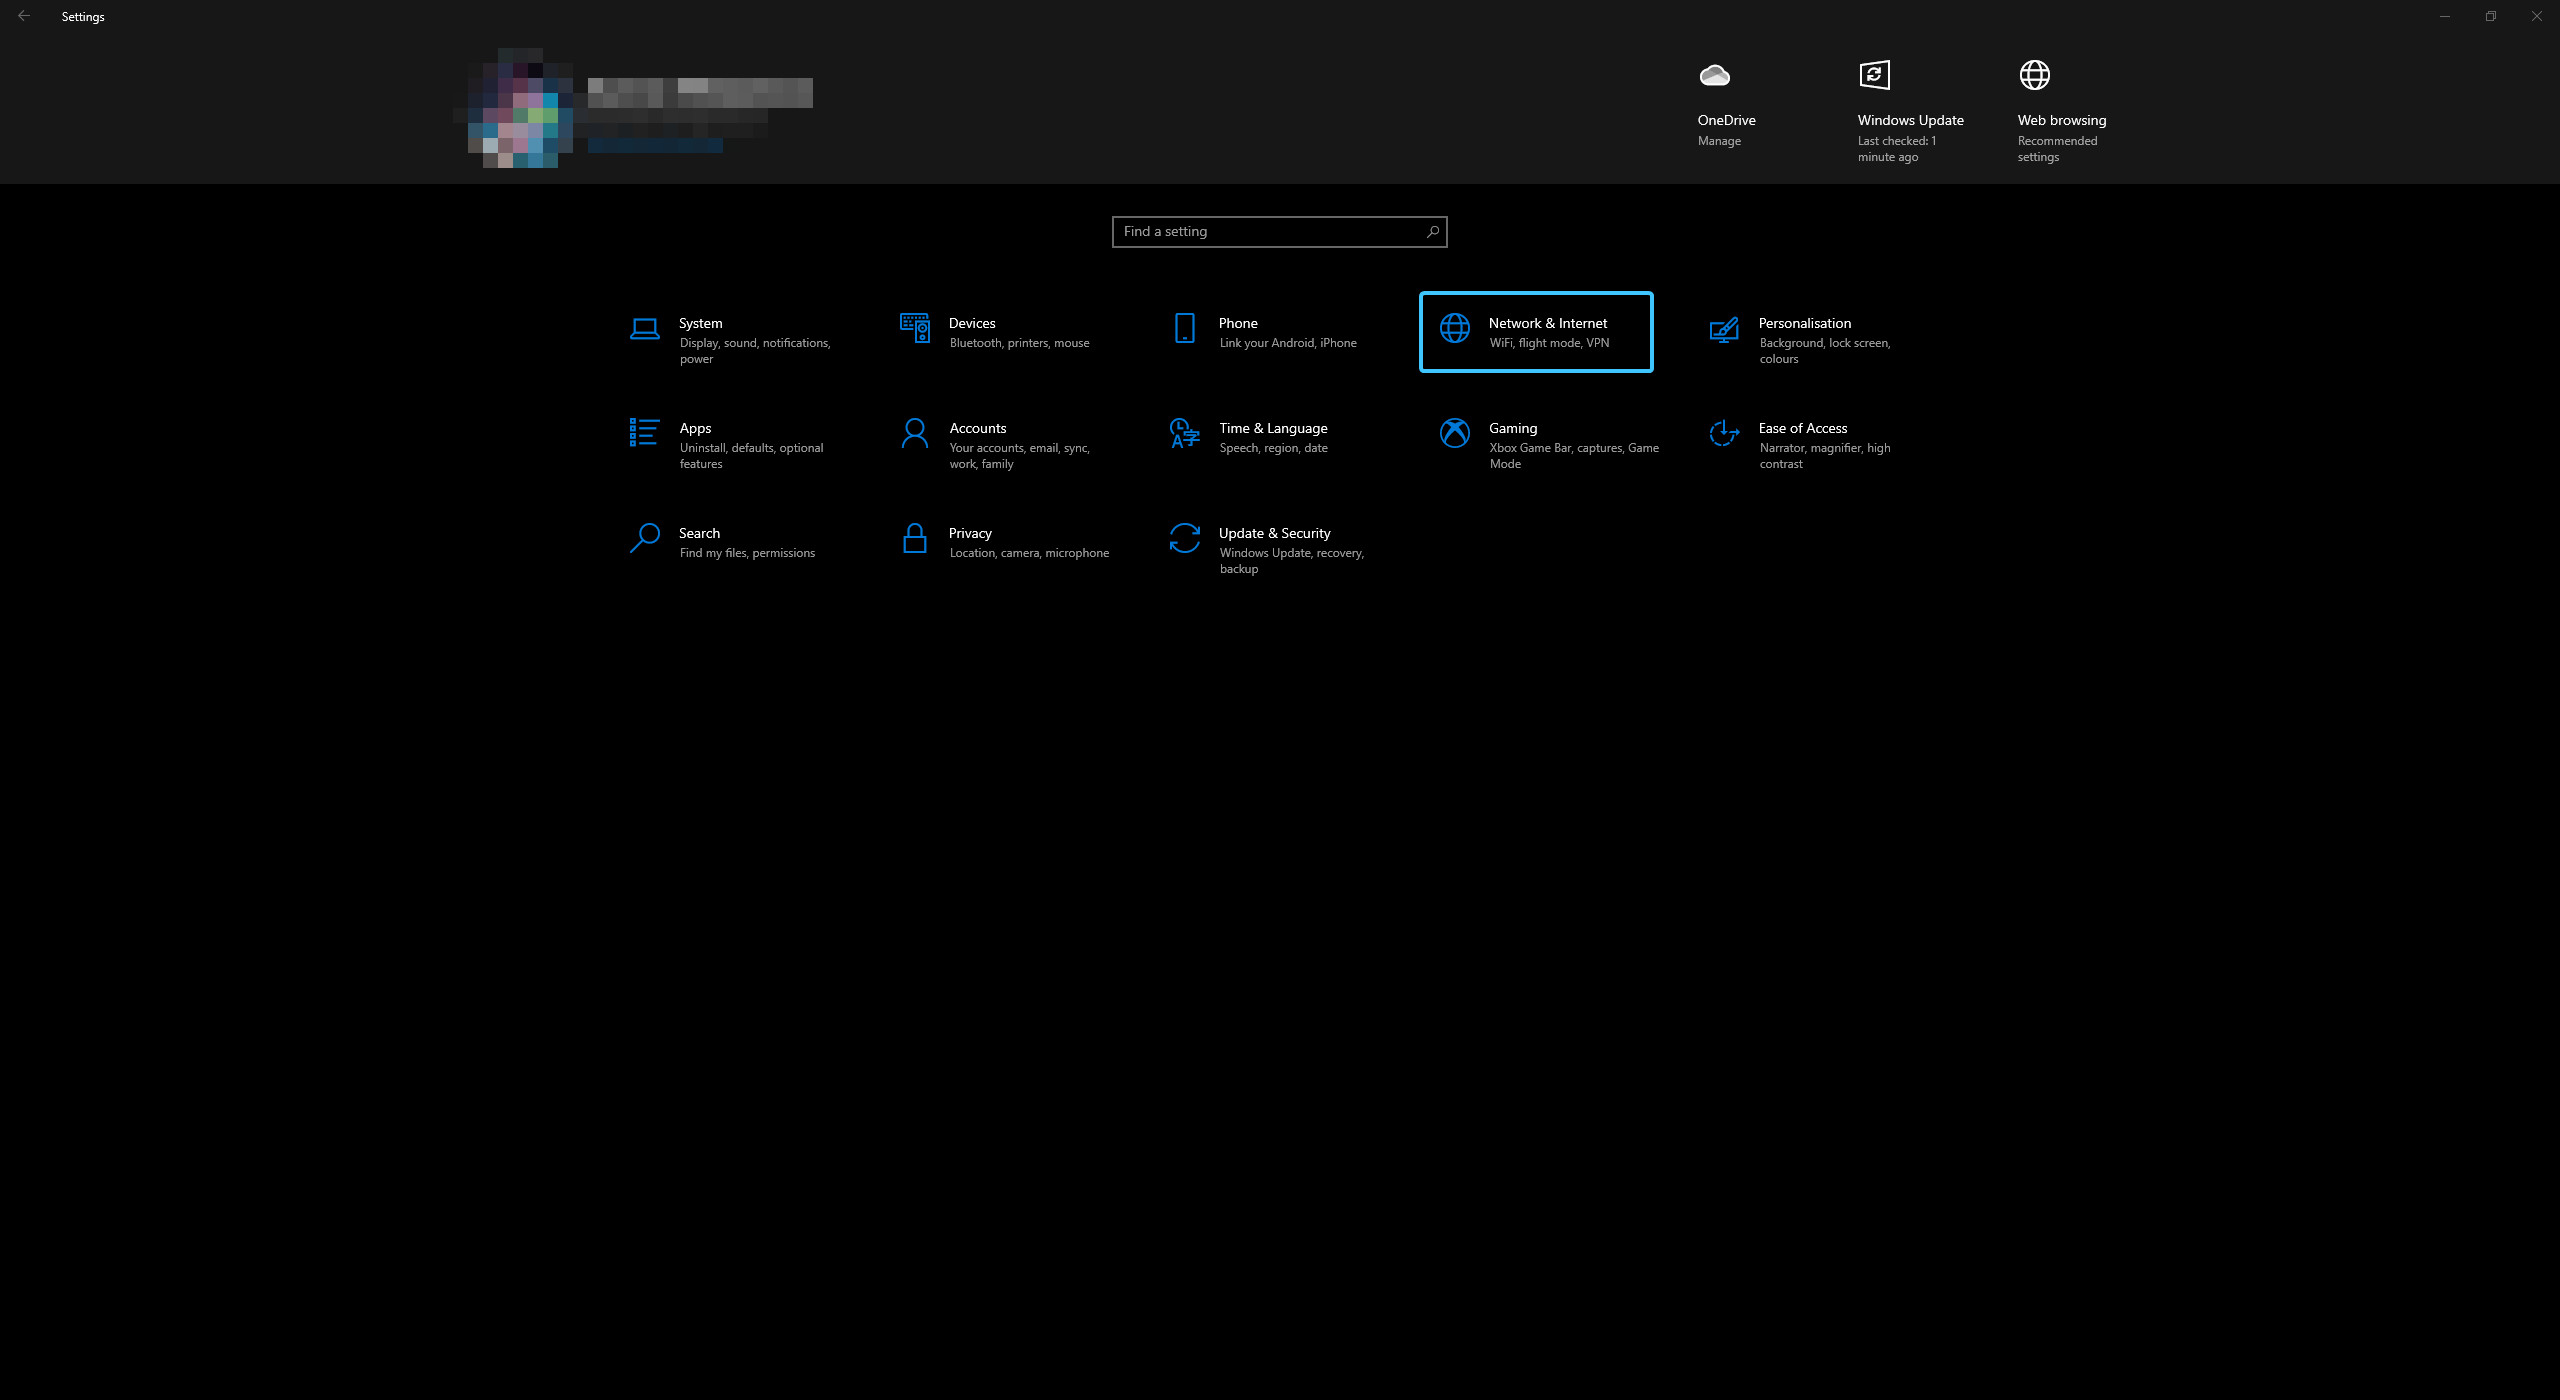
3. Depending on your Internet connection type, open the “Wi-Fi” or “Ethernet” section.
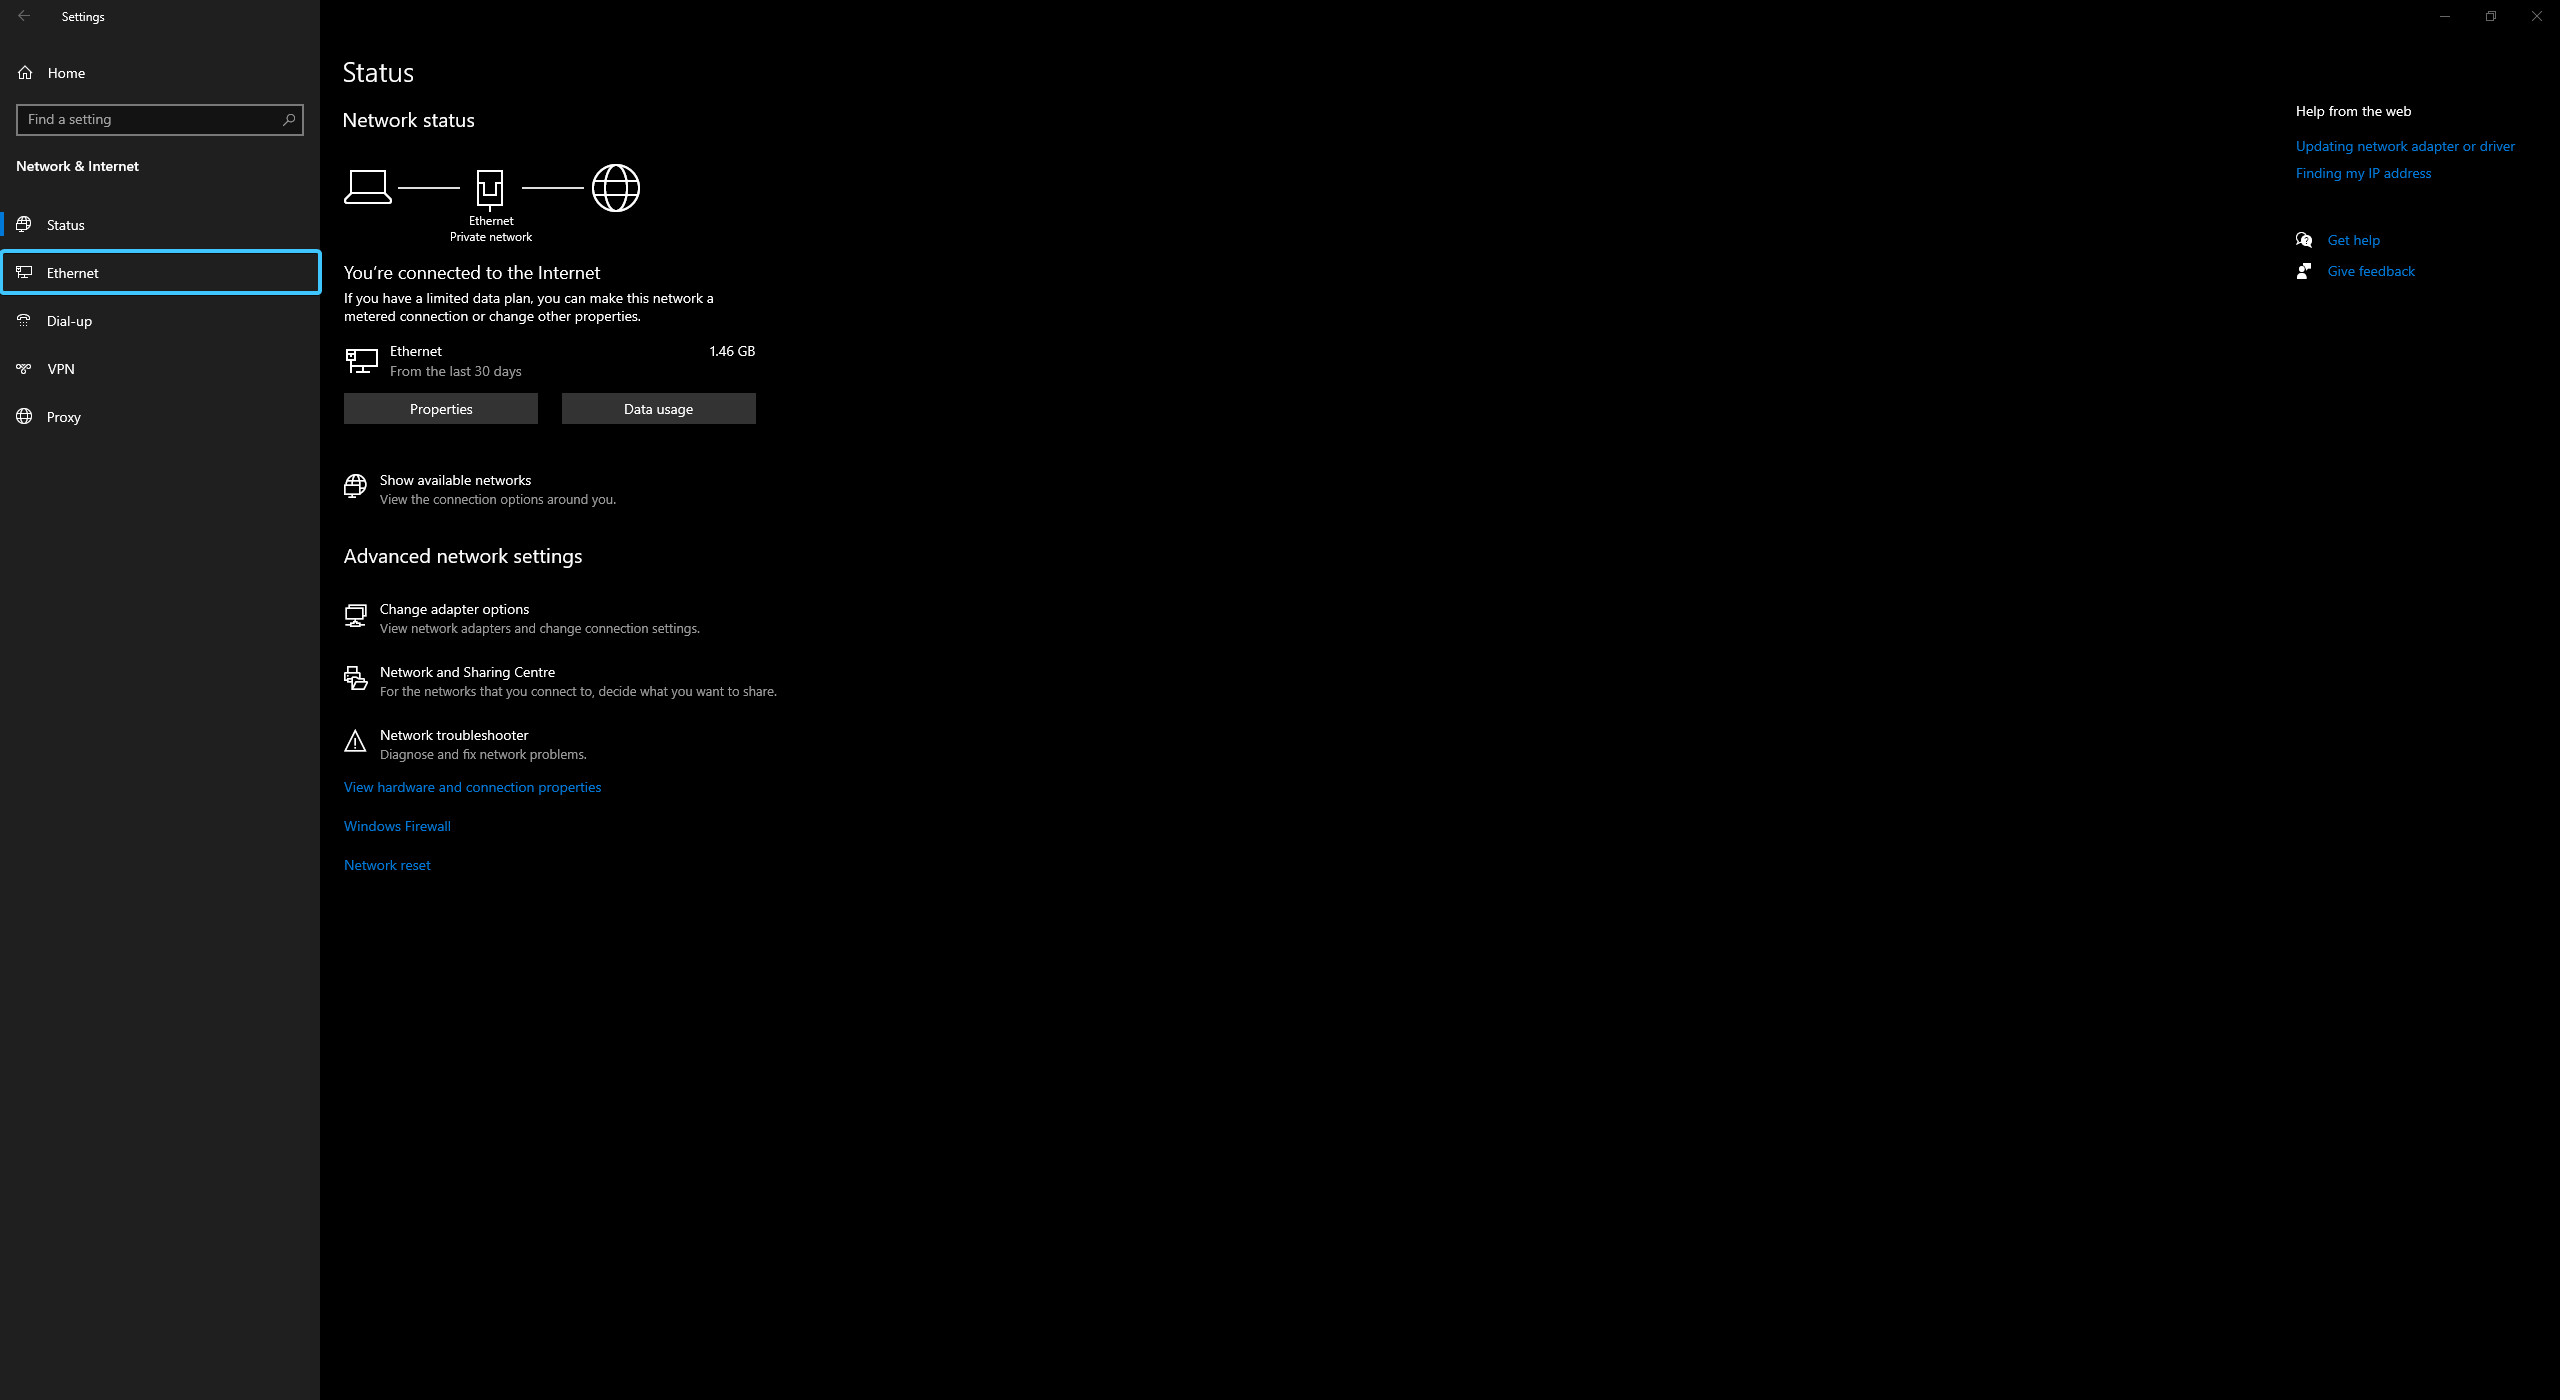
4. In the list of networks that opens, click on your current main network.
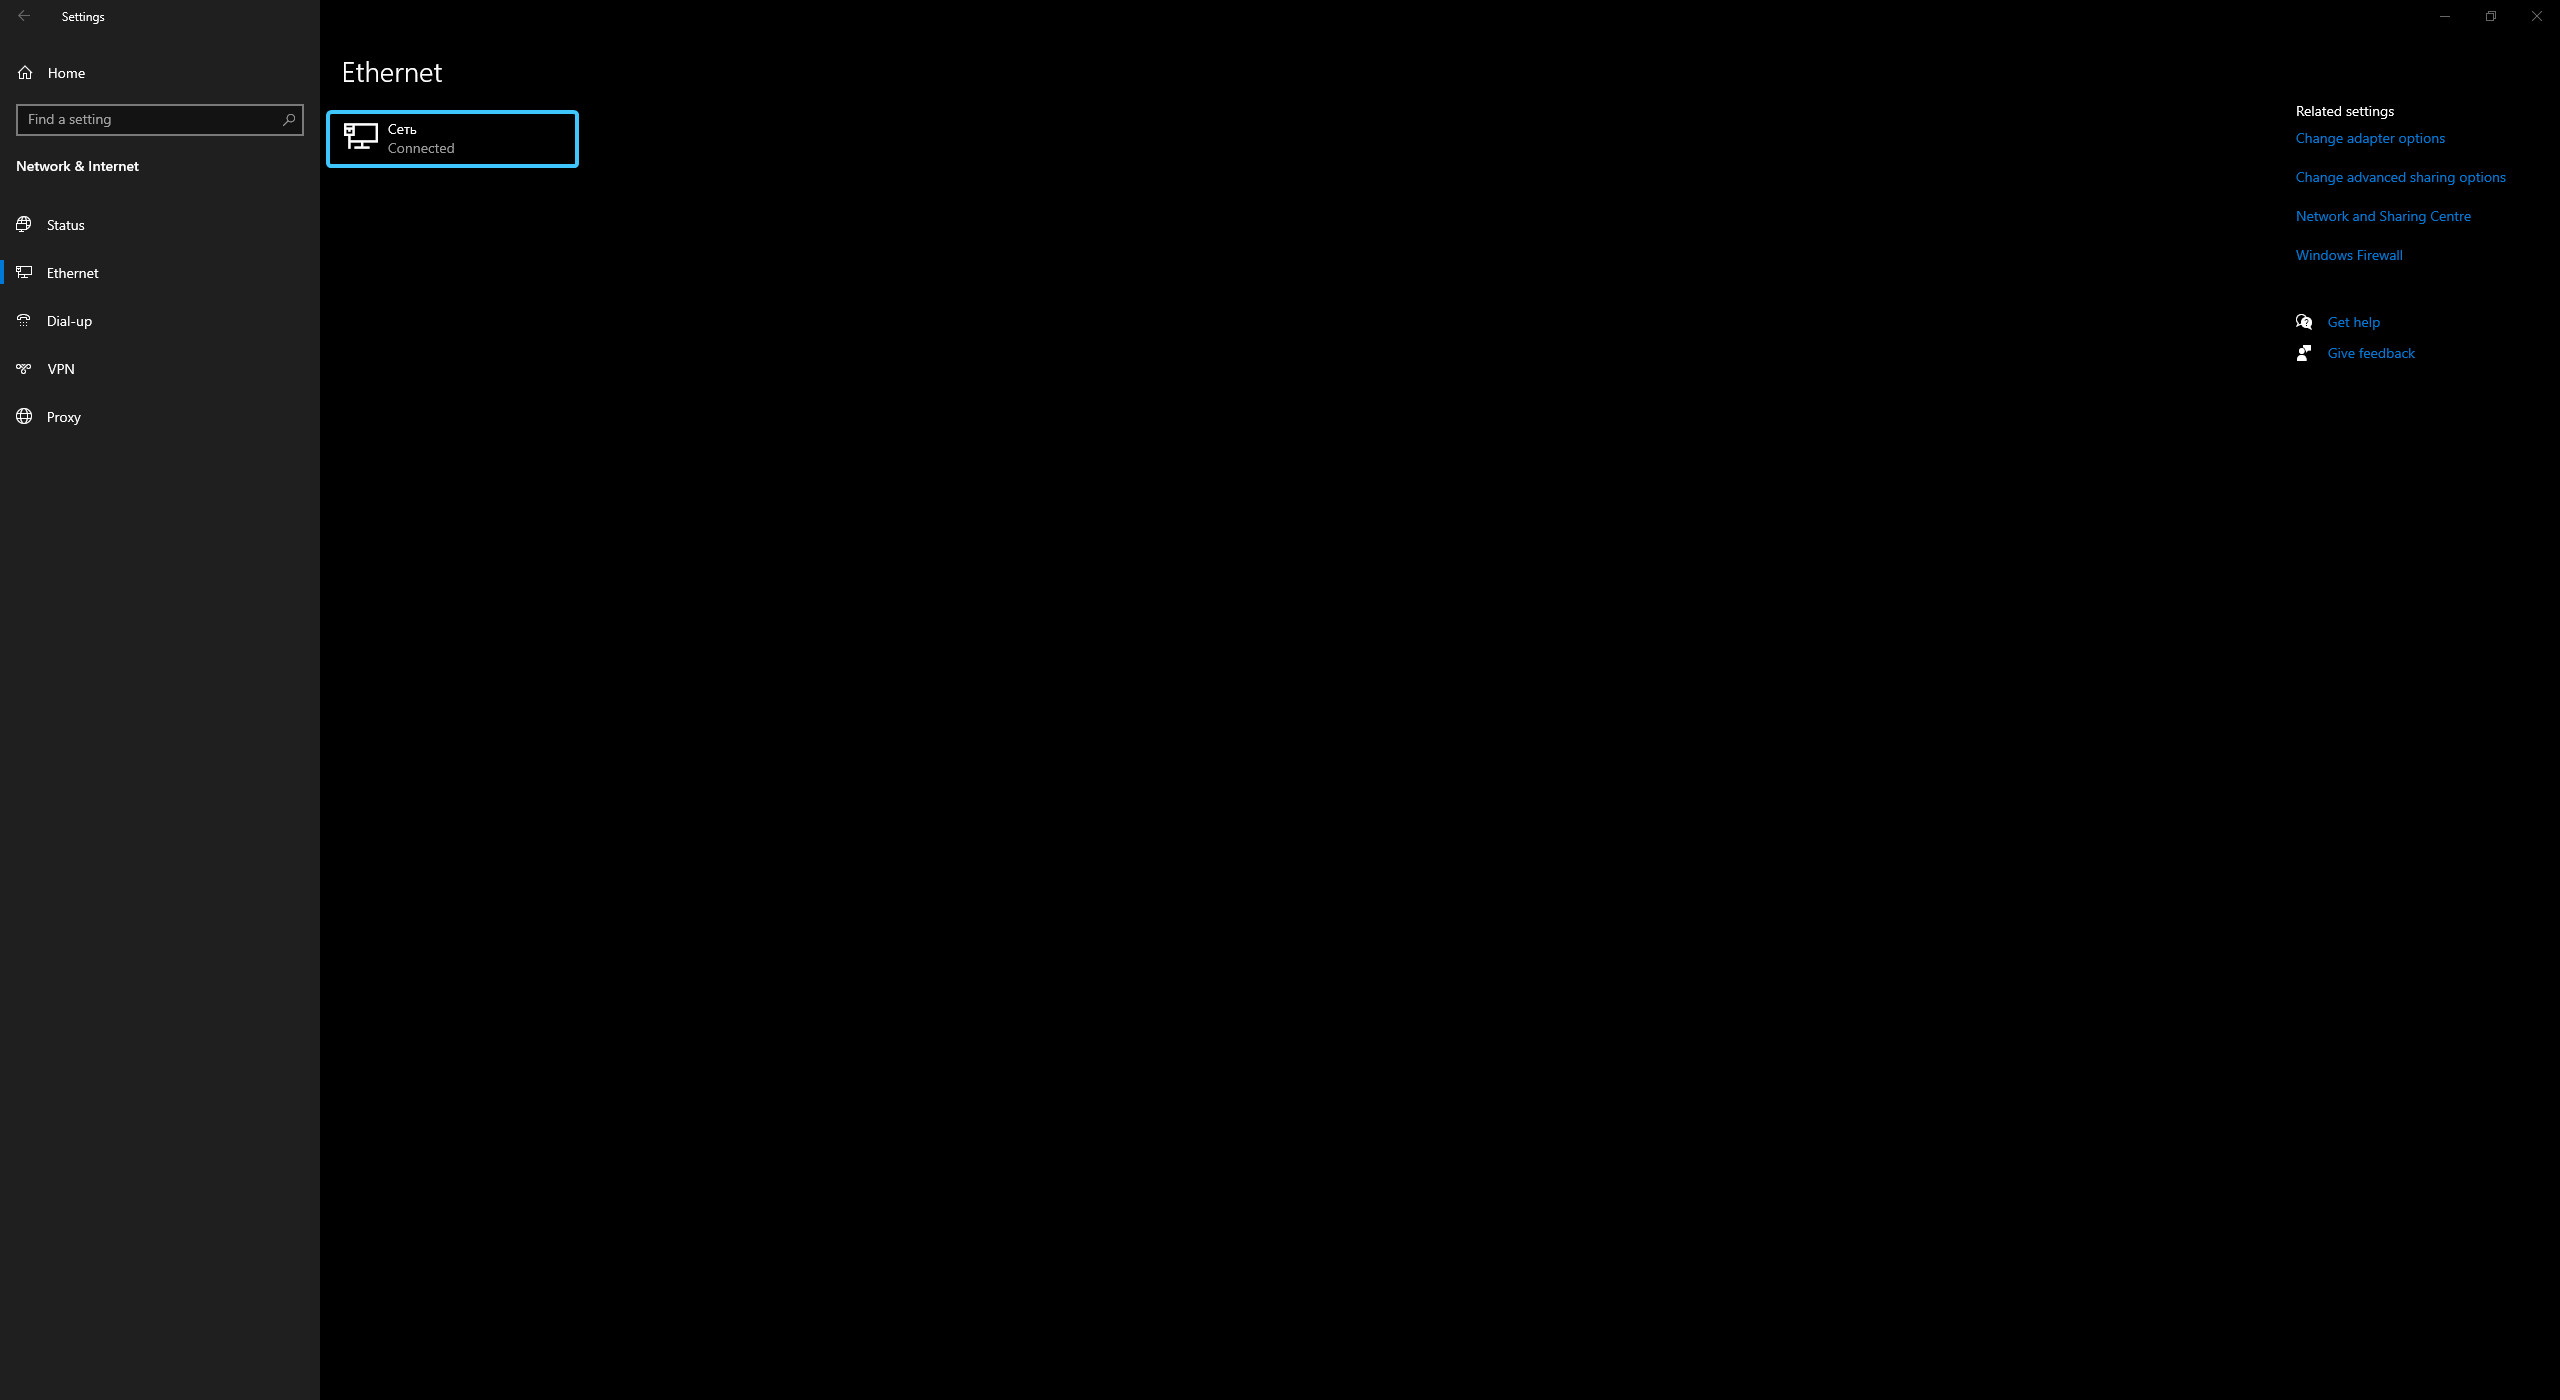
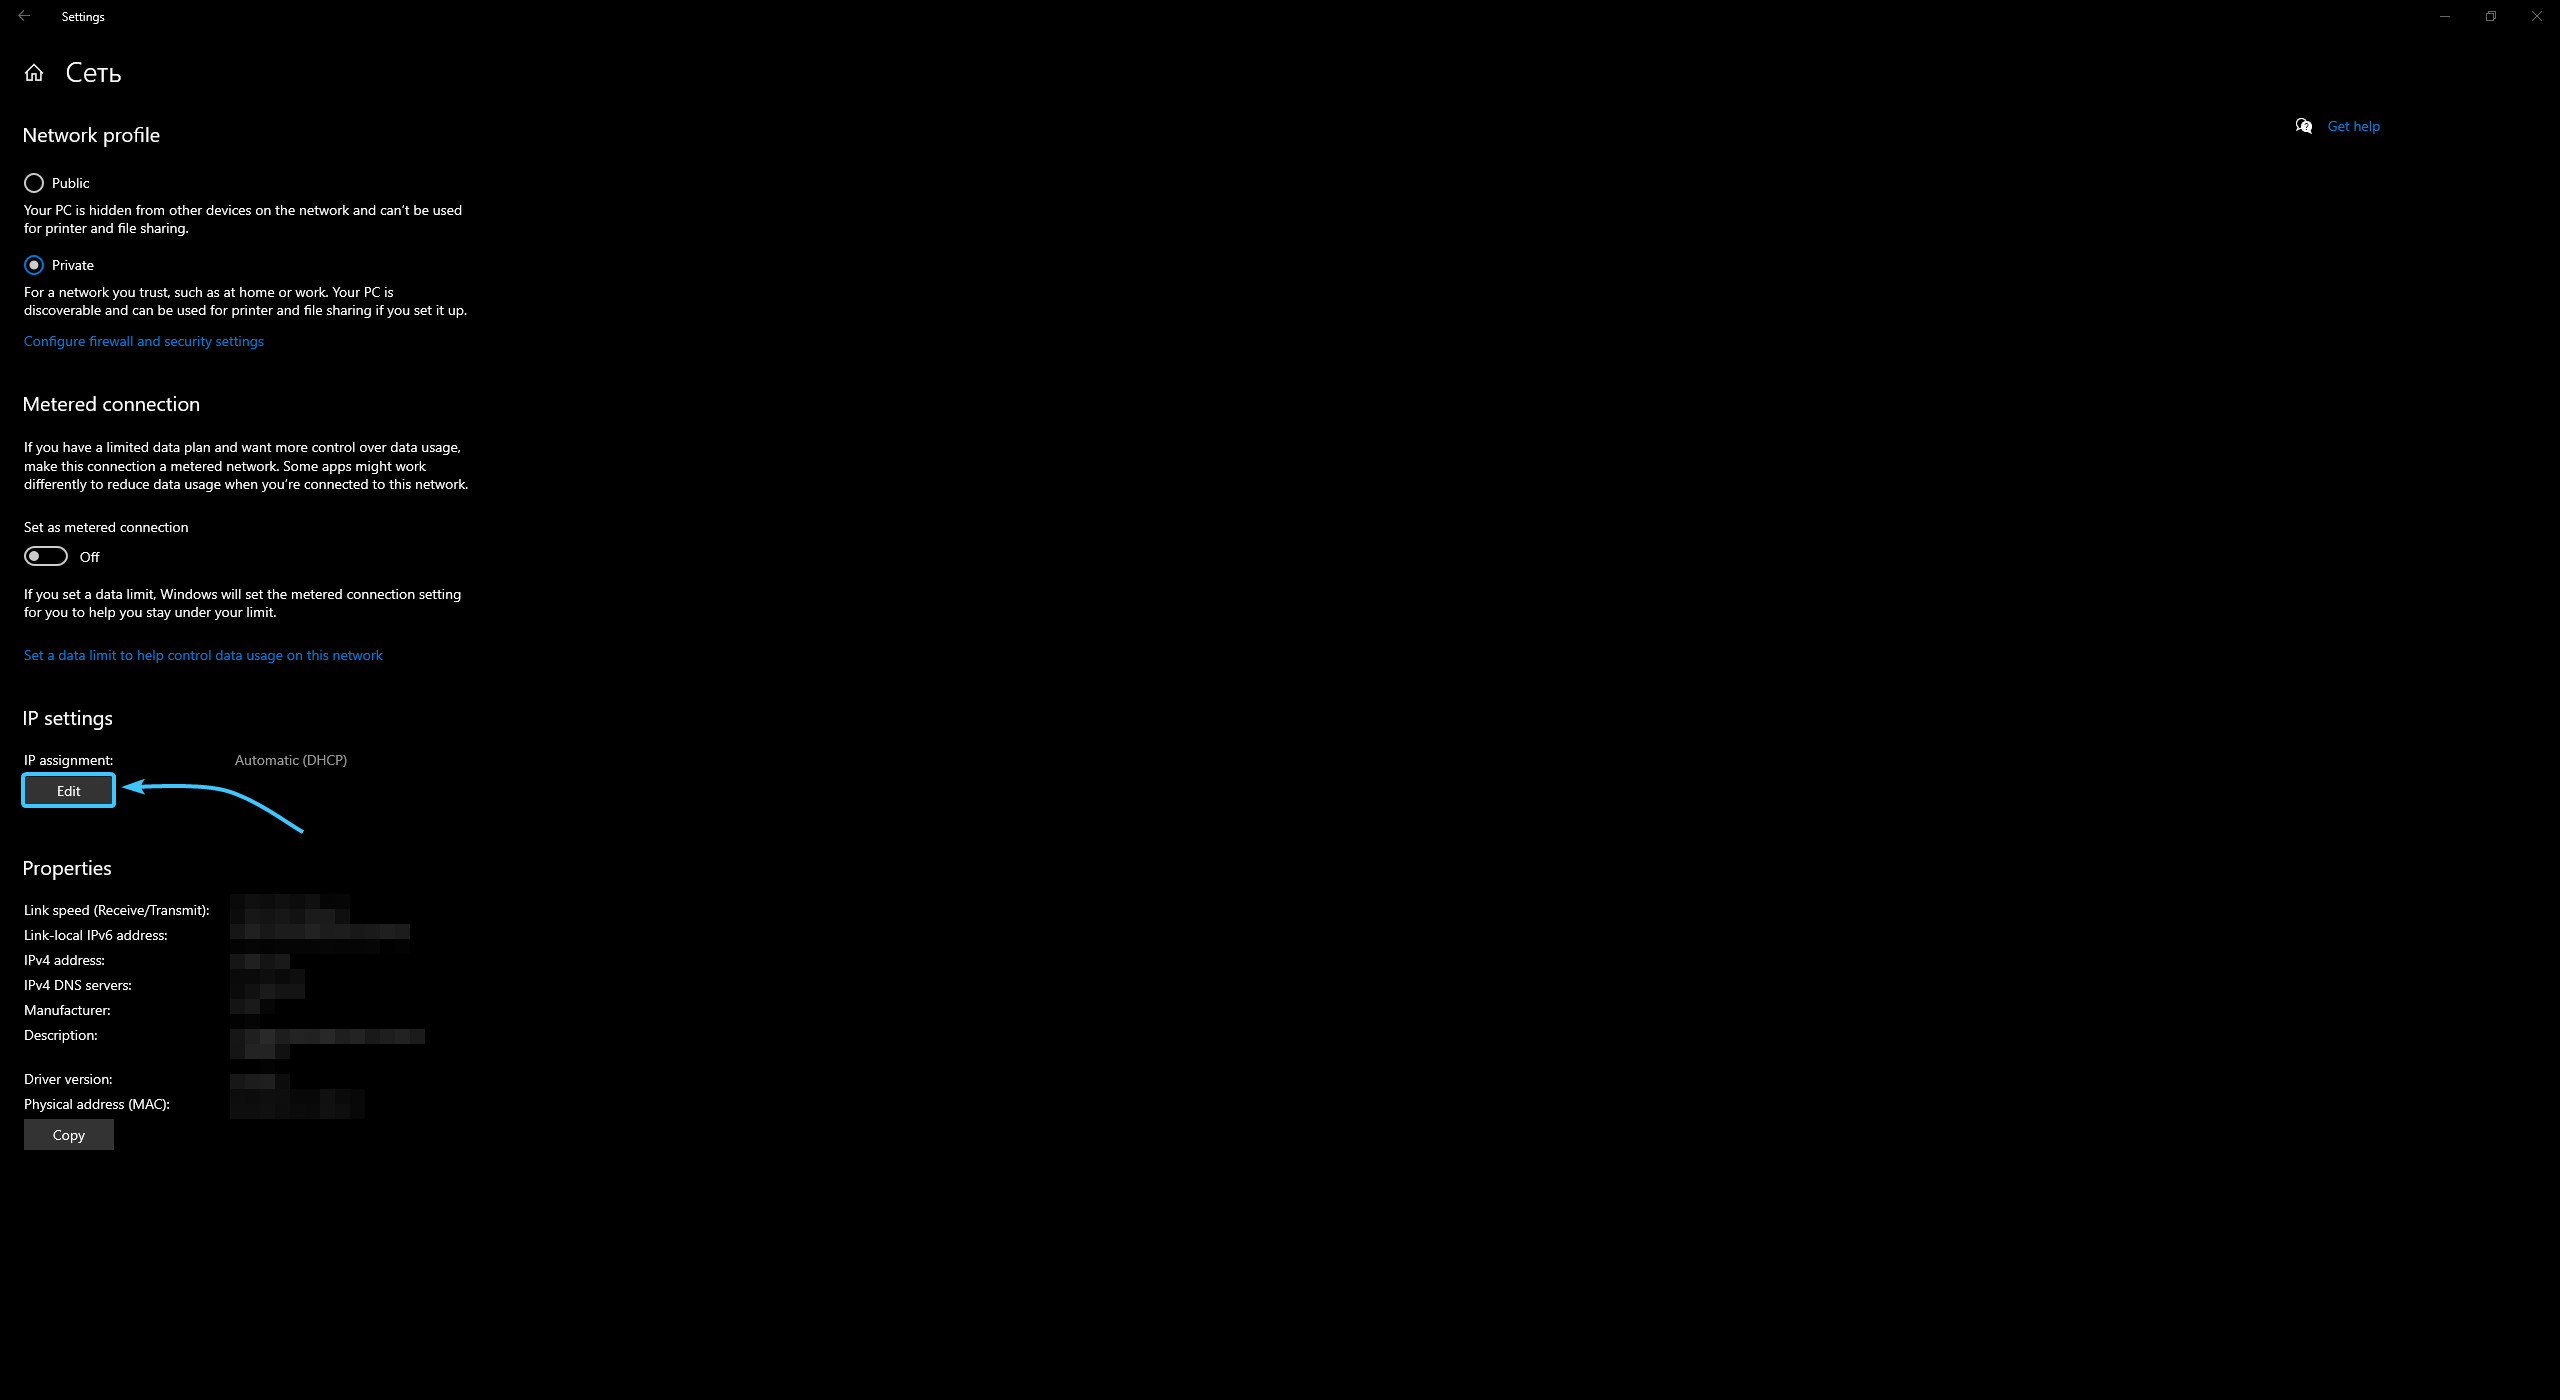
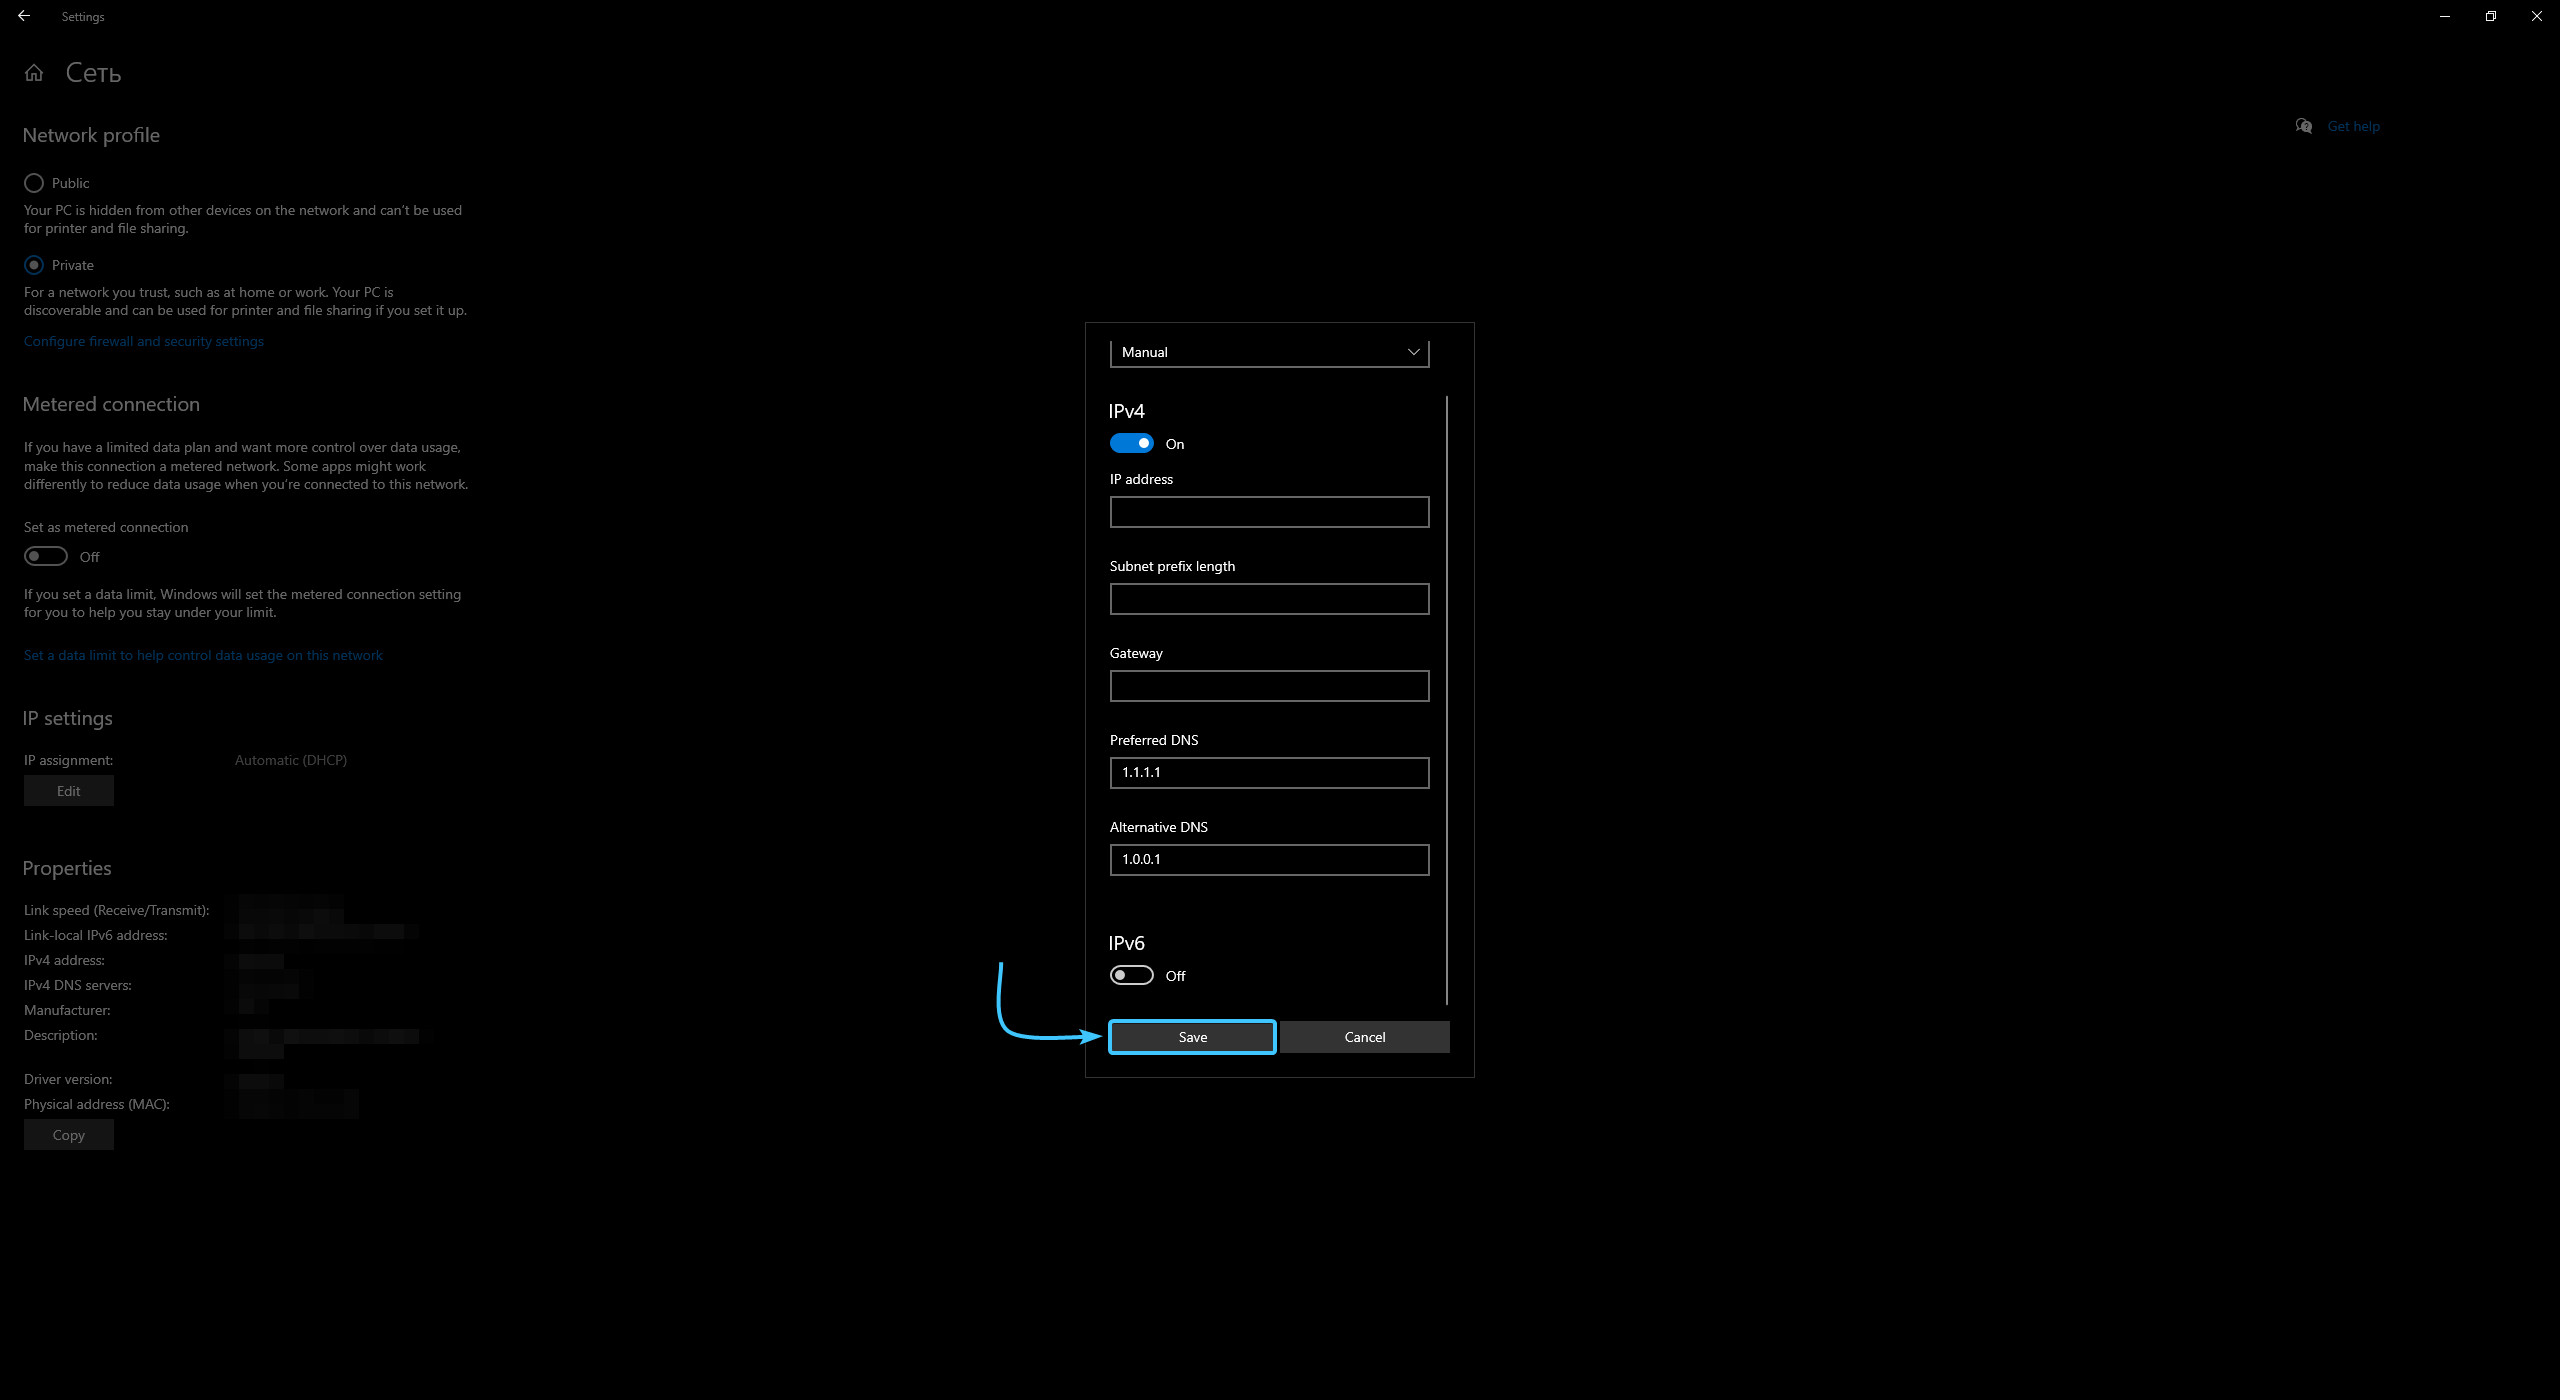
5. Under the “IP settings” parameter, click the “Edit” button.
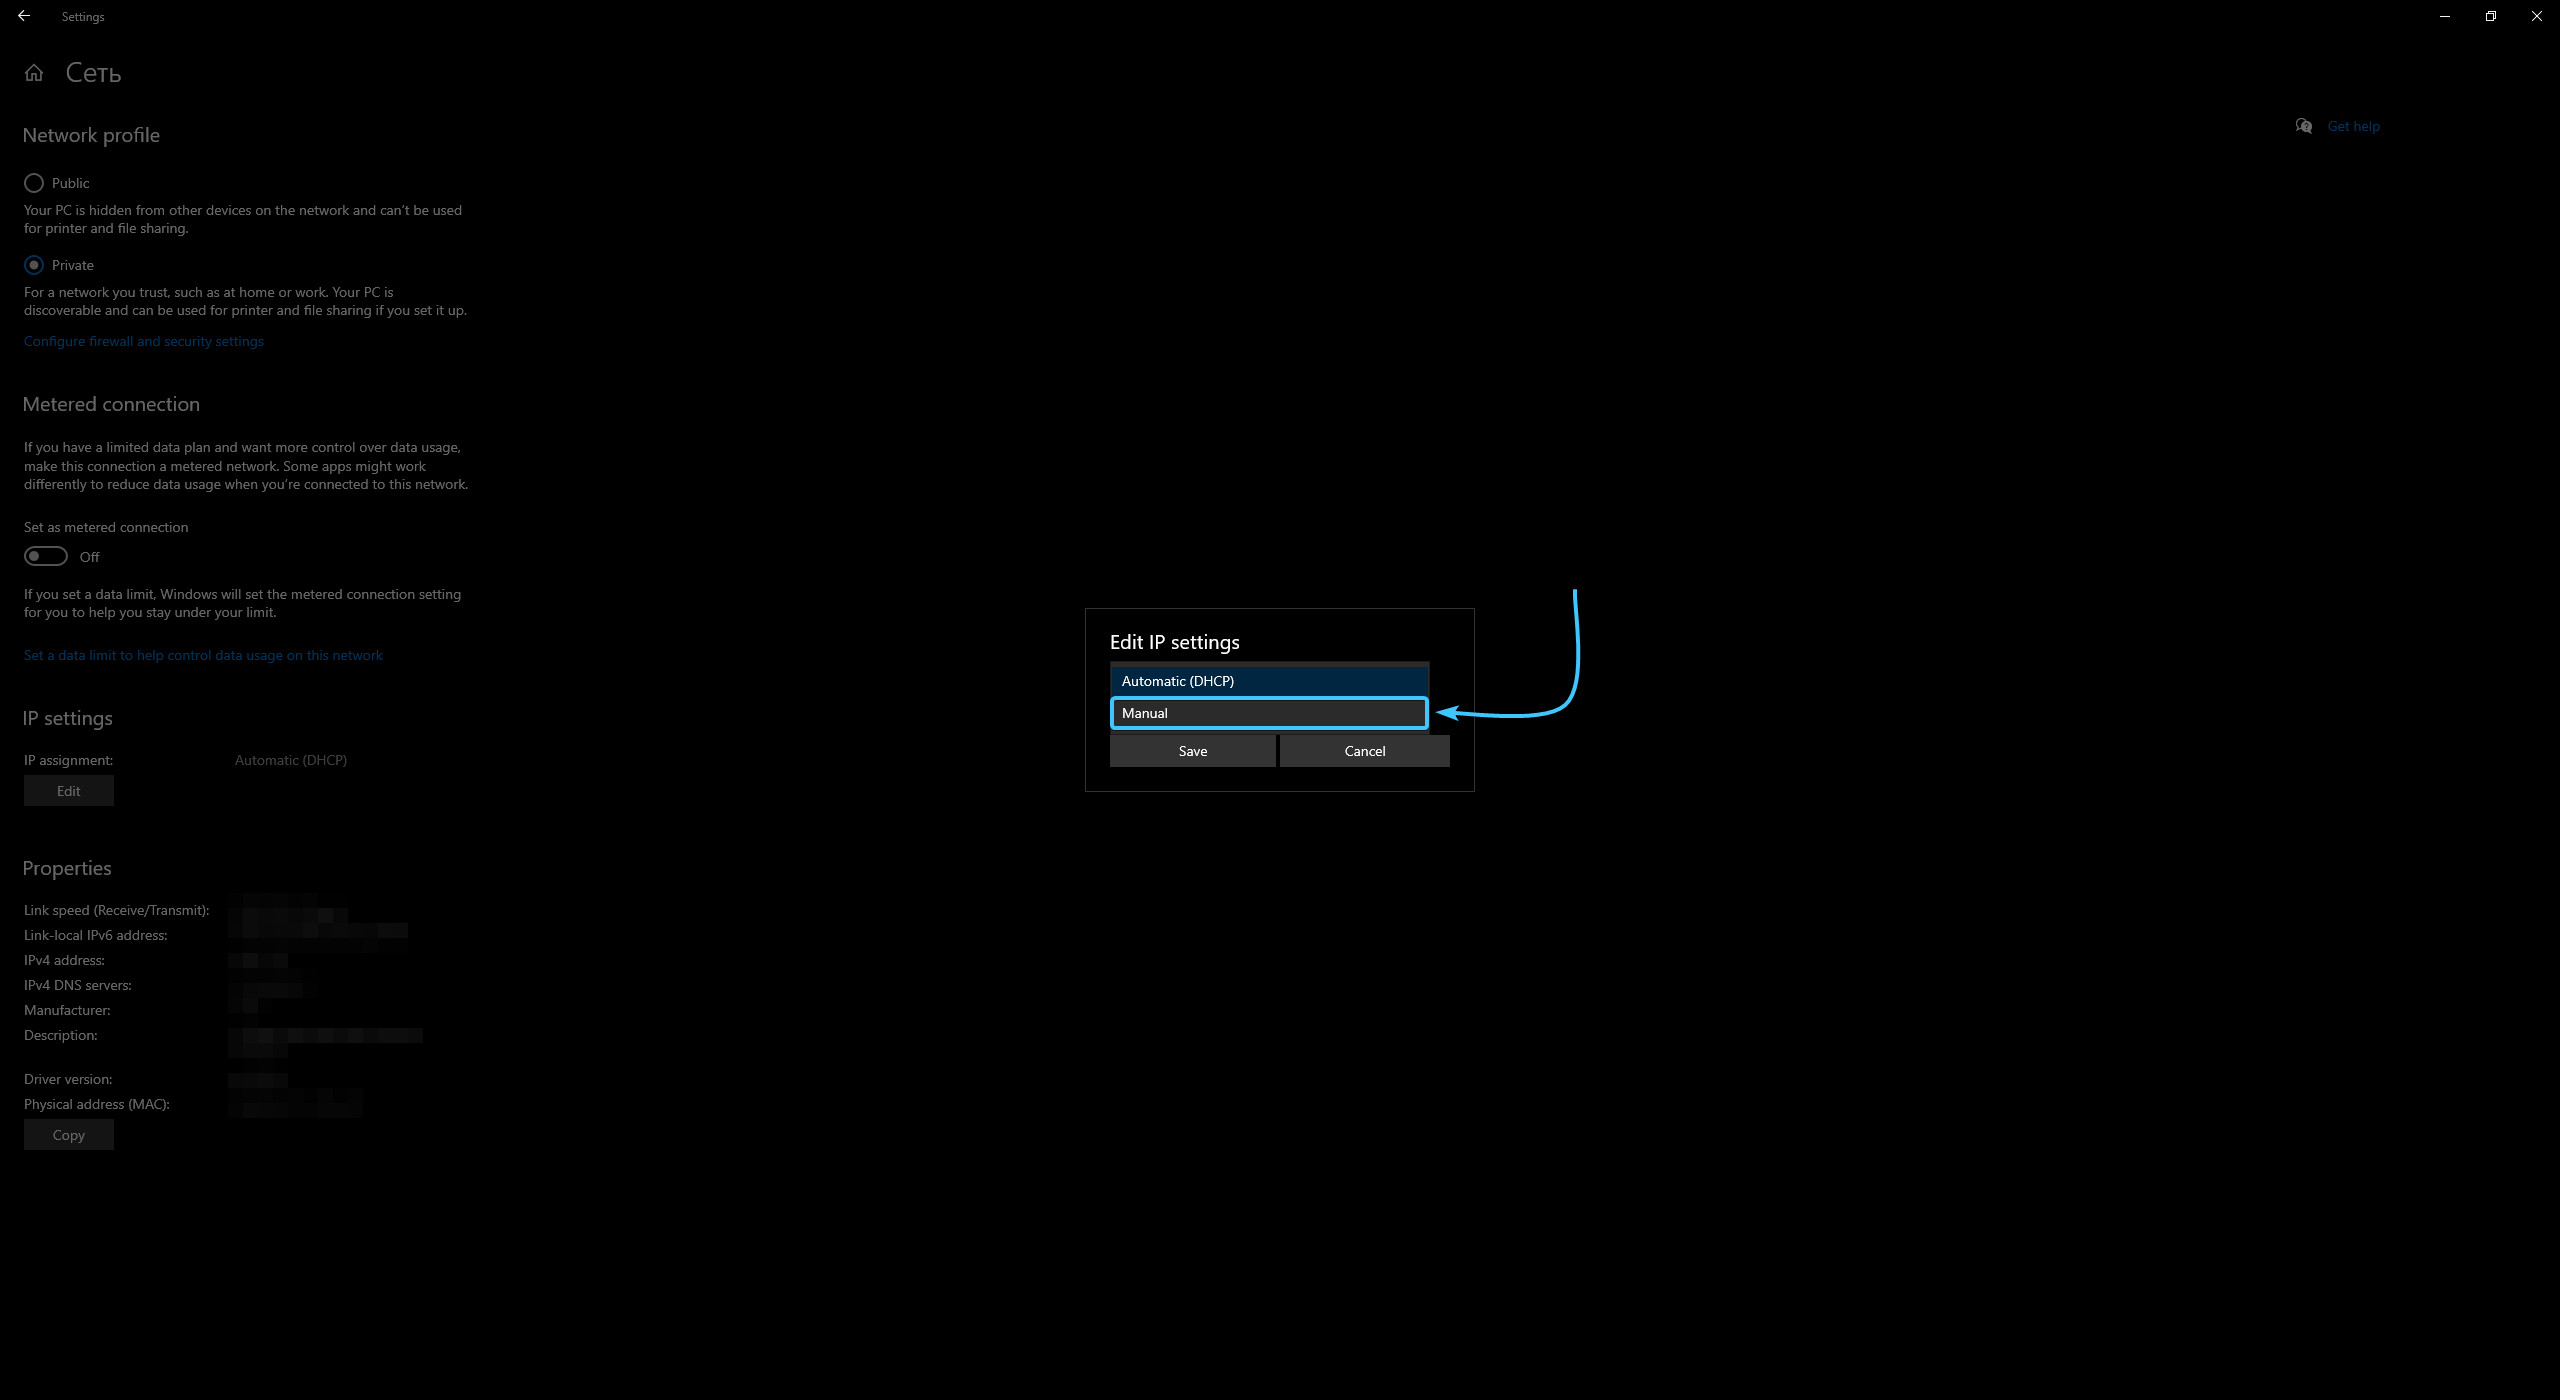
6. In the new window, click on “Automatic (DHCP)” and select the “Manual” option.
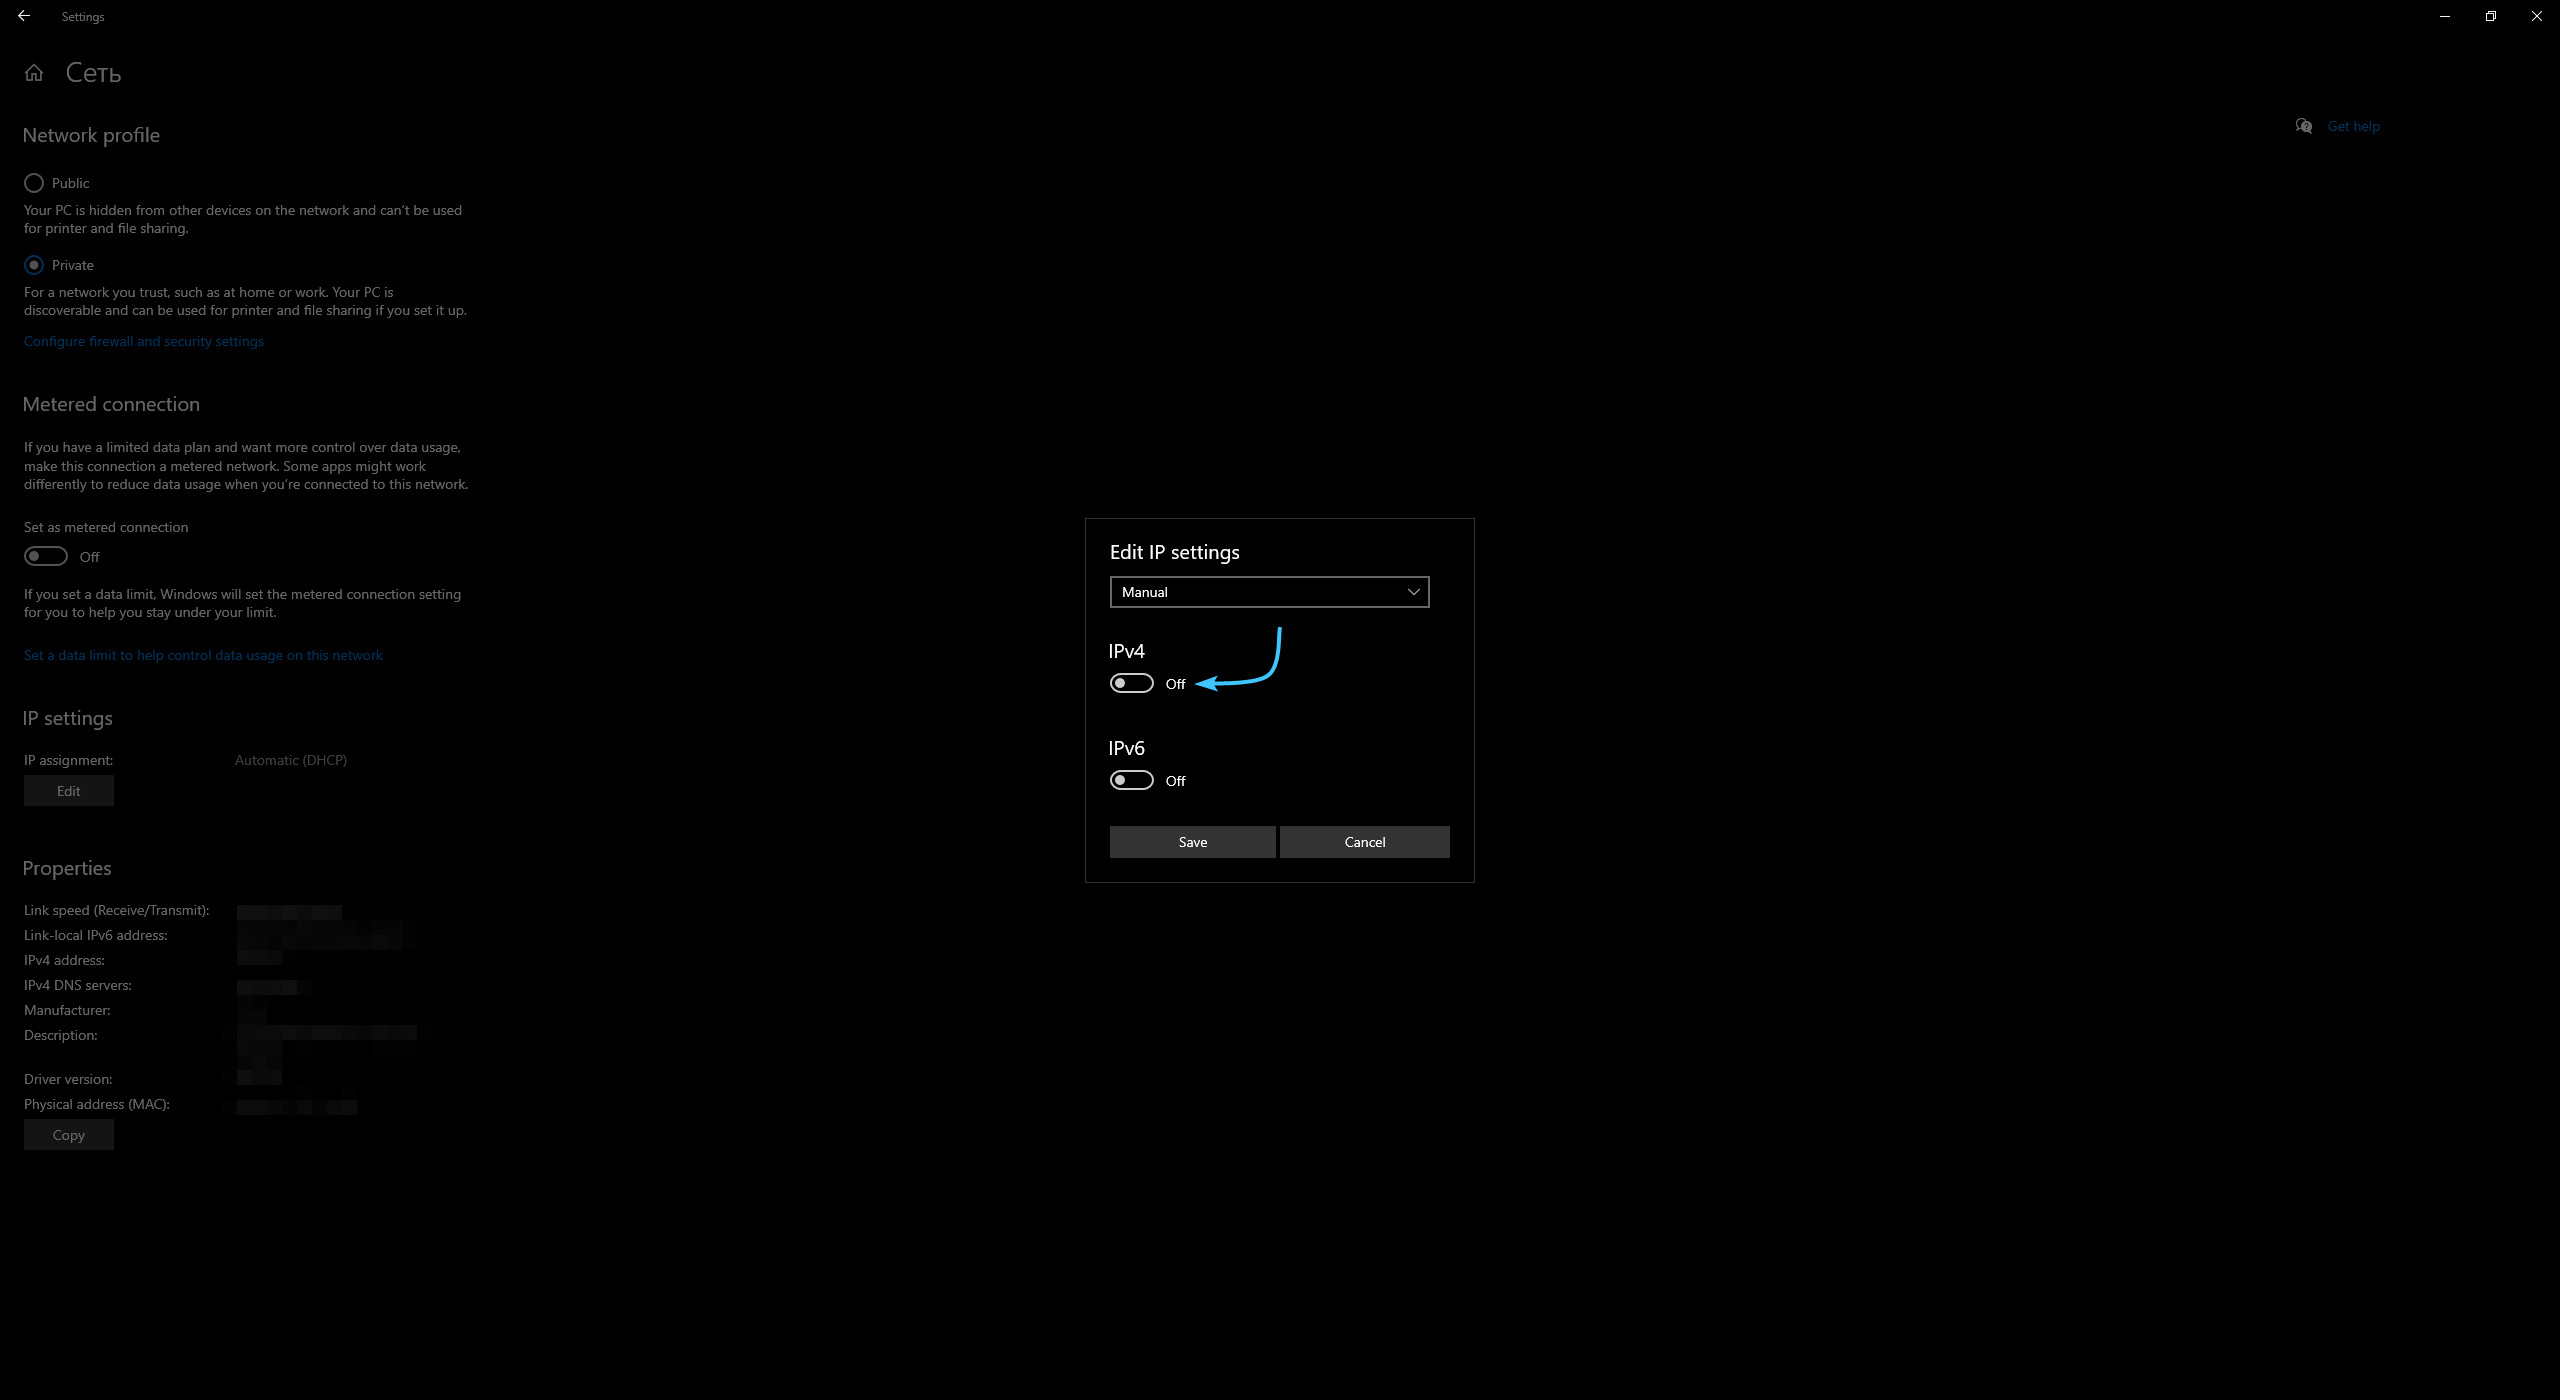
7. New parameters will appear. Move the slider of the “IPv4” parameter to the “On” position.
8. In the “Preferred DNS” field, enter the first address of the server you have chosen.
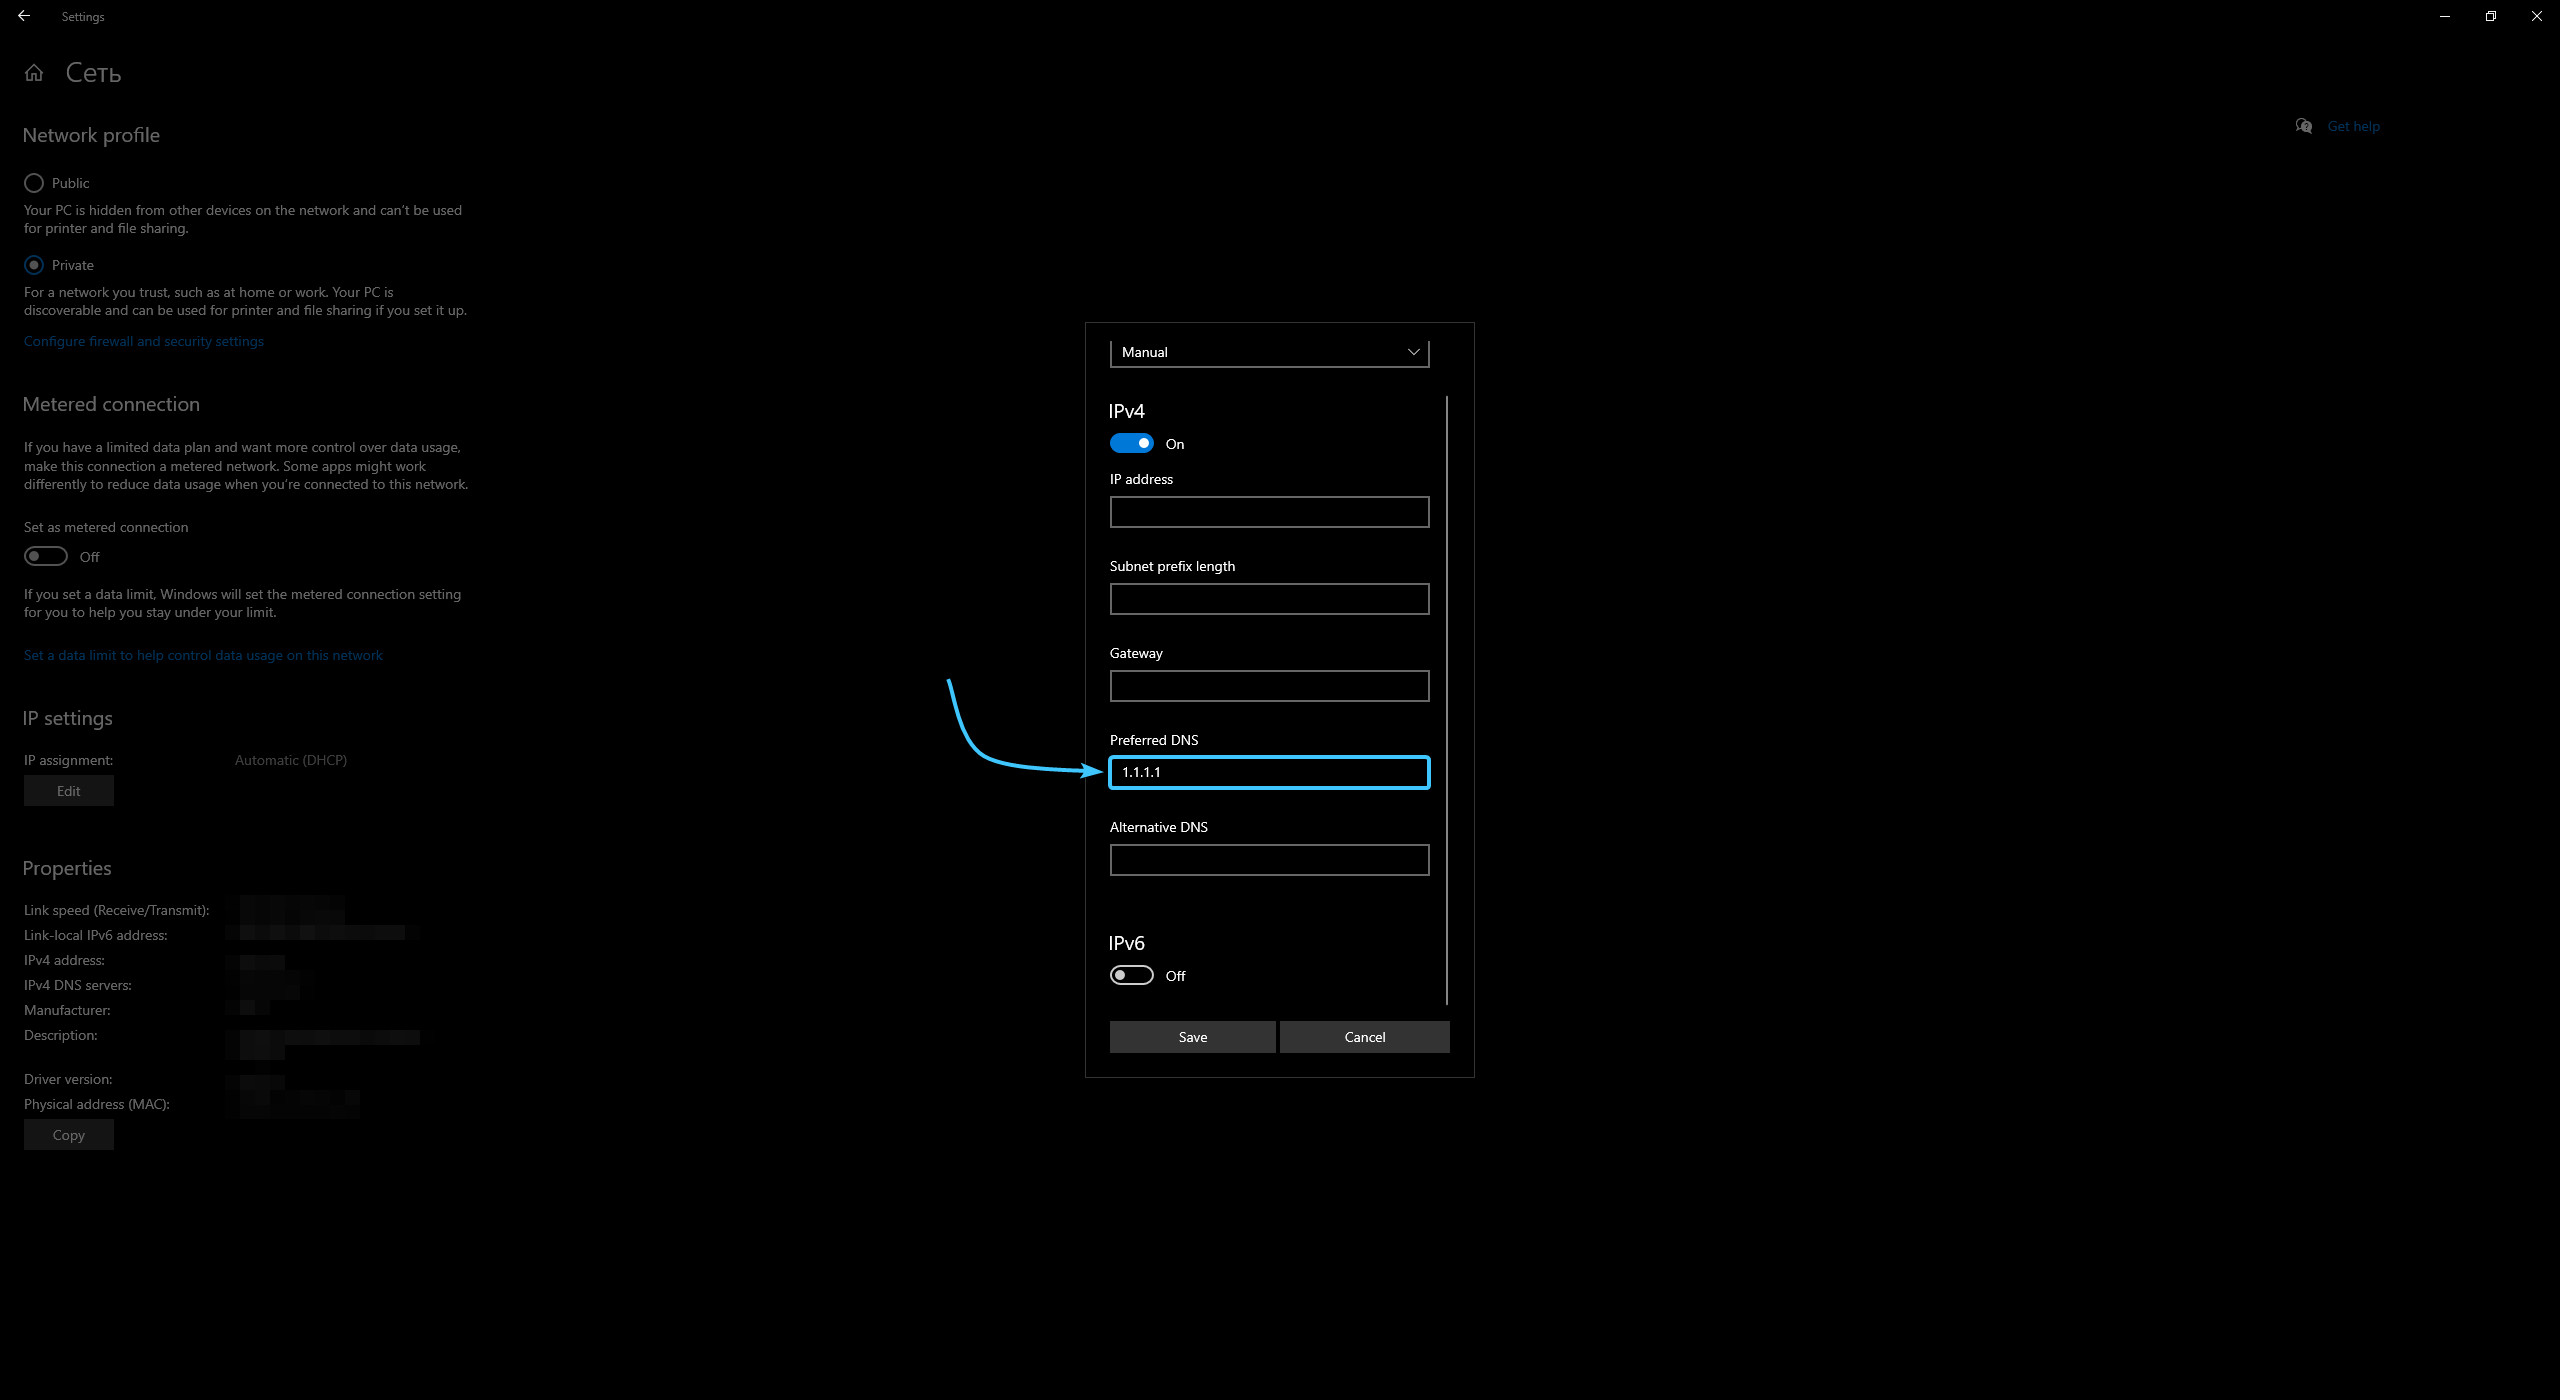
9. In the “Alternative DNS” field, enter the second address of the server you have chosen.

10. Click the “Save” button. Reboot the device to complete the DNS server change.
Other guides
- Clearing the DNS cache on Windows;
- Reset network settings on Windows;
- Configuring the Windscribe service;
- Configuring the Proton VPN service;
- Configuring the Cloudflare service;
- Network properties location;
- Disabling system firewall;
- Disabling third-party networks;
- Enabling authentication;
- Configuring the Planet VPN service.